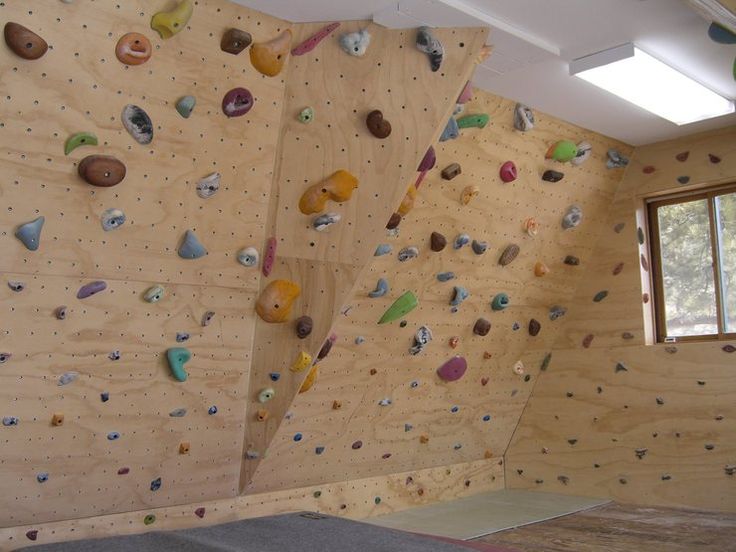
No one can match the energy level of kids; they are filled with enthusiasm and eager to learn new things. There are many ways to keep them busy, and one of them is building climbing walls.
Climbing not only provides hours of active and engaging fun but also provides numerous physical and health benefits. Climbing helps in increasing strength, balance, and coordination. Kids can learn all of them in a safe and controlled environment. But most of the parents do not know how to make climbing walls for kids.
This is what the below article is for, where we will learn how to make a climbing wall at home for kids. These ways are easy and do not need a lot of tools and time. The step-by-step guide to making a climbing wall at home is as follows:
1. Materials Required
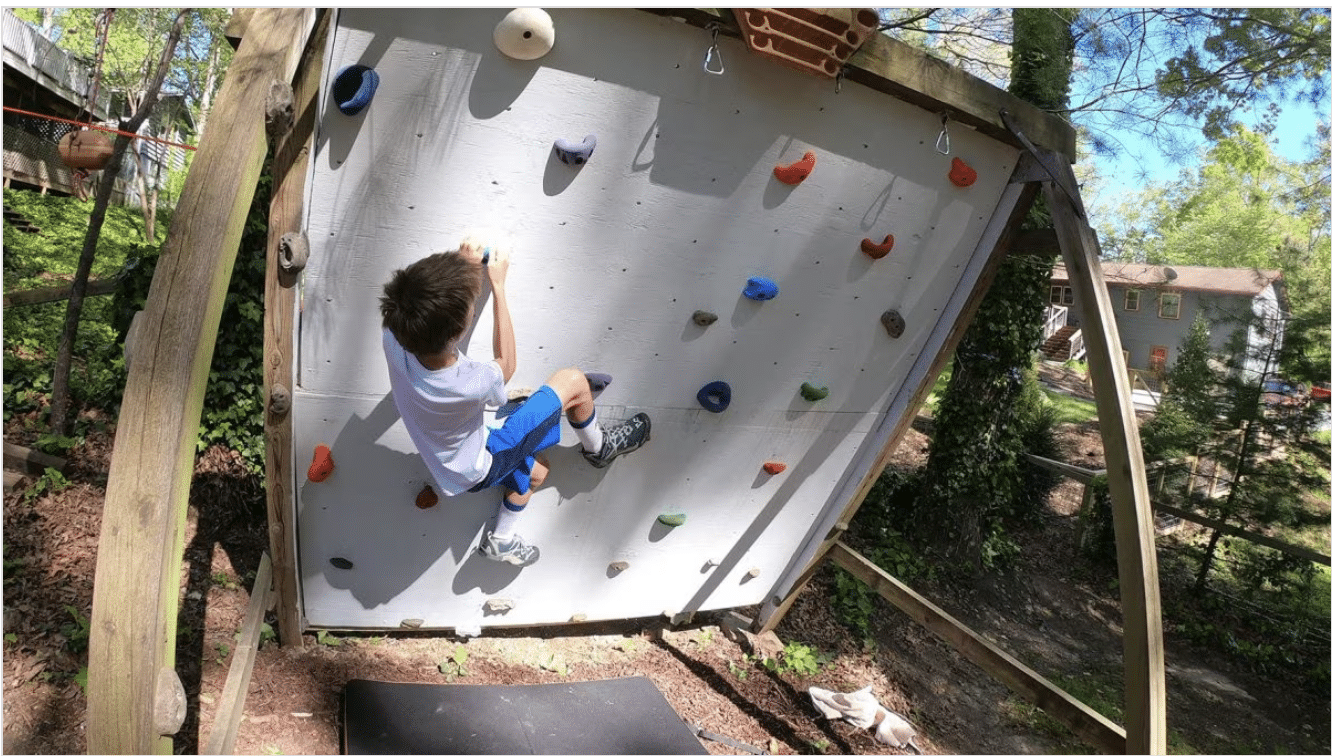
Before starting the process of making a climb, start collecting all the materials that are required and will be needed in the process. So, the materials and tools required for making the climbing wall are:
Materials
- Plywood board
- 2*4 or 2*6 wooden studs for framing
- Climbing holds (you can buy them depending on the size of the wall you are making)
- Screws
- Nuts and bolts
- Paint
- Crash pad for safety
Tools
- Circular Saw
- Drill
- Assorted drill bits and spade bits for T-nut hole
- Hammer
- Chalk (to draw the line before putting plywood)
- Stud finder
- Measuring tape
- A level
- Sandpaper
- T-nuts
Point to be noted that the quantity of the materials is directly proportional to the size of the climbing wall you are making.
2. Planning and Designing
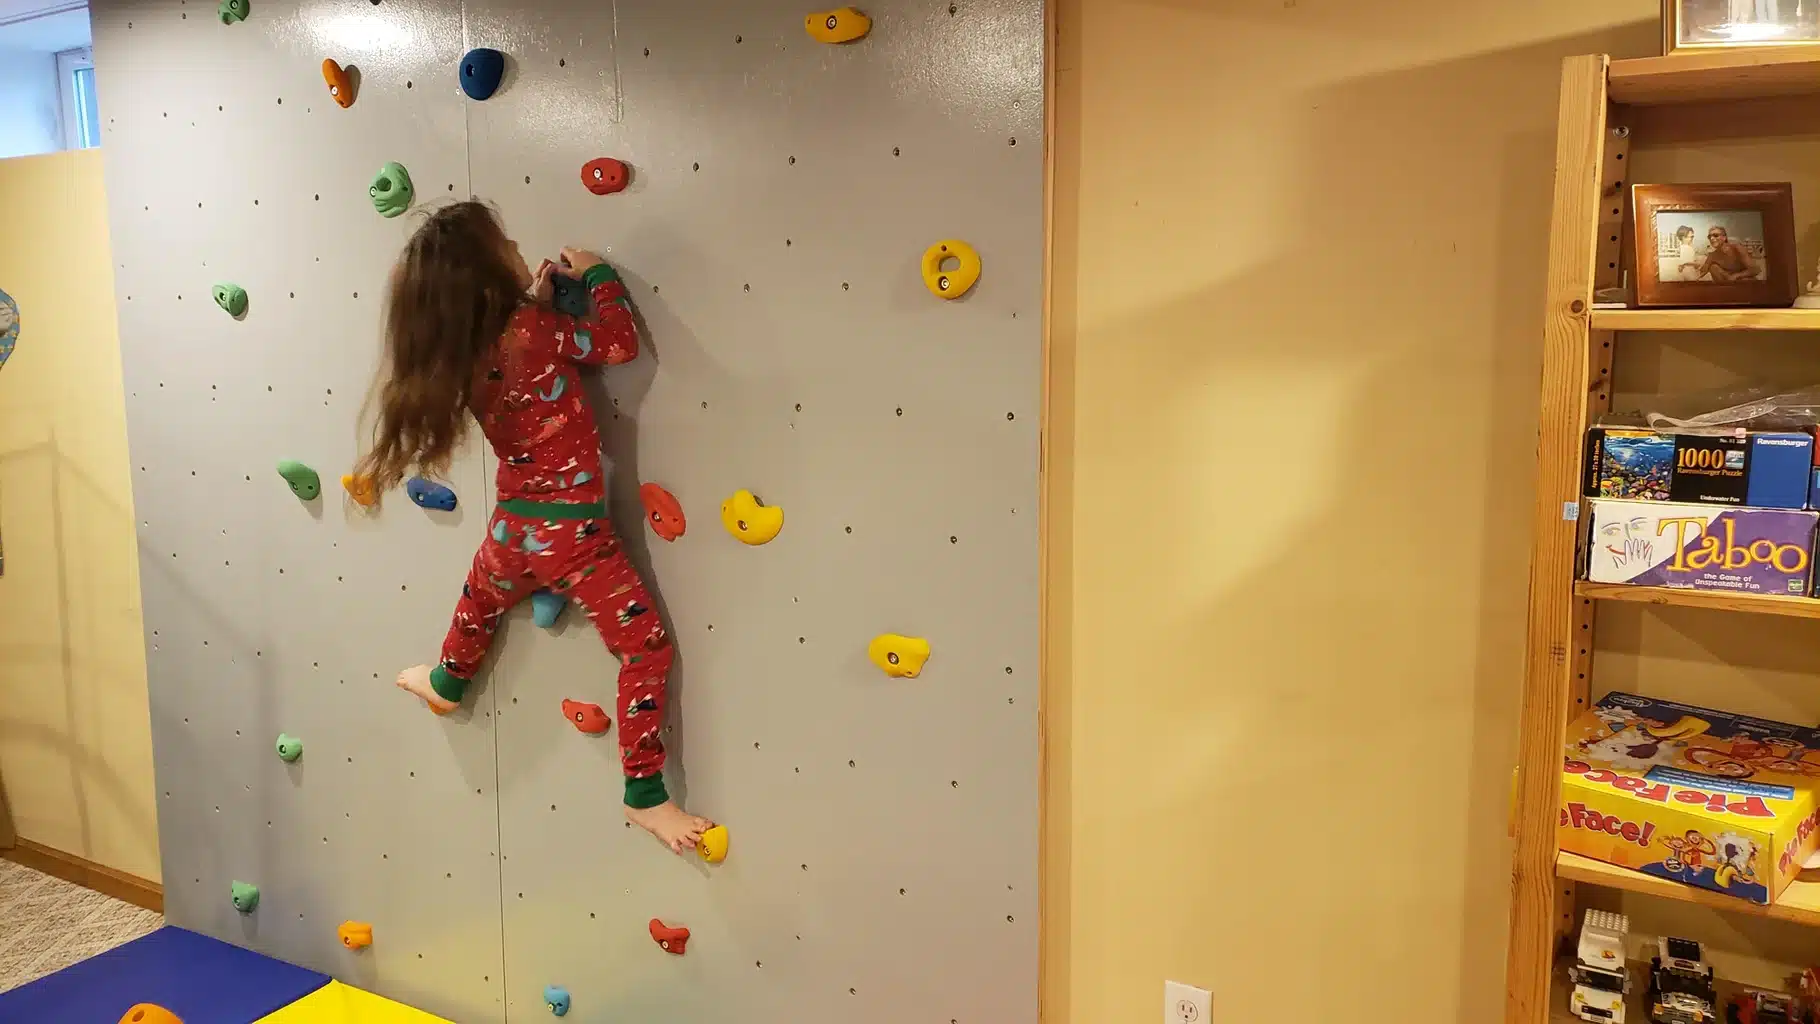
Planning is the most crucial stage while building a climbing wall. To install your climbing wall, you need to find a surface that does not have any kind of obstructions (like portrait, furniture, showpiece, light switches, bulbs, and many more). To avoid any kind of accident, make sure that the surroundings (under a radius of 2 feet) of the wall do not have any furniture.
After picking up the location, take a chalk and start marking on the wall, depending on the size of your choice. You can consider the height, width, and depth of the area where the climbing wall will be installed.
The measurement part must be done very carefully cause any irregularity can lead to major problems. For planning and selecting a proper space, you can even consider a room with a higher ceiling cause it provides a taller climbing route with more adventure.
3. Preparation of Plywood
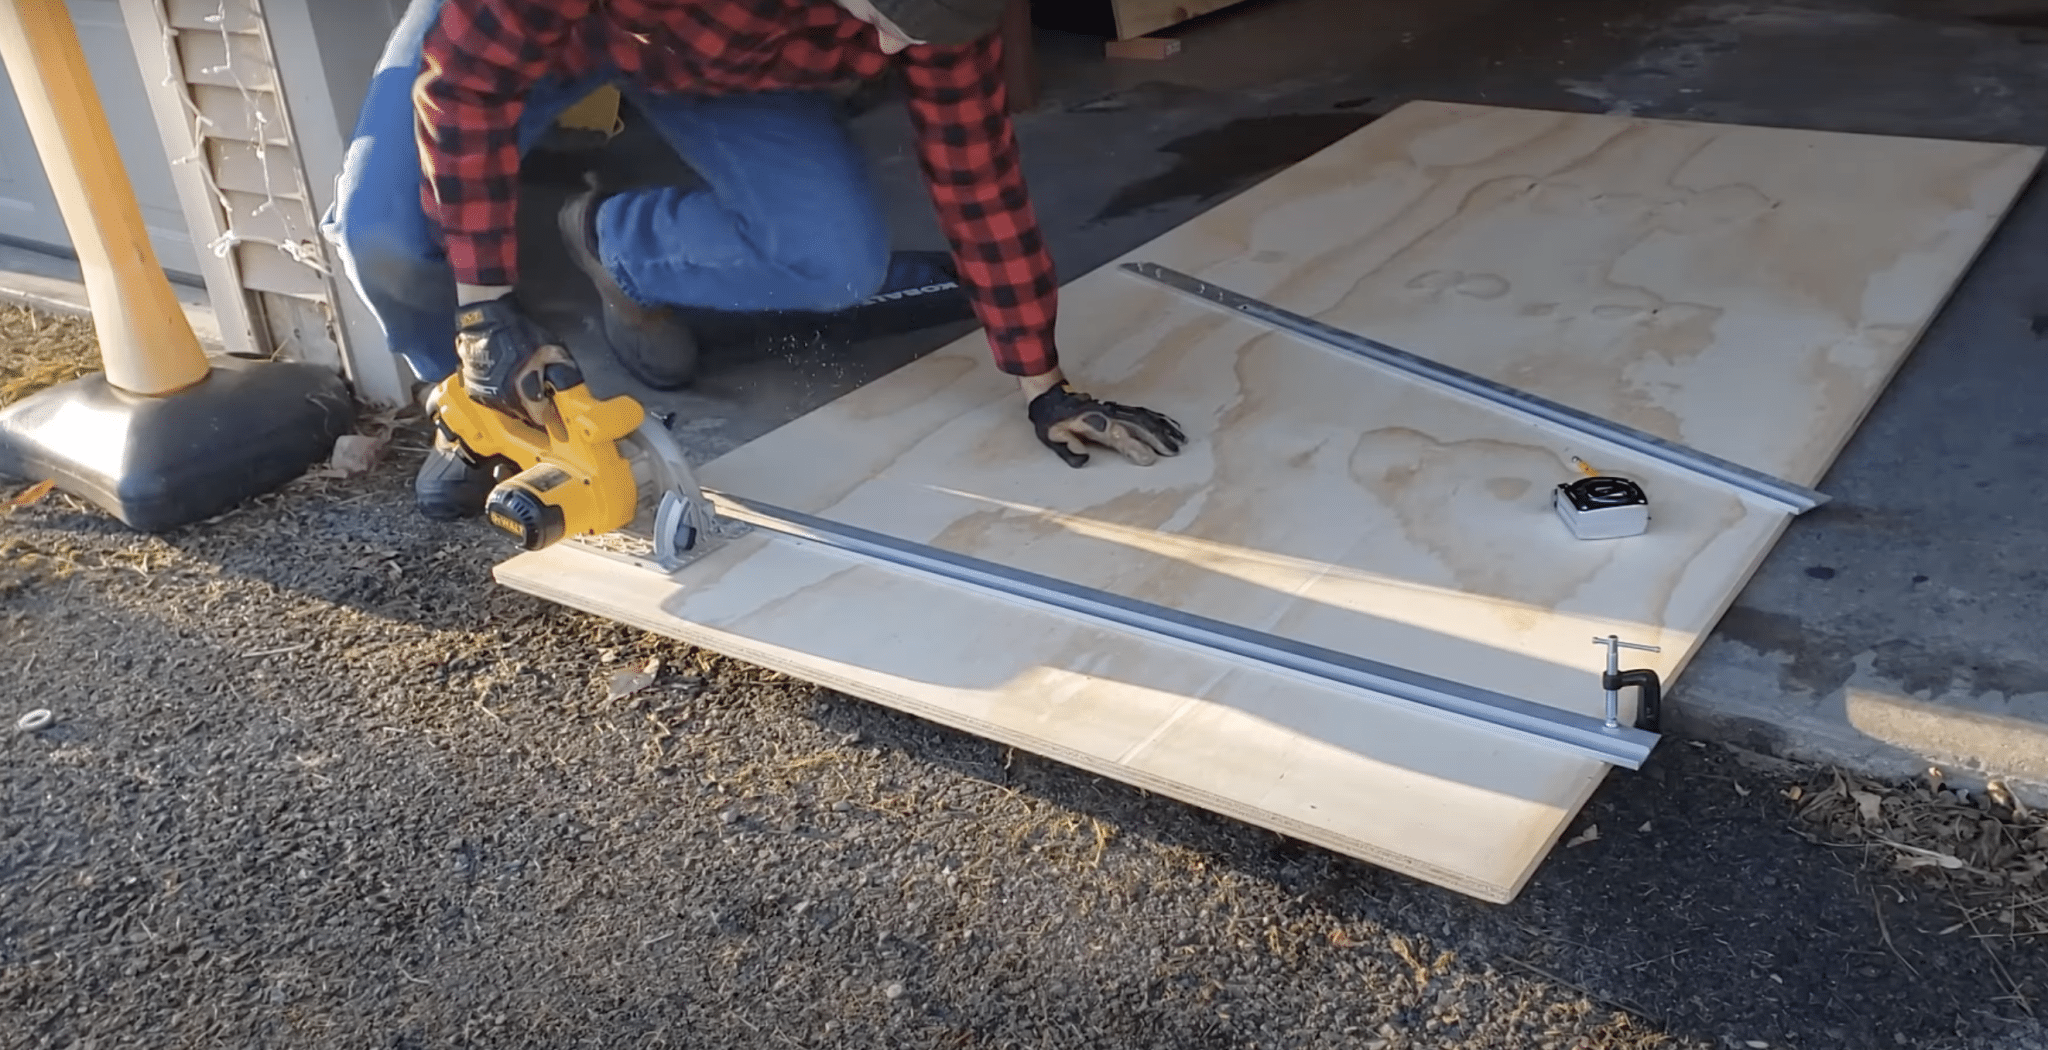
Now, start preparing for plywood to attach to the wall. After marking the proper measurements on the wall, take plywood and keep it on the markings. After placing the plywood on the wall, mark it in the same place using chalk. After that, take a saw and then cut the plywood into the required size. Smoothen the edges with the help of sandpaper. This will provide kids with a safer and more convenient climbing surface. Now, your plywood is almost ready to shine!
The preparation of plywood is important cause it serves as the climbing surface that provides a sturdy and flat platform for climbing the wall. So, that is why you must ensure that the plywood you choose has decent durability and performance. Look for high-quality, exterior-grade plywood that is at least 3-4 inches thick.
4. Drilling the Plywood
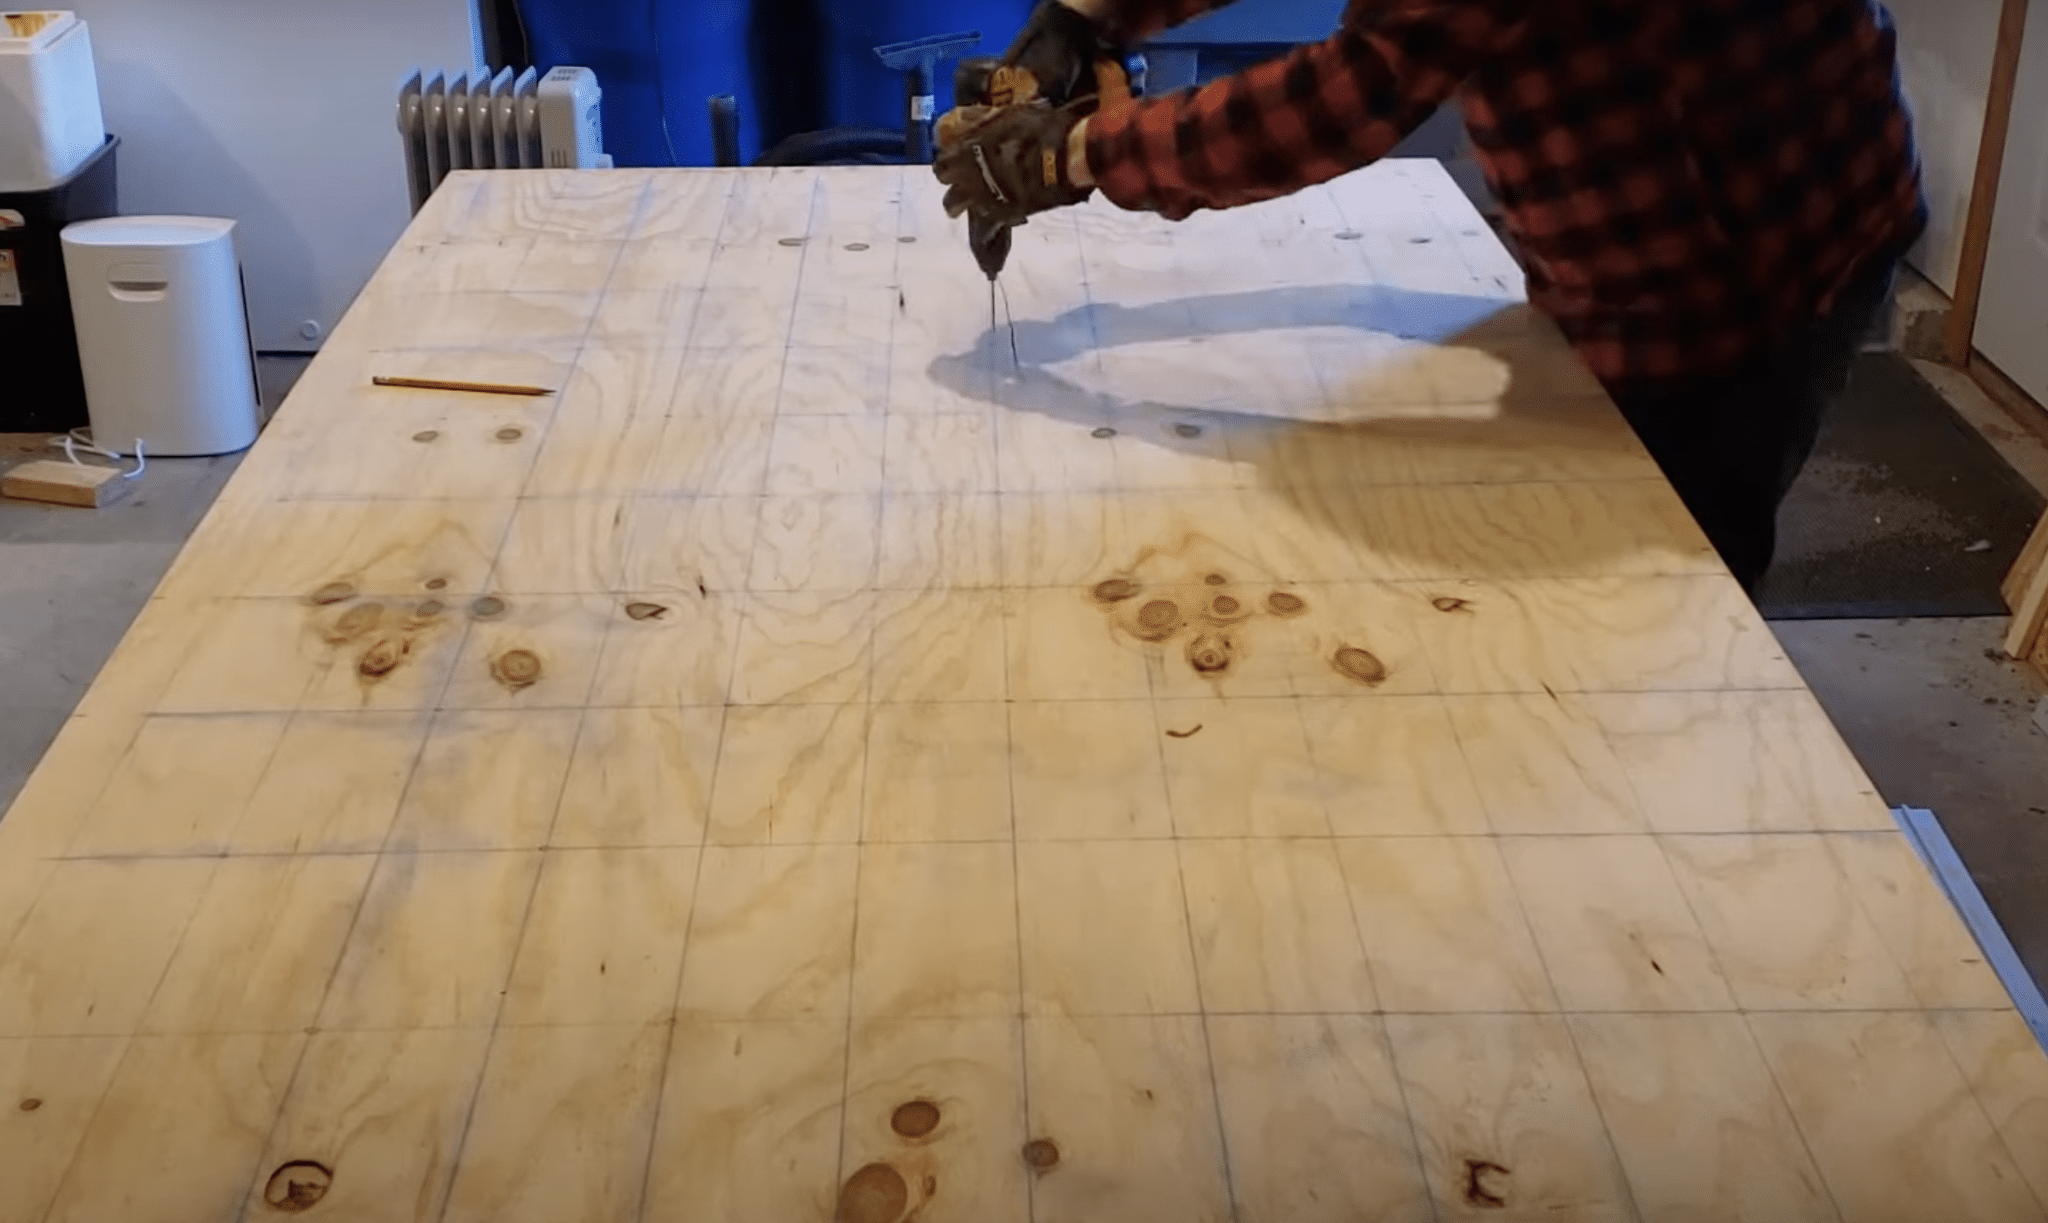
Drilling the plywood is important for installing climbing holds on it. So, after cutting the plywood to the required length, draw dots on the plywood where you want to drill holes. Moving on to another step, start the drilling process (Choose a drill whose size is slightly smaller than the actual screw).
This step will prevent your plywood from splitting. Now, place the drilling on one of the marked places and drill it with little pressure. Repeat this process for all the marked places. While performing these steps, take all the safety precautions and wear gloves and glasses.
5. Painting or Framing of Plywood
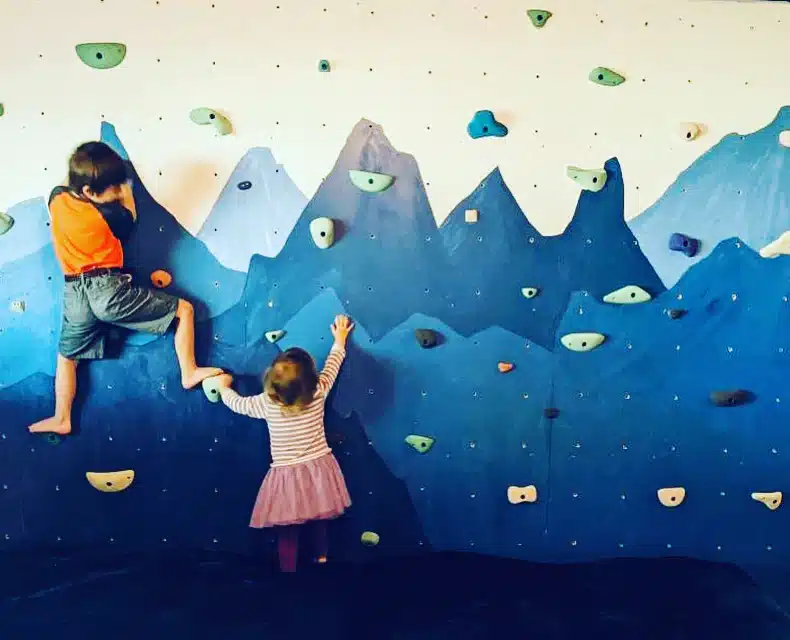
Most people around the world like to keep their plywood bare, so this step is optional. Either you can frame or paint your plywood, or you can keep it as it is. As the material we are using is plywood so, the paint used on it will be floor paint that is different from regular paint. You can choose any of your desired colors.
The floor paint is very slippery, so take care of your surroundings when you are painting the plywood. In the case of framing, take a frame of your choice and cut it into the size of the plywood and stick them together. After sticking them, drill the frame in the same place as the plywood.
6. Screwing of Plywood
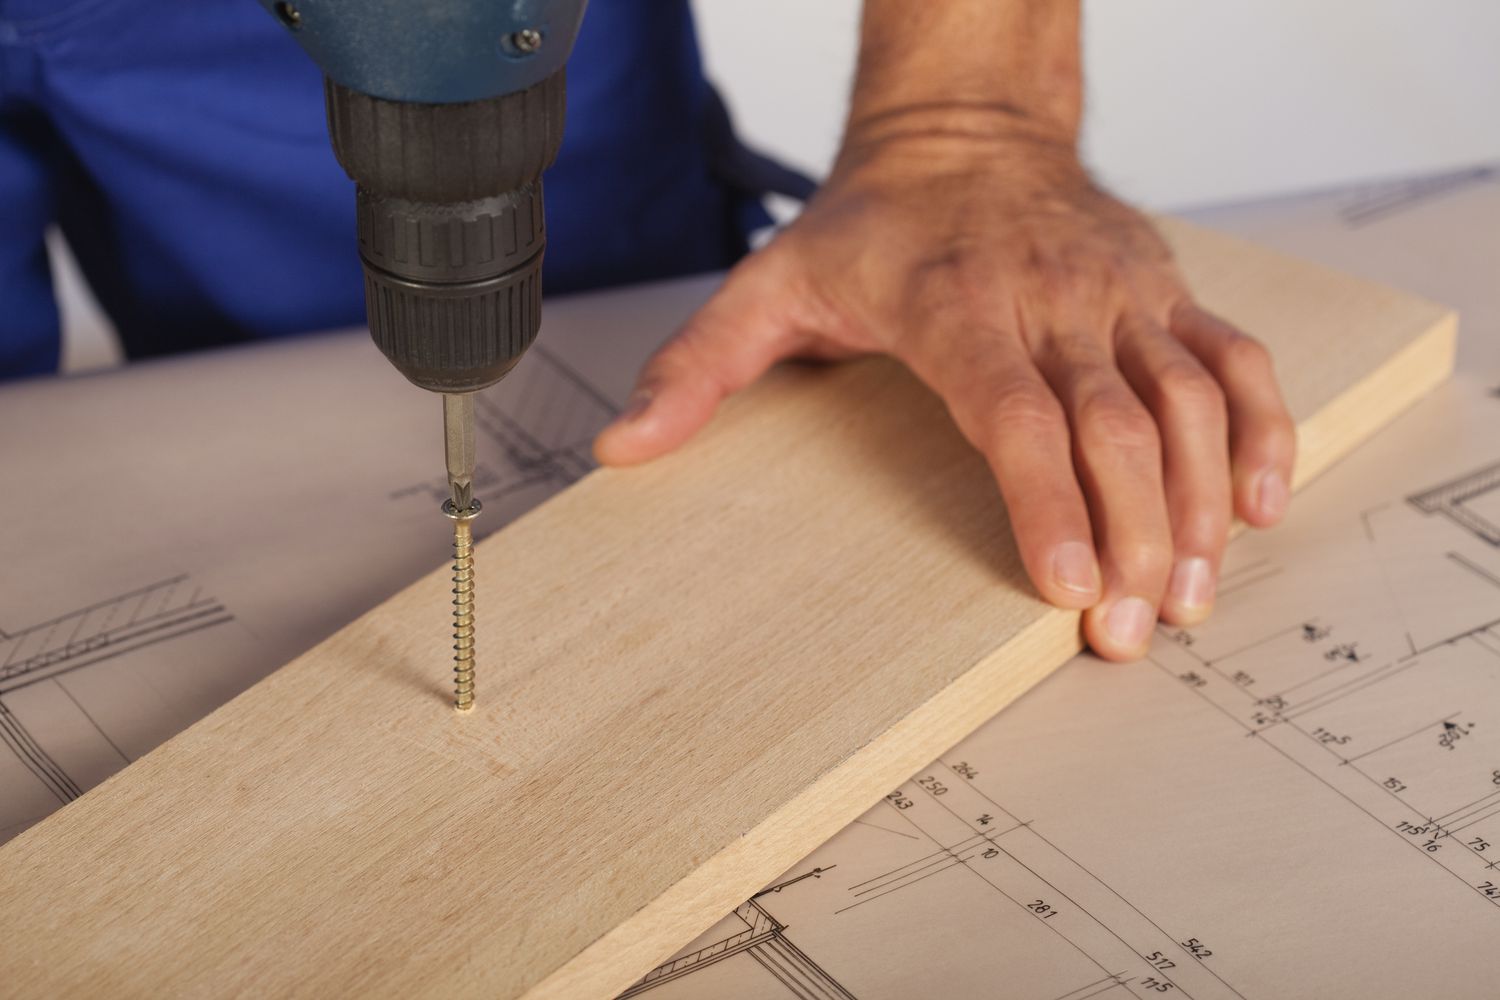
After all this work, flip the plywood and start hammering the nuts from the back side of the board. If you do not want to ruin the front of your plywood, then put it on a mat or blanket. After hammering the nuts, it’s time to screw the plywood. Take plywood and place it on the wall to ensure that it aligns perfectly with the wall’s edges and corners.
Now start screwing the plywood to the wall and continue screwing until all the edges of the plywood are fully attached. Inspect the wall and ensure that the plywood is securely attached or not.
7. Creating Climbing Routes
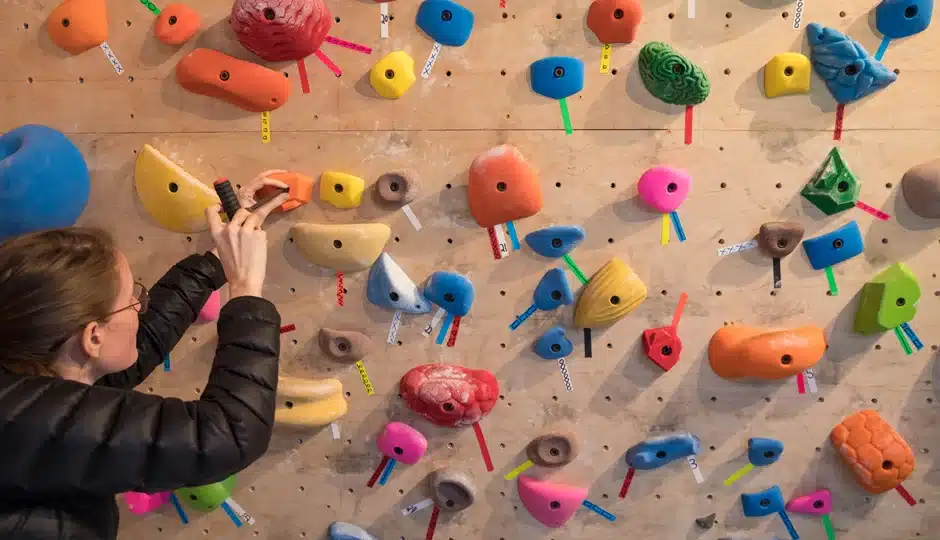
Before installing a climbing, another essential step must be followed, and that is designing climbing routes. By designing different climbing routes varying in difficulty level, you can cater to your children’s progression in skills and keep them motivated to explore and improve their abilities. There are three levels easy, moderate, and difficult. You can create a climbing route easily. Just place the climbing holds and mark that place with a sketch pen, and your climbing route is ready. You can even test the route by yourself and check whether it is really good enough for kids.
Pro Tip: You can Keep in mind that changing the climbing route and level (if your kid is in easy and moderate level) frequently will keep the activity more engaging.
8. Installation of Climbing Holds
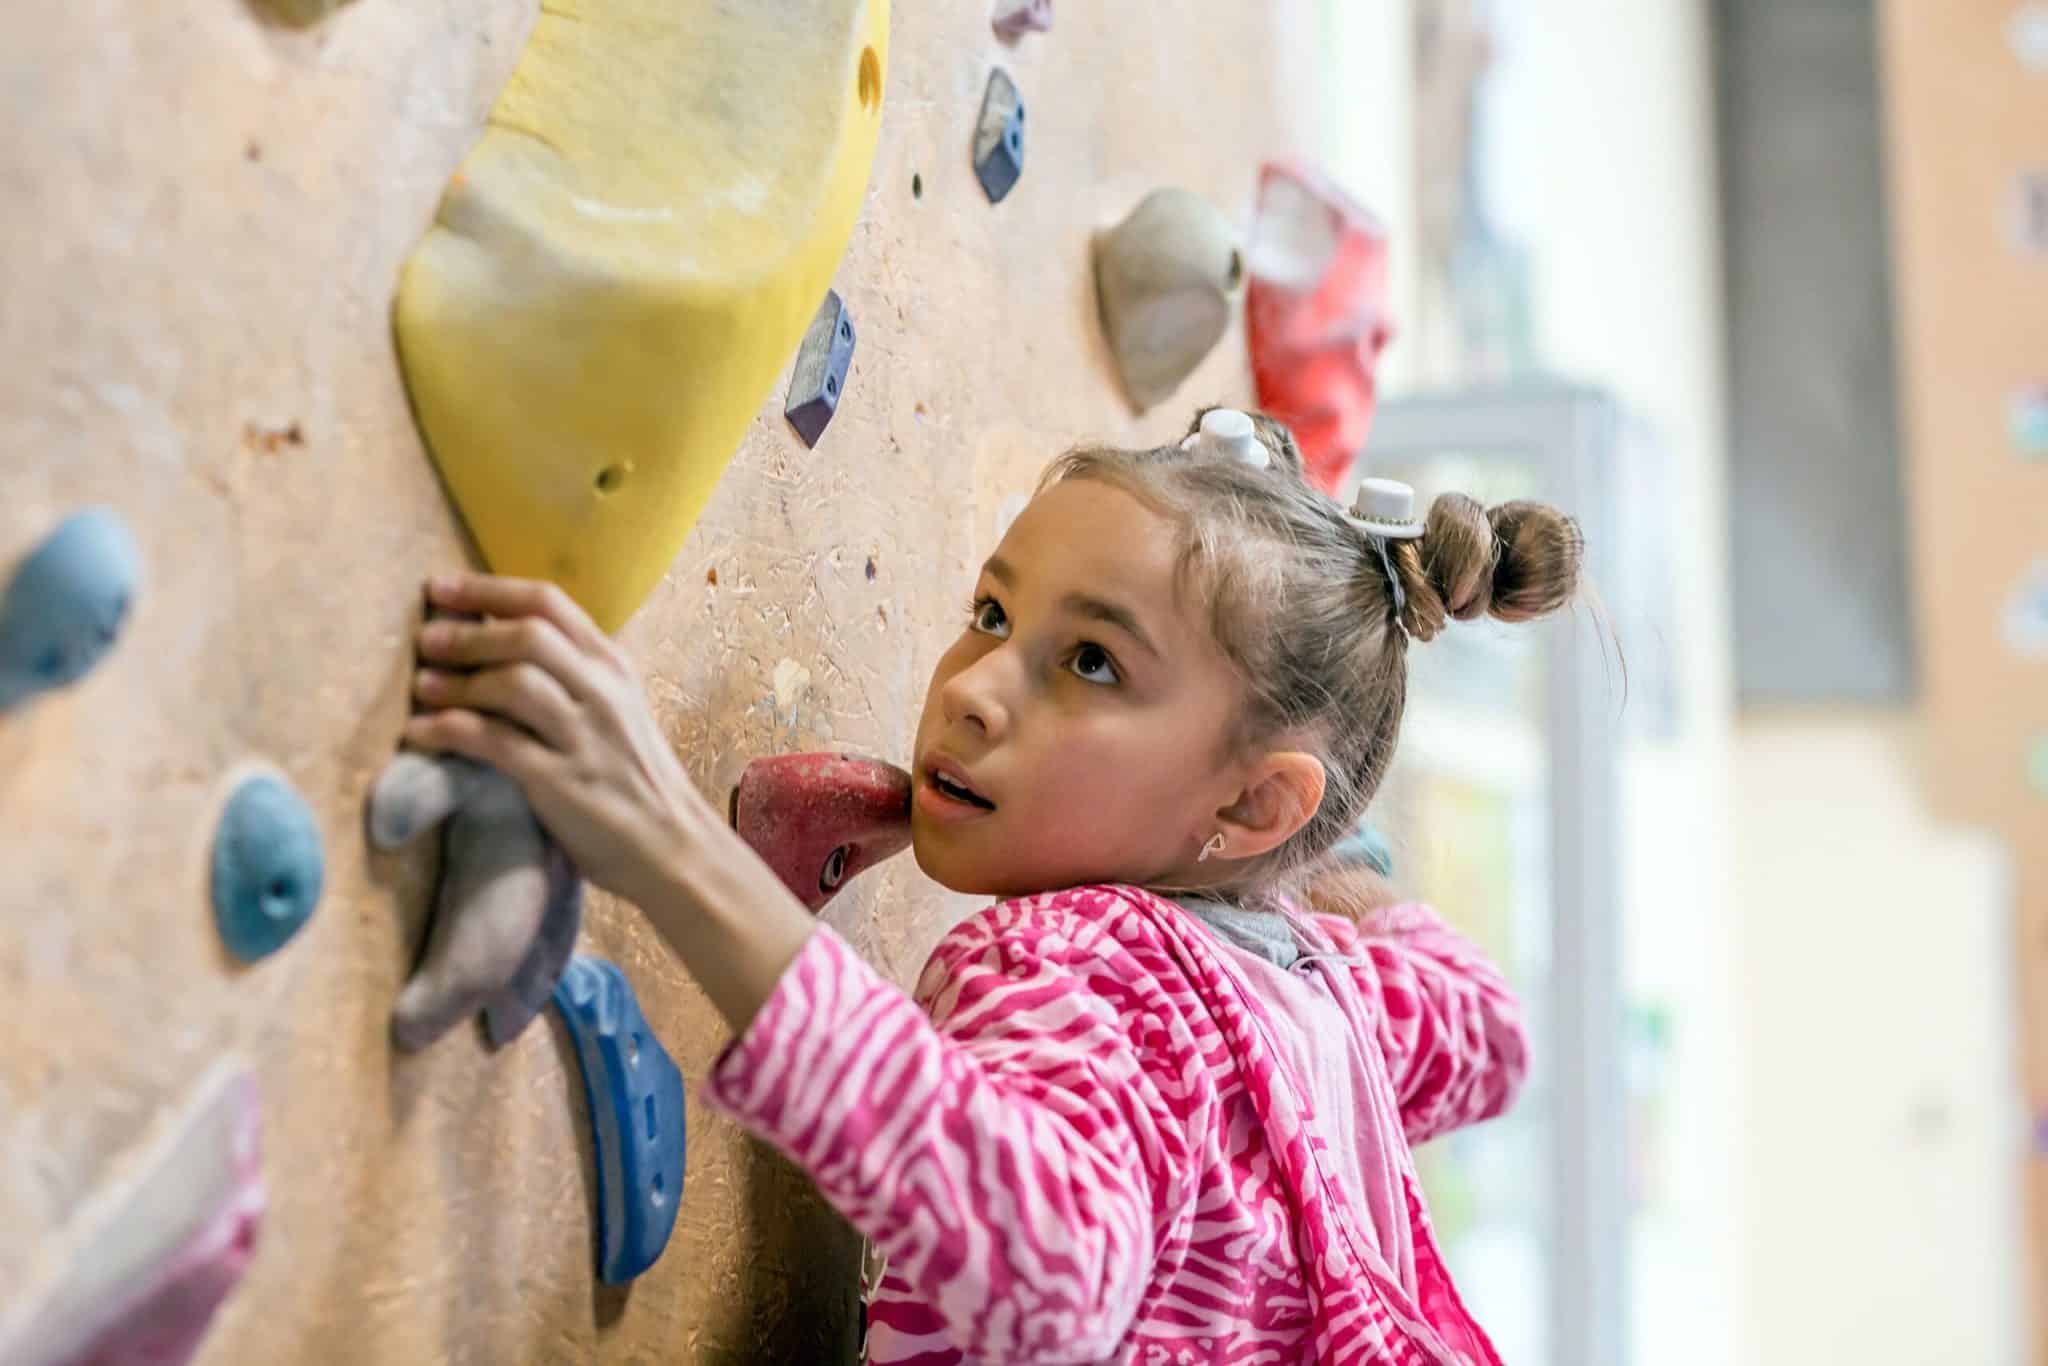
Coming up to the main step is the installation of climbing holds to the plywood. You can purchase climbing holds easily on any online or offline shops. Before installing the climbing holds, take all your necessary equipment by your side, like T-nuts, screws, nuts, and many more. Next is to install climbing holds according to your climbing route and ensure that the climbing hold installed are tight and have no chance of falling. And inspect the climbing holds regularly, and if any loosening, wear, or damage is seen on them, then immediately take action and tighten or replace the climbing holds.
By following the above steps for installing the climbing holds in your home, you will create a safe and fun space for your kids. They will develop their climbing skills and will have a fantastic time.
9. Safety Measures
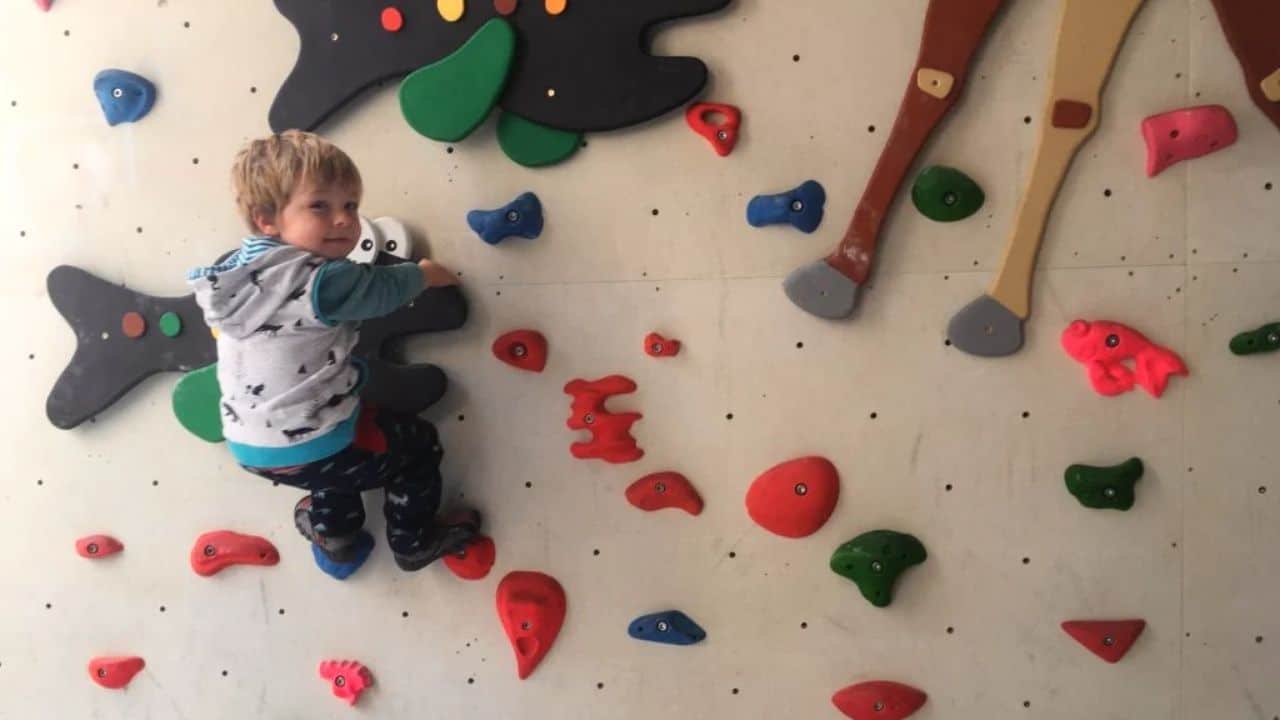
Taking safety measures is very important. Ensure that the space you finalized provides enough space for climbing, no electric switch on the wall, and furniture nearby. While you are buying products like plywood, screws, and T-nuts, ensure that they are durable and of good quality.
After your wall is ready, put a crash pad which will save kids from major injuries that they will receive after falling. After installing screws, climbing holds, and plywood, double-check them to ensure that they are tightly in place. Inspect the wall and holds regularly and tighten or replace them if any kids of wear, damage, or crack are seen. Supervise your kids or make sure that there is a presence of adults while kids are climbing.
10. Inspection and Maintenance
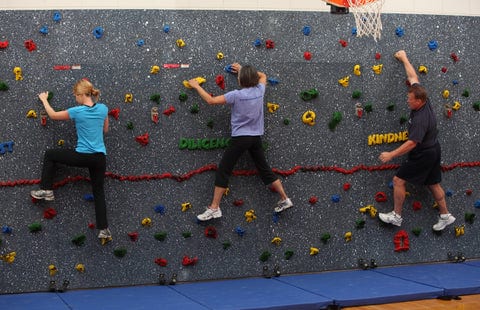
If you think that your job after making a climbing wall is over, then you are wrong. After the completion of the climbing wall, inspect your wall regularly and watch out for the kids. This step is essential to ensure the safety of your kids. While inspecting the wall, if you find any kind of crack or nuts coming out, then they either repair it or replace it. Also, check the climbing holds almost every day or every time after use.
Remember that the safety of your kids is in your hands, and they are your responsibility. To avoid all the nuisance, make sure that the material you took belongs to a good brand.
11. Enjoy
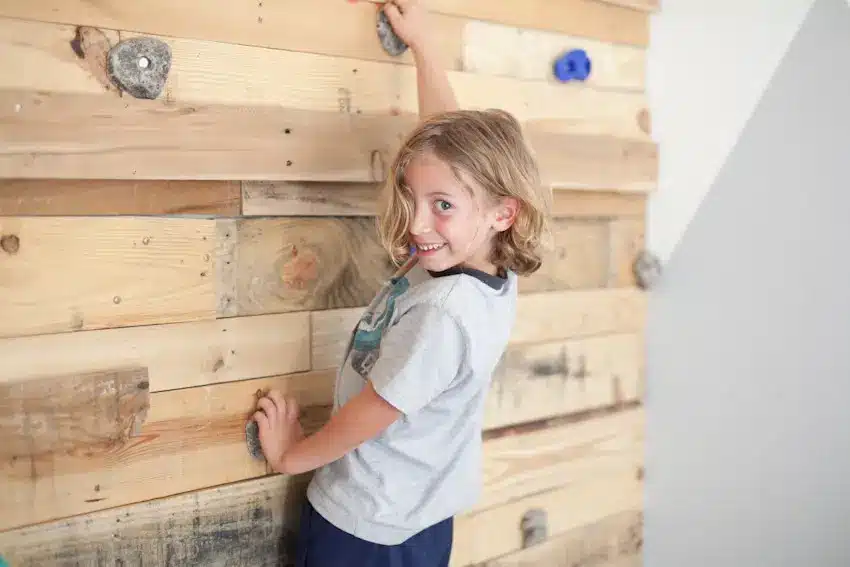
After all the hard work, now it’s time to let your kids enjoy the vibe. Having a climbing wall at home can provide an endless amount of fun and excitement and is a great physical activity for kids. Sometimes, even adults can use it. Climbing wall provides us the unique opportunity to build our strength while enjoying the thrill of climbing.
These climbing skills will help them a lot in the future to the extent that they can save their and others’ life. You can even change the climbing route of your wall to make it more challenging for your kids. This way, they can learn a lot of things.
Conclusion
We hope that the above information was helpful for you all. By following the above steps, the caretakers or parents can engage in a friendly and safe place for their kids even though you are successful in making a safe climbing for your kids that defines carelessness in the safety precautions. When kids are climbing, keep an eye on them, and put a thick, soft mattress beside the climbing wall. So what are you waiting for? Put on your shoes and get ready to work. All the best!
Will you make a climbing wall by using the above information? Let us know in the comment section below.
Frequently Asked Questions
What Are the Safety Rules for Making a Climbing Wall at Home?
While building a climbing wall for kids, safety must be the priority. So, ensure that the holders you are attaching to the walls are attached tightly and inspect them regularly. If you see anything suspicious, then change the system immediately.
How Do Climbing Walls Work?
Climbing walls that are designed for the kids to experience the real climbing of the wall. They are designed to provide you with proper training on climbing a real mountain. Usually, they are found in gyms mostly, but you can have them at home to encourage your kids and upskill them.
How Do You Make Space for a Climbing Wall?
The first and foremost thing to do is to choose the right location and wall with no furniture nearby and no electrical switch on the wall. Clear the area if you have any furniture nearby, and evaluate whether the wall is strong enough to hold your child’s weight. And after making the climbing wall check the wall.
How Many Climbing Holds Do I Need to Install on The Climbing Wall?
The number of climbing holds depends on the size of your wall, the difficulty level of routes, and the skill and age of your climbers. The larger the climbing wall, the more you need climbing holds. On average, you will need at least 10-20 climbing holds if your wall is 5 ft.
