Creating your purple food coloring is simpler than you might think.
Whether baking a cake or crafting colorful beverages, homemade purple food coloring offers a customizable and natural alternative to store-bought options.
By using basic ingredients like red and blue food coloring or even natural sources like berries, you can achieve the perfect shade of purple for any recipe.
In this guide, we’ll walk you through easy-to-follow steps to make vibrant purple food coloring at home, ensuring you can enjoy the rich hues without artificial additives.
Simple Method: Mixing Red and Blue Food Coloring
Step-by-Step Instructions
-
Prepare Your Materials: Gather a small bowl and food coloring. For this method, you will need blue and red food coloring.
-
Start with Blue: Measure 15 drops of blue food coloring and add them to the bowl. This forms the base of your purple color.
-
Add Red: Add five drops of red food coloring to the blue. The combination of these two colors will start to create purple.
-
Mix Thoroughly: Stir the mixture with a spoon or small whisk until the colors are fully blended. Ensure there are no streaks of red or blue remaining, as these can affect the final color.
Pro Tip
When mixing colors, always start with fewer drops and add more gradually. This careful approach allows you to control the intensity and tone of the purple, ensuring you get the exact shade you need.
Customizing Your Purple Food Coloring
Adjusting the Shade
- Lightening the Purple: To create a lighter tint, gradually mix small amounts of white food coloring with your purple. This will soften the color and give it a more pastel look.
- Darkening the Purple: Add a small amount of black food coloring to the purple mixture for a deeper, more intense shade. Be cautious; black is strong, and a little goes a long way. Add it drop by drop, mixing thoroughly after each addition.
- Warm Purple: Add extra red food coloring drops to warm your purple with more red undertones. This will give the purple a richer, more vibrant hue.
- Cool Purple: Increase the blue food coloring to achieve a cooler purple with blue undertones. This will give your purple a more subdued, cooler appearance.
Mixing Purple with Yellow for Muted Tones
Combine your purple with yellow food coloring to create a more muted or subdued purple. Adding yellow will soften the purple’s intensity, creating a less vibrant and more understated tone.
Start by adding small amounts of yellow to the purple, mixing thoroughly after each addition until you achieve the desired muted shade.
Advanced Techniques: Making Natural Purple Food Coloring
1. Berries
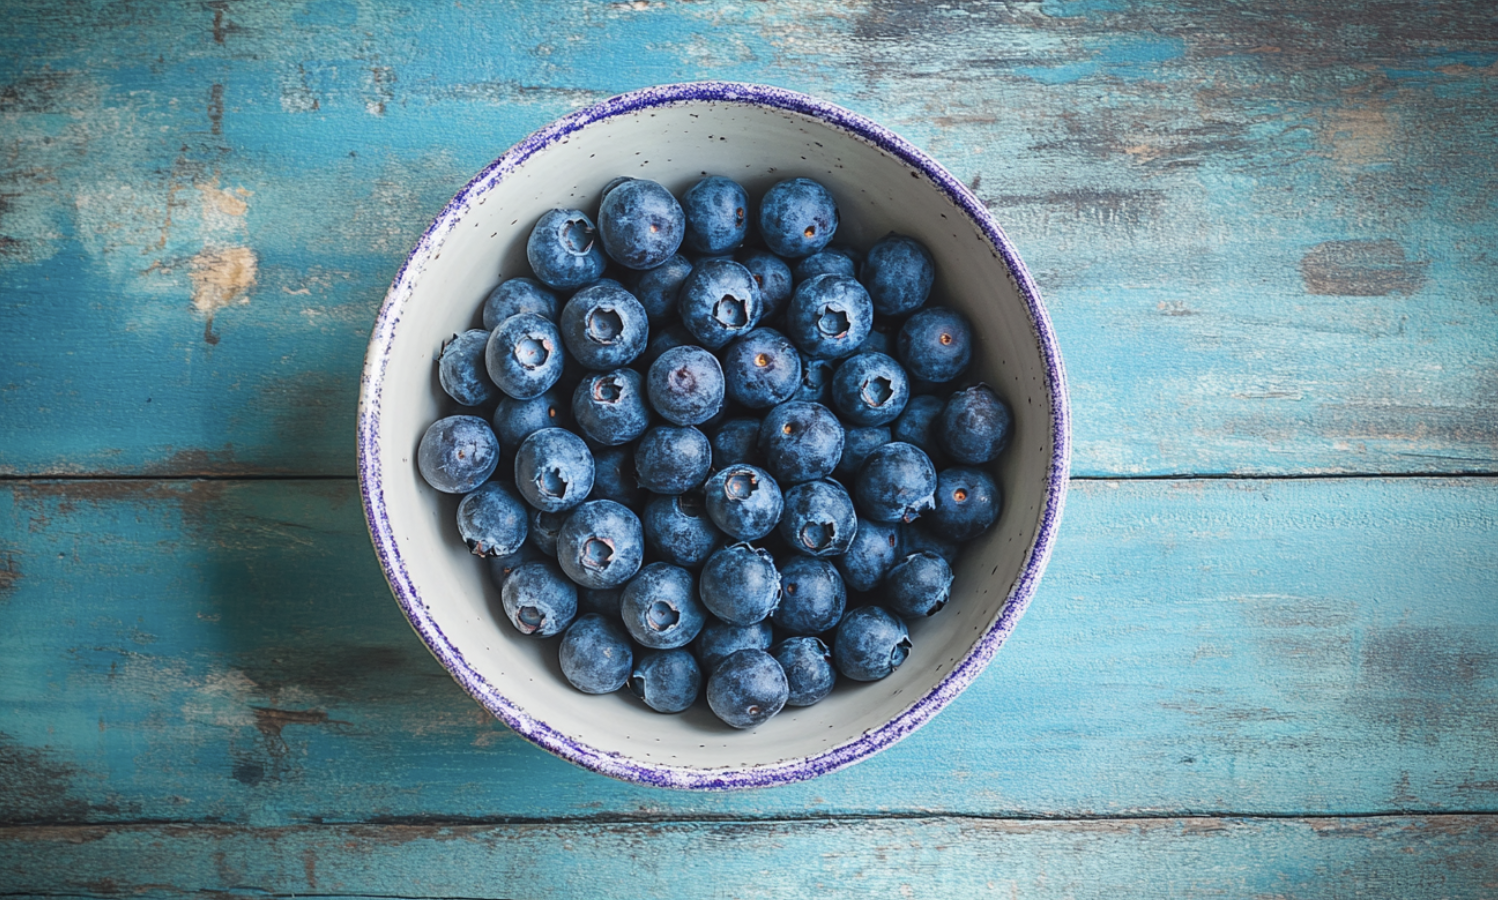
Ingredients
- Fresh blueberries
- Fresh blackberries
- Alcohol (preferably food-grade)
Instructions
- Prepare the Berries: Wash the blueberries and blackberries thoroughly, removing any stems or leaves.
- Combine with Alcohol: Place the berries in a blender or food processor and add a small amount of alcohol. The alcohol helps extract the natural pigments from the berries, producing a rich purple dye.
- Blend: Process the mixture until smooth.
- Strain the Mixture: Pour the blended mixture through a fine mesh strainer or cheesecloth into a bowl to separate the liquid dye from the berry pulp.
- Use the Dye: The resulting liquid is your natural purple dye. It can be used immediately in various recipes, from icings to beverages. Store any leftover dye in an airtight container in the refrigerator for up to two weeks.
2. Purple Sweet Potatoes
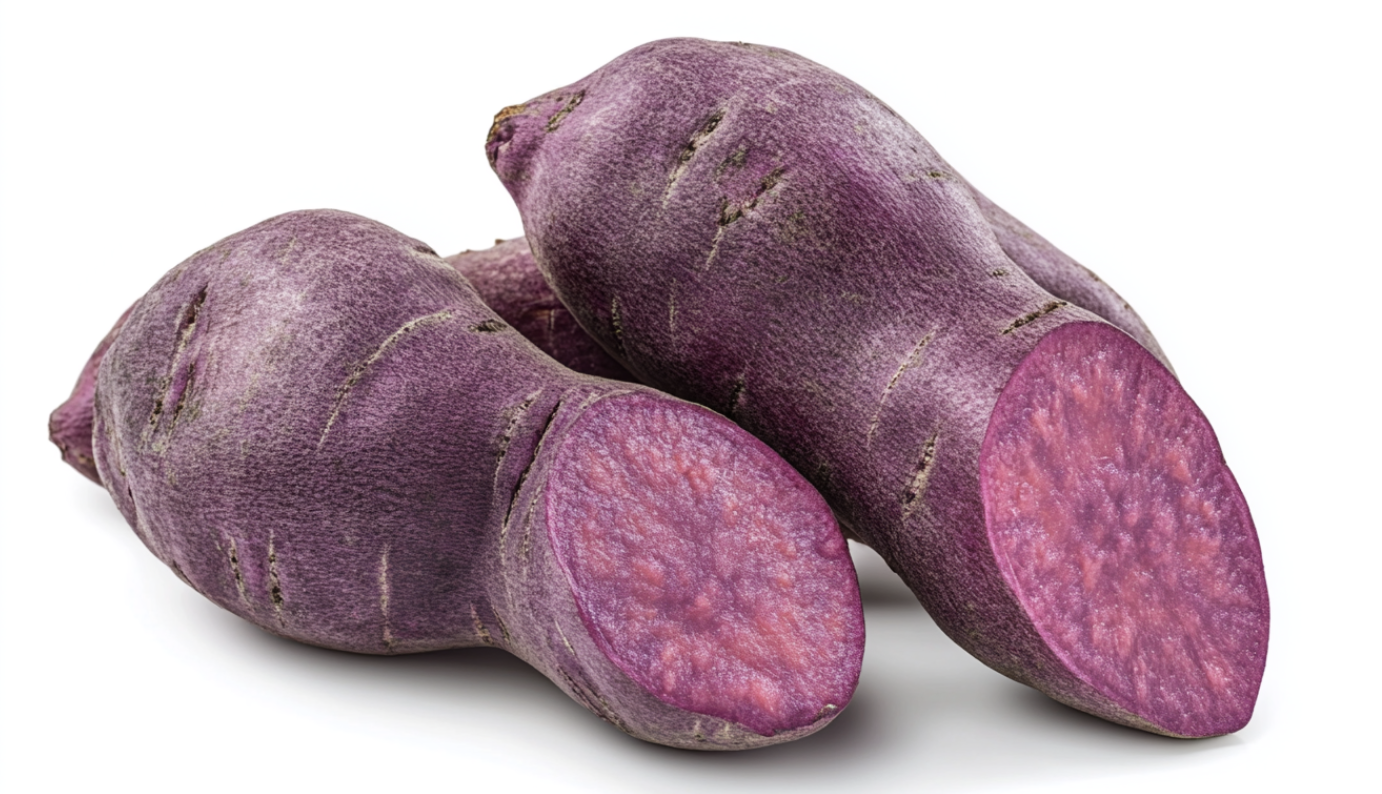
- Boil the Potatoes: Peel and chop the purple sweet potatoes, then boil them until they are soft.
- Blend and Strain: Blend the boiled potatoes with a small amount of water until smooth. Strain the mixture to extract the liquid dye.
- Use the Dye: This dye works well in baking and cooking, adding a natural purple hue to your dishes.
3. Red Cabbage
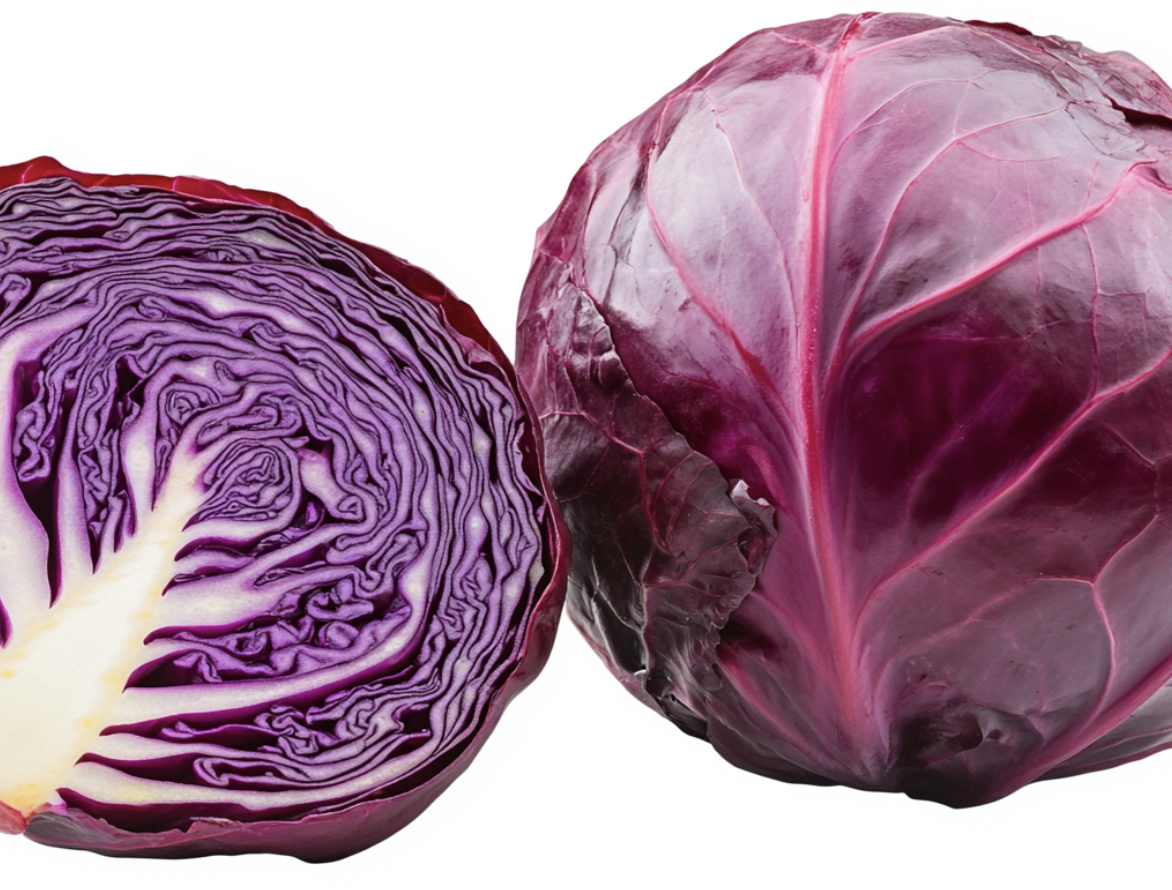
- Chop the Cabbage: Finely chop the red cabbage.
- Boil the Cabbage: Place the chopped cabbage in a pot of water and bring it to a boil. Simmer until the water turns a deep purple.
- Strain the Liquid: Remove the cabbage pieces by straining the liquid. The remaining water is your natural purple dye.
- Adjust pH for Different Shades: By adjusting the pH level with a small amount of baking soda or vinegar, you can shift the color from purple to pink or blue, providing a range of natural color options.
Alcohol vs. Water Extraction
Alcohol Extraction
- Intensity: Alcohol extracts vibrant colors more effectively from natural sources like berries and vegetables. It dissolves water-soluble and fat-soluble pigments, producing a more concentrated dye.
- Stability: Dyes extracted with alcohol are more stable and have a longer shelf life. Alcohol also acts as a preservative, reducing the risk of spoilage.
Water Extraction
- Milder Extraction: Water-based extraction is gentler and may produce a less intense color. This method is ideal for applications where a softer hue is preferred.
- Shelf Life: Water-based dyes may spoil faster and typically require refrigeration. They are best used within a short time frame.
Using Purple Food Coloring in Baking and Cooking
Incorporating into Batters
When adding purple food coloring to cake or cupcake batters, it’s best to mix the color thoroughly into the wet ingredients before combining with the dry ones.
This ensures an even distribution of color throughout the batter. Start with a small amount and gradually increase until you reach the desired shade.
Remember that the color may lighten slightly during baking, so aim for a slightly deeper shade than your target color.
Coloring Icings and Frostings
For vibrant purple icings, use either gel or liquid food coloring. Gel food coloring tends to be more concentrated, so you’ll need less to achieve the same intensity.
Begin by adding a few drops to your white icing and mix thoroughly. Adjust the color by adding more drops until the shade is just right.
If the icing becomes too dark, lighten it by adding more white icing or a small amount of white food coloring.
Adding to Beverages
Purple food coloring can be a fun addition to drinks, but it’s important to use it sparingly to avoid overpowering the beverage.
Mix a few drops into clear or light-colored drinks like lemonade or sparkling water to create a visually appealing effect.
Stir well to ensure the color is evenly distributed. If the color is too intense, dilute it by adding more base liquid.
Storing Your Homemade Food Coloring
1. Air-tight Storage Tips
Homemade purple food coloring should be stored properly to maintain its vibrancy, especially from natural ingredients.
Keep your food coloring in an airtight container to prevent contamination and oxidation, which can dull the color over time.
2. Refrigeration
Natural dyes, such as those made from berries or vegetables, should be refrigerated to extend their shelf life.
Store them in a tightly sealed container and label them with the date. When refrigerated, these dyes typically last for about two weeks.
3. Freezing for Extended Use
To keep it longer, consider freezing your homemade food coloring in ice cube trays. Once frozen, transfer the cubes to a resealable freezer bag.
This method allows you to thaw and use small portions as needed without affecting the rest of the dye.
4. Alcohol-Based Dyes
If your food coloring is made with alcohol, it will generally have a longer shelf life than water-based dyes. Store these dyes in a cool, dark place to prevent color changes.
The alcohol is a natural preservative, helping the color stay fresh for several months.
Conclusion
Making your purple food coloring at home is both simple and rewarding. Following the easy steps outlined in this guide, you can create a vibrant purple color using either artificial or natural ingredients.
Whether you mix basic food colorings or experiment with natural sources like berries and vegetables, you’ll control the shade and intensity, ensuring it meets your needs.
Remember to store your homemade coloring properly to keep it fresh for future use. Ready to start your next colorful culinary project? Dive into your kitchen and try these techniques today!