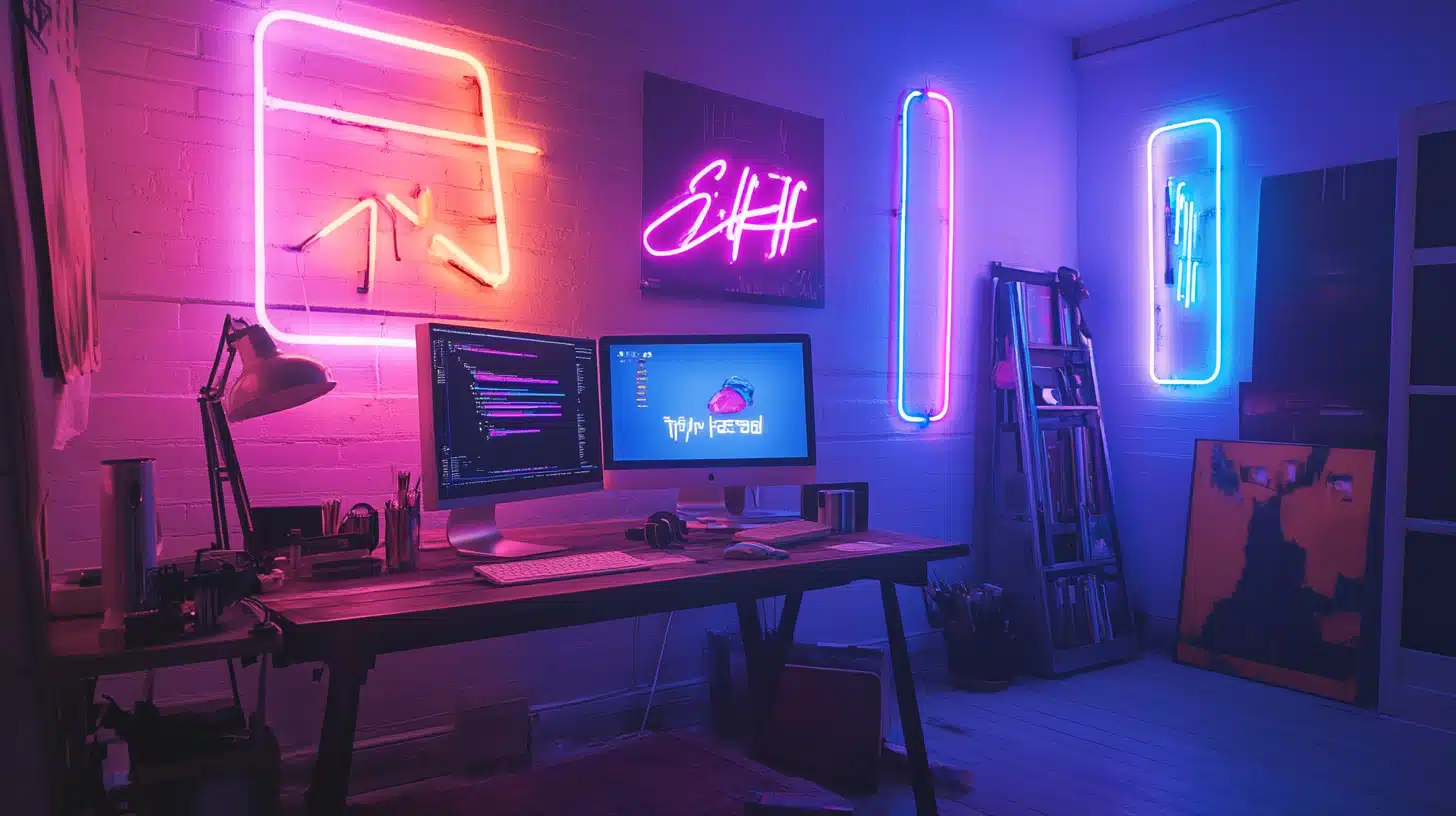
Do you want to create your unique home decor but are looking for an extraordinary guide with exclusive tips and tricks? Neon lights aren’t just a temporary craze. They bring a lively and exciting change to home decoration. People love neon signs because they fill any room with energy and a beautiful glow.
A dreamlike appearance for your bedroom, but an eye-catching design serves your living room perfectly.
It sounds terrific, right? Constructing distinct looks becomes achievable through self-design. Home projects involving custom neon lights surpass the category of basic housework by delivering creative outlets through such projects. This guide will teach simple steps to turn LED strip lights into fantastic neon-style illumination.
Why Choose DIY Neon Lights?
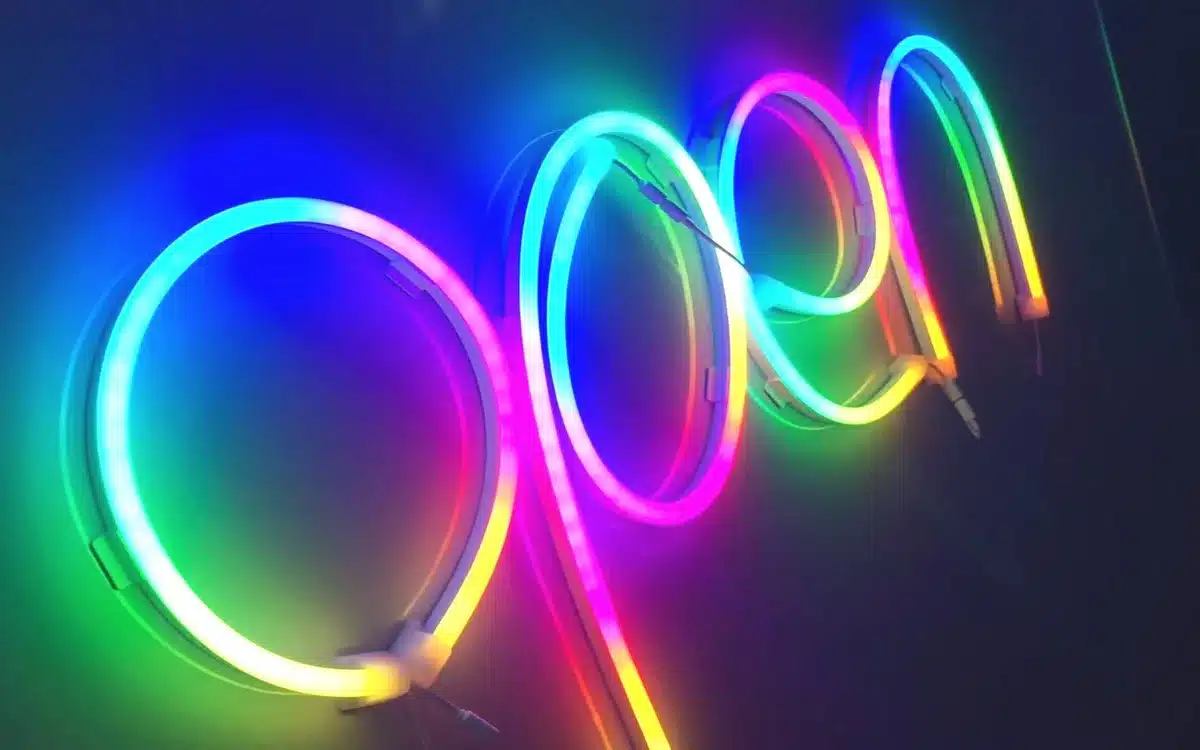
Custom neon lights are a nice way to add a personal touch to your home. They are bright, colourful, and capable of grabbing attention instantly. LED lights make any room look more vibrant and unique. If you have a favourite quote that inspires or motivates you, why not turn it into a neon sign?
You can also choose symbols that reflect your identity, like a heart, star, or initials. Creating unique light fixtures is another excellent option.
The best part is you can do it all yourself! DIY neon lights give you complete control over how they look. You won’t have to spend much money or use much energy.
Modern LED strip lights can replace conventional glass neon tubes. They deliver better affordability and operational efficiency, resulting in decreased electric costs. With affordable investments, people can achieve space personalization.
Materials You’ll Need
Before you begin, gather the following materials:
- Flexible LED strip lights (neon-style)
- Clear acrylic board or a wooden base
- Strong adhesive or silicone mounting clips
- Power adapter and connector cables
- Wire cutters and soldering iron (optional but helpful)
- A marker or pencil for tracing your design
Step-by-Step Guide to Making Your Neon Lights
1. Choose Your Design
To start making your own designed neon lights, first, you have to decide what you want them to look like. You can think about picking a word: a short phrase or a simple shape such as a heart or a star. You can start by sketching your idea on a piece of paper. This will give you a better understanding of how you need to arrange the LED strip lights. By planning, you can ensure your design will turn out just how you want it.
2. Prepare Your Base
Once your design is complete, it’s time to put it onto your chosen material. If your material is an acrylic sheet, you can use a marker to trace your design carefully. For wooden surfaces, a gentle pencil is enough.
3. Cut and Shape the LED Strip Lights
You can quickly form flexible LED strip lights into any design shape according to your requirements. Different points along the strips serve as safe cutting locations for scissors during length adjustment. Carefully bending the strip is acceptable when dealing with designs containing sharp curves or corners because it requires light gentleness to prevent circuit damage within the strip. These lights will enable you to build your lighting arrangement exactly how you want.
4. Attach the LED Strips to the Base
Use strong adhesive or silicone mounting clips to attach the LED strip lights to your Base. Ensure the lights follow the traced pattern smoothly, without any bumps or gaps. Take your time with this step. If the alignment is off, it can affect the final look.
5. Connect the Power Supply
After positioning all LED strips, you should connect them to the electricity source. Different LED strips need connector cables or soldering to join them within a single design. You must verify the correctness of all connections because they determine how your lights will behave.
6. Test and Adjust
Examine your neon lights by plugging them in before starting any wall installation process. Inspect all sections when checking the wiring and connections because unilluminated areas may indicate a problem. Continue making modifications until the lights produce the desired brightness.
Creative Ideas for DIY Neon Lights
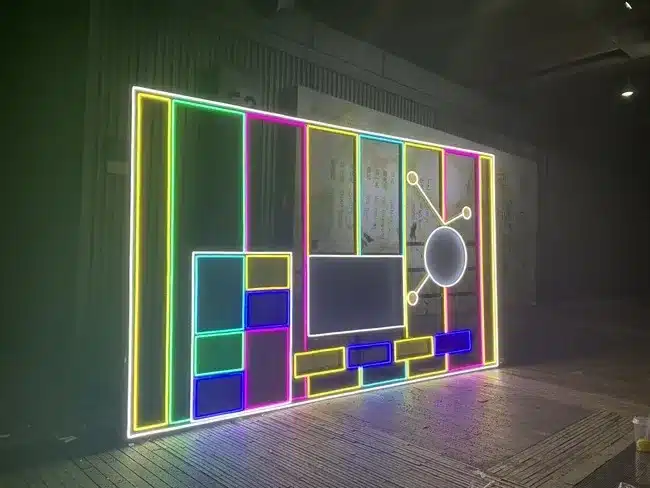
If you’re looking for inspiration, here are a few creative ideas for incorporating neon lights into your home decor:
- Personalized Name Signs – Spell out your name or initials to create a custom wall piece.
- Inspirational Quotes – Light up your favourite motivational phrase for a daily dose of positivity.
- Geometric Shapes – Abstract shapes like triangles, circles, or arrows add a modern touch.
- Themed Designs – Create designs inspired by nature, music, or your favourite pop culture references.
Benefits of Using LED Strip Lights for Neon Decor
Unlike traditional neon lights, LED strip lights offer several advantages:
- Energy Efficiency: They consume less power, making them a cost-effective lighting solution.
- Durability: LED strip lights last longer and are less fragile than glass neon tubes.
- Colour Variety: Available in multiple colours and even RGB options for customizable hues.
- Safe to Use: LED neon lights typically generate less heat, so there is no chance of burns or fire hazards.
Final Thoughts
Custom-made neon lighting introduces unique features to your living environment. LED strip lights enable you to replicate the neon style through a more budget-friendly, hassle-free alternative to traditional neon tubes. The do-it-yourself project will impress anyone, whether you want a home accessory or an original present. Get your materials ready, and then let your imagination lead you toward creating fantastic neon artwork on this day.

