Have you always been mesmerized by the forest? Or the tale of Peter Pan? Every artist or a dreamer who likes to fantasize is in love with mushrooms. These plants are truly a wonder in the botanical world as well.
They are microorganisms(fungi) but are not considered animals. They behave like plants, but don’t produce flowers or oxygen, and lack chlorophyll.
They are nutritious, but some are deadly poisonous.
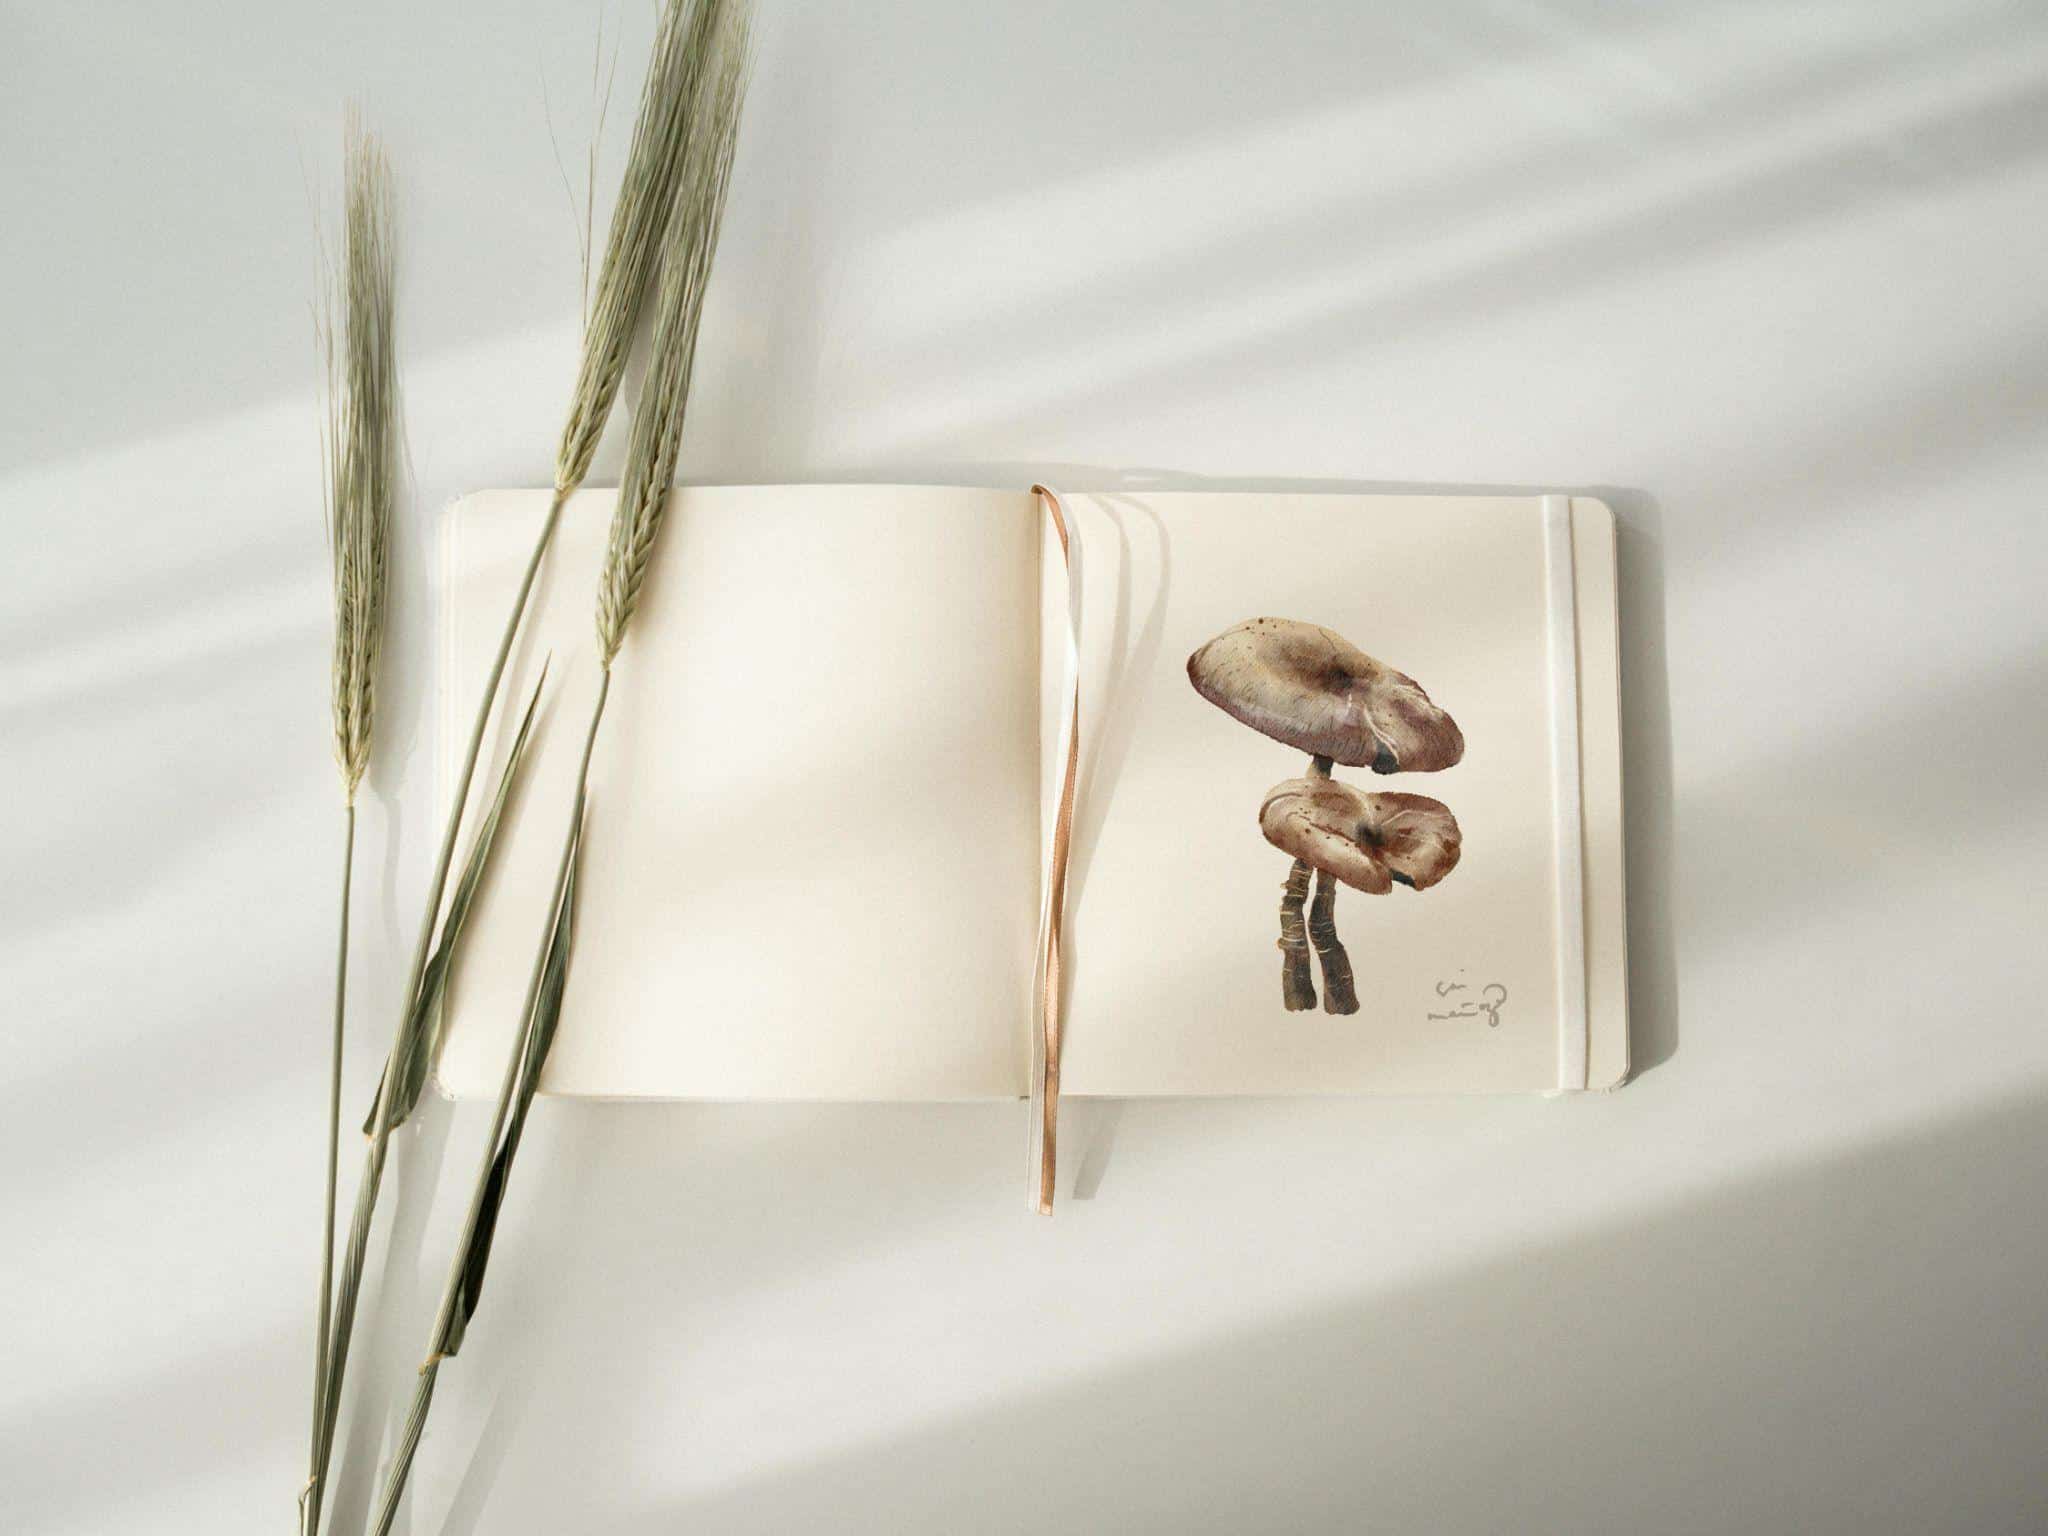
Some are white, some are gray and dull, but many species captivate with their stunning colors. This is why the art of mushroom drawing has been a practice of many artists, practitioners, and nature lovers for centuries.
This guide is an article that focuses on the various steps in drawing mushrooms. Though we are going through various mini-guides on drawing mushrooms in various forms and positions, something they all have in common is the body and the cap. And how tough can it be?
Materials and Preparation
Before we start sketching mushrooms of all shapes and attitudes, let’s talk tools. You don’t need a professional setup—just something to make marks on paper.
- A solid pencil (HB or 2B works great) is your MVP here.
- Grab a good eraser—preferably not the one on the end of your pencil that’s seen better days.
- Paper? Any sketchpad will do, but smoother paper helps your lines glide.
Now, color’s optional. If you want to keep things in black and white, you’re golden. But if you do feel like adding some life to your mushrooms, a few mediums play especially well here.
- Colored pencils are the easiest to control and great for layering.
- Watercolors (or aquarelle, if you’re feeling fancy) give your mushrooms that soft, natural look—perfect for earthy scenes or misty forest vibes.
- Acrylics go bolder, with more punch and texture, but they’re a bit less forgiving.
- You could even try markers for sharp contrast and high saturation, though they tend to flatten detail unless you layer thoughtfully.
Pick your tools based on the mood you want to create. But don’t overthink it—this is about having fun and getting weird with fungi. Let’s sketch.
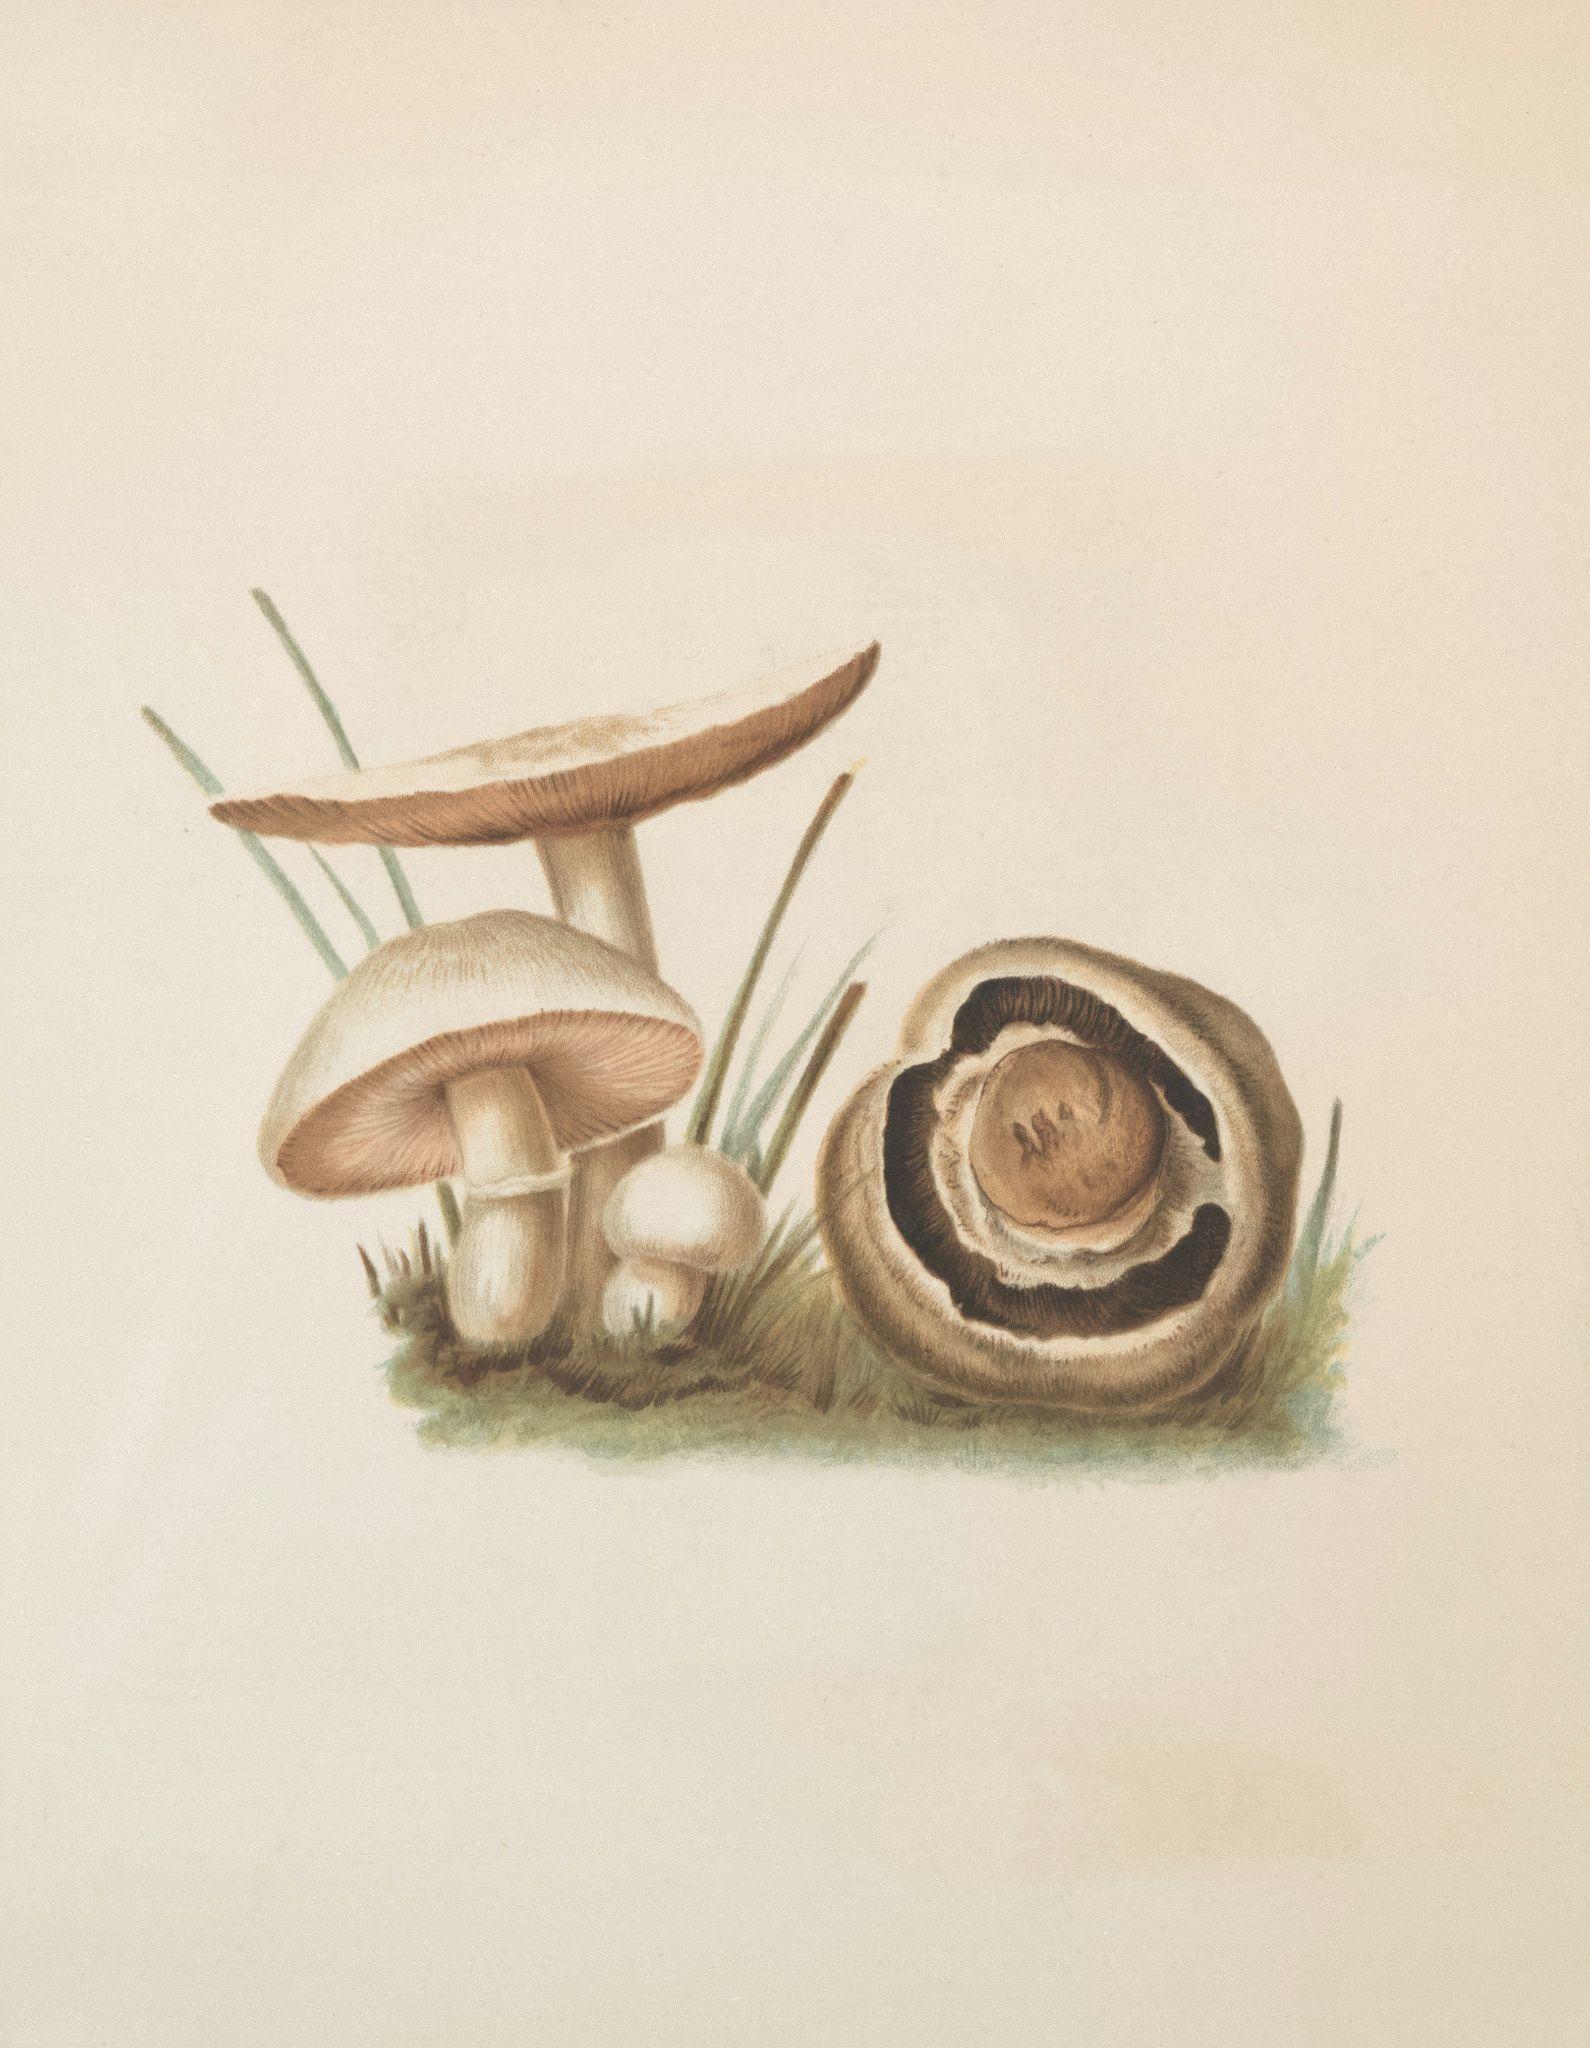
1. Drawing the Classic Mushroom
This is your go-to mushroom. The one that shows up in fairy tales, sketchbooks, and maybe your last pasta dish.
Step 1: Start with a dome. Kind of like an upside-down bowl. Don’t stress symmetry—mushrooms aren’t perfectionists.
Step 2: Underneath, curve a line to show the underside of the cap. This helps give it that little mushroom smirk.
Step 3: From the middle of the cap, draw a stalk—two lines downward, tapering slightly toward the base. Think “stubby and solid,” not “elegant ballerina.”
Step 4: Add gills under the cap with a few fine lines radiating out. Keep it loose.
Step 5: Shade the underside and side opposite your light source. That’ll give it some dimension.
Step 6: Toss in a few dots, dents, or subtle cap texture if you’re feeling fancy.
Done. A solid mushroom you can drop into any sketch.
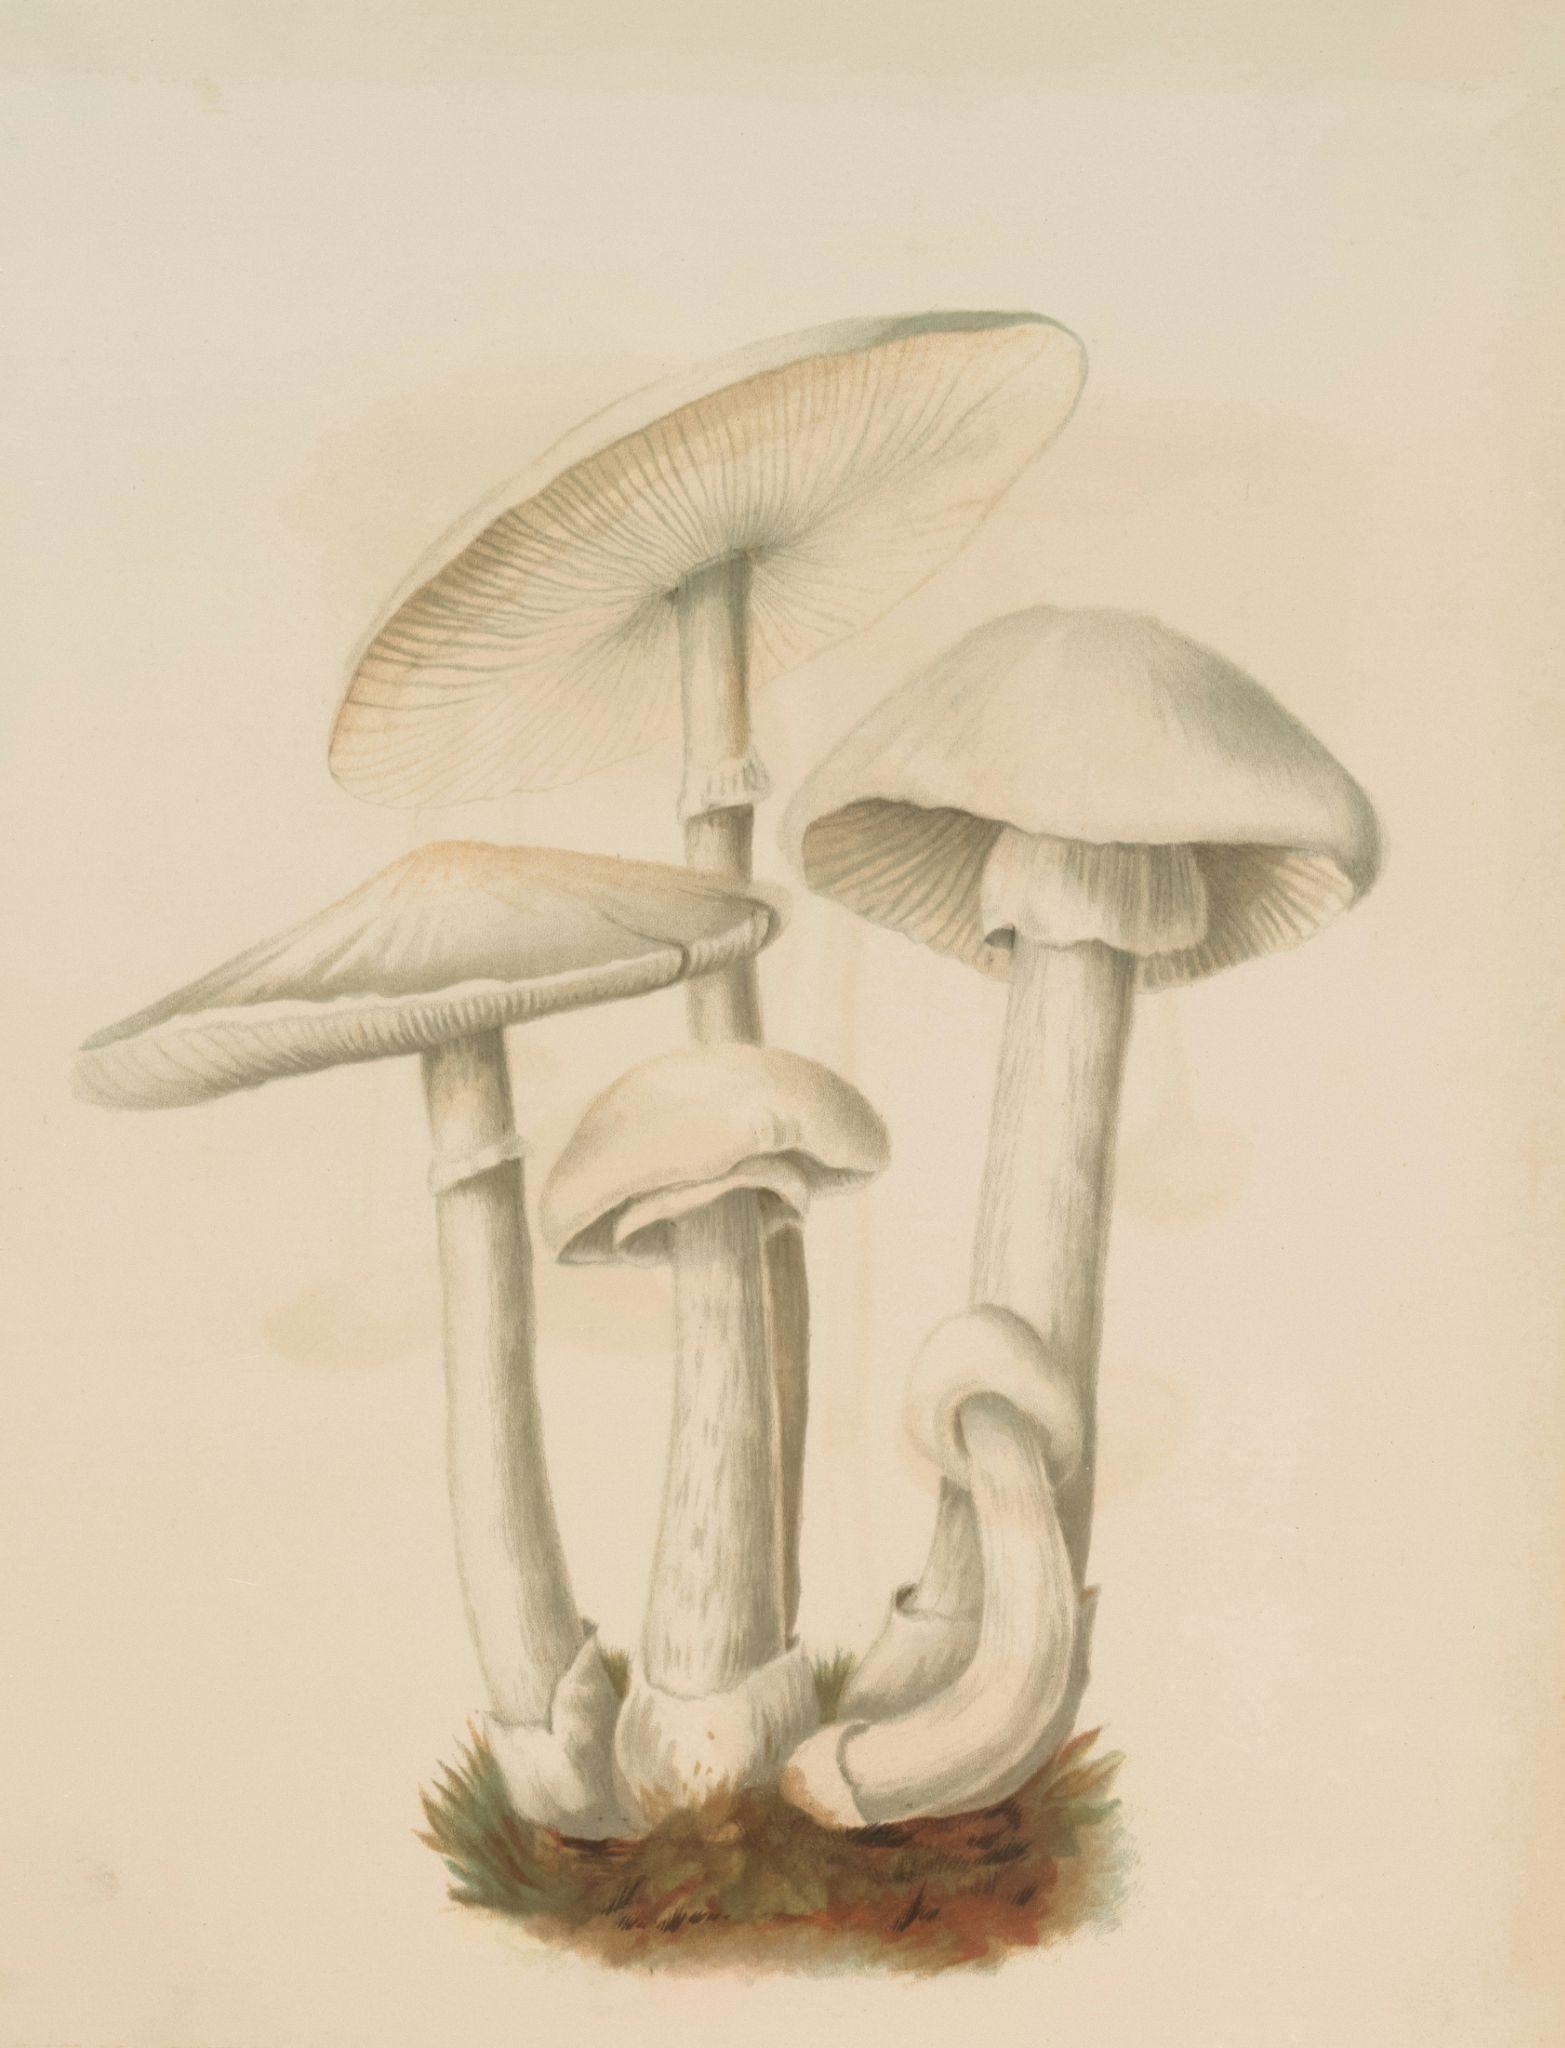
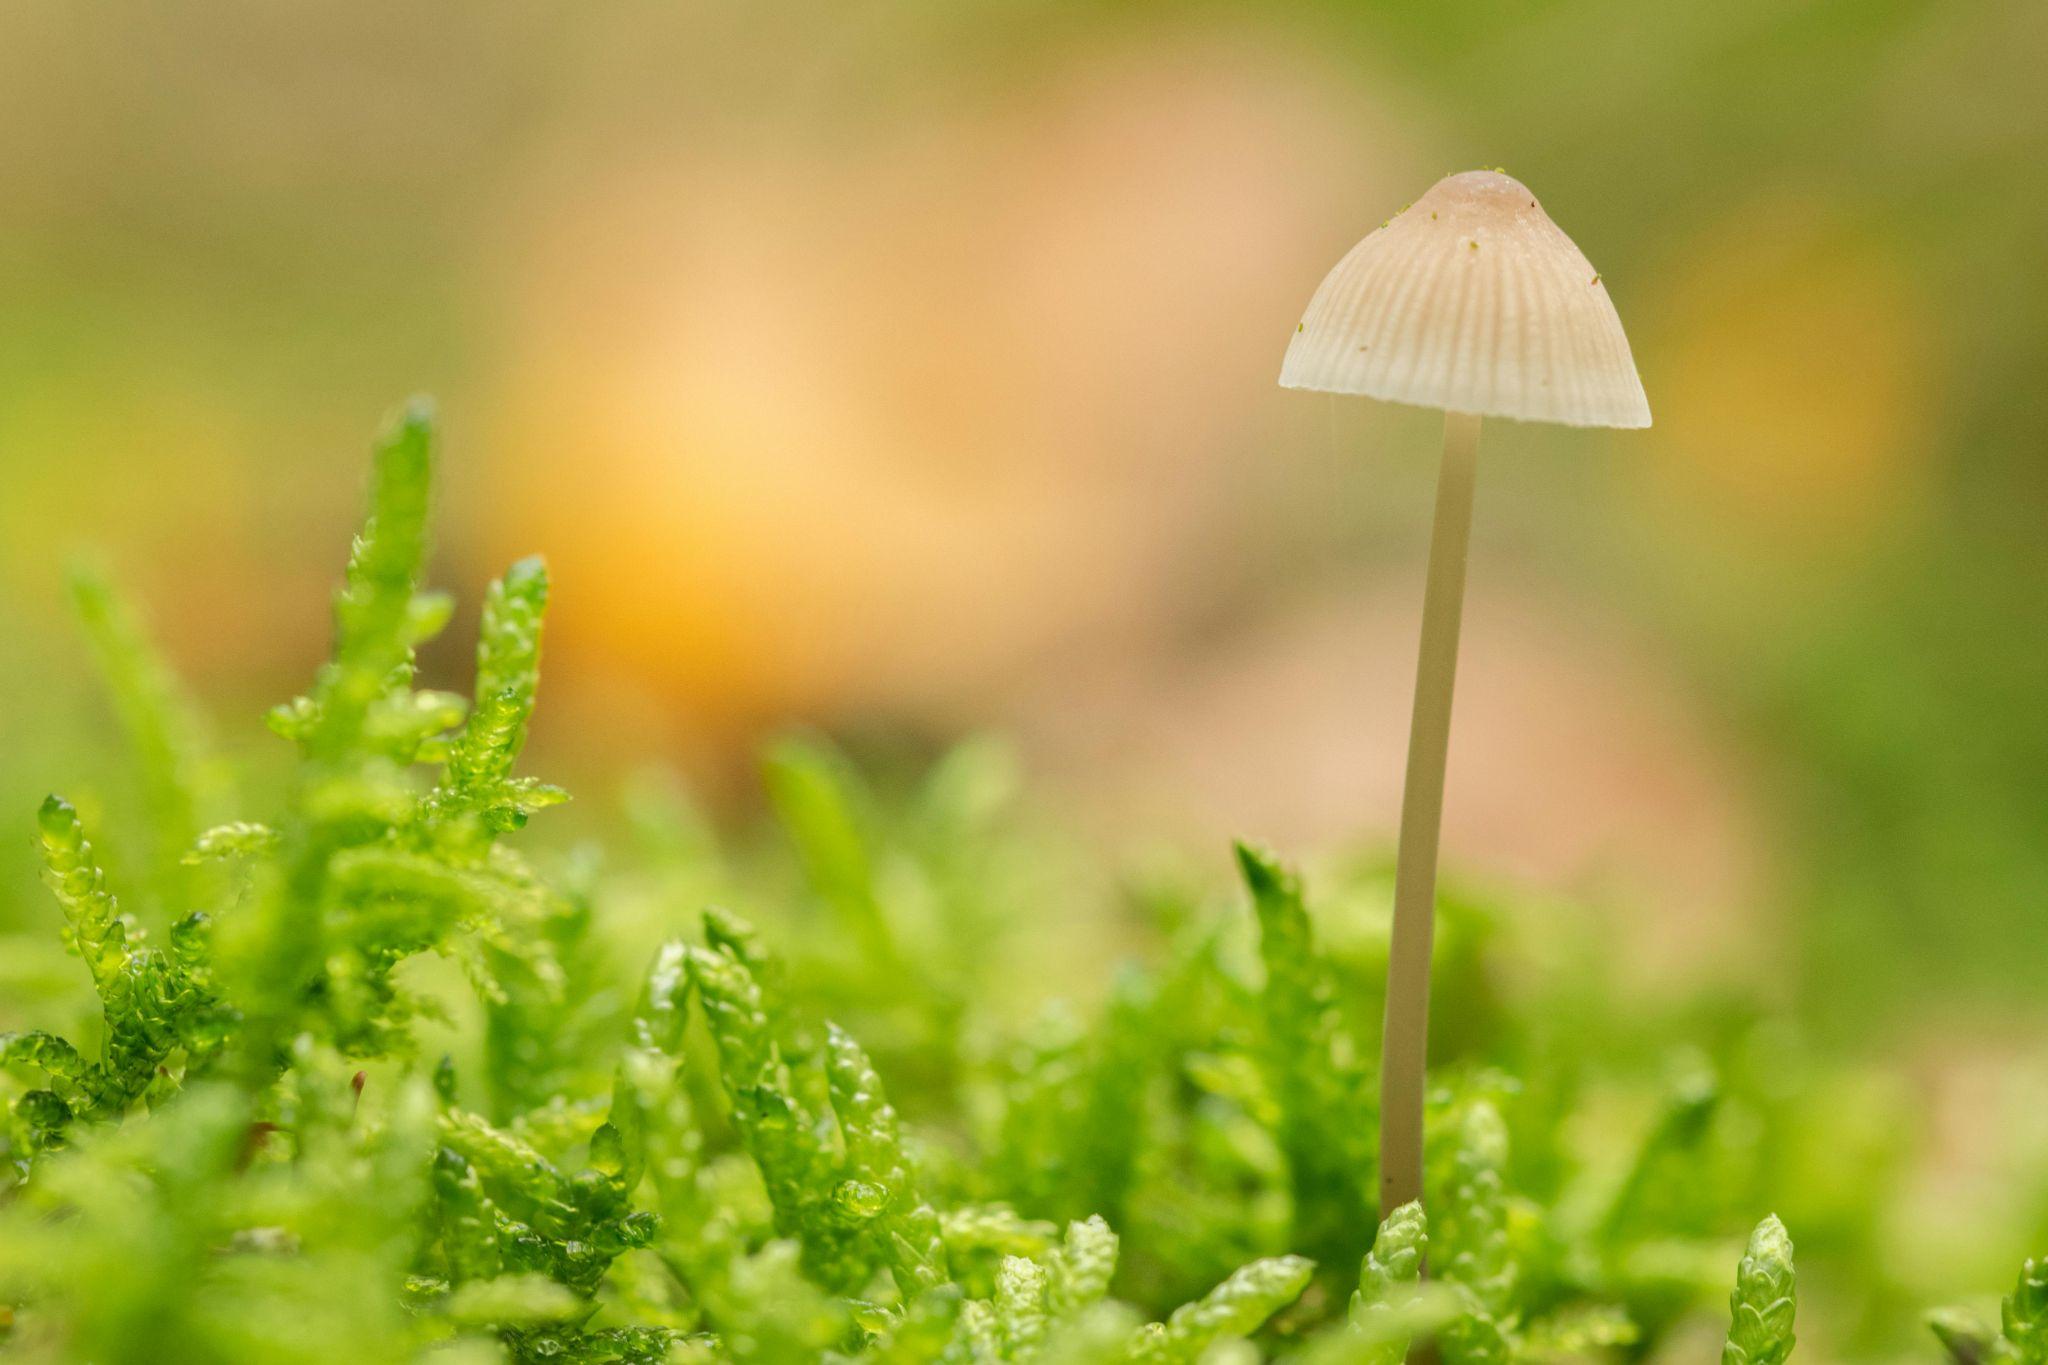
2. Drawing a Tall Mushroom
Now, let’s stretch things out. Tall mushrooms are lanky, dramatic, and sometimes just weirdly charming.
Step 1: Start with a slimmer, more oval-shaped cap—flatter at the bottom, rounder on top.
Step 2: Drop a long, thin stalk down from the center. Make it wobble slightly if you want that wild-grown feel.
Step 3: The underside of the cap should show a little. Draw a curved line to suggest gills underneath—just a peek.
Step 4: Give the stalk some texture—thin vertical lines or rough shading works great.
Step 5: Add details: little notches, specks, maybe a crack in the cap if it’s seen some weather.
Step 6: Light shading at the base helps it feel grounded—like it didn’t just float in.
Pro move: draw a few side by side in varying heights—instant mushroom family.
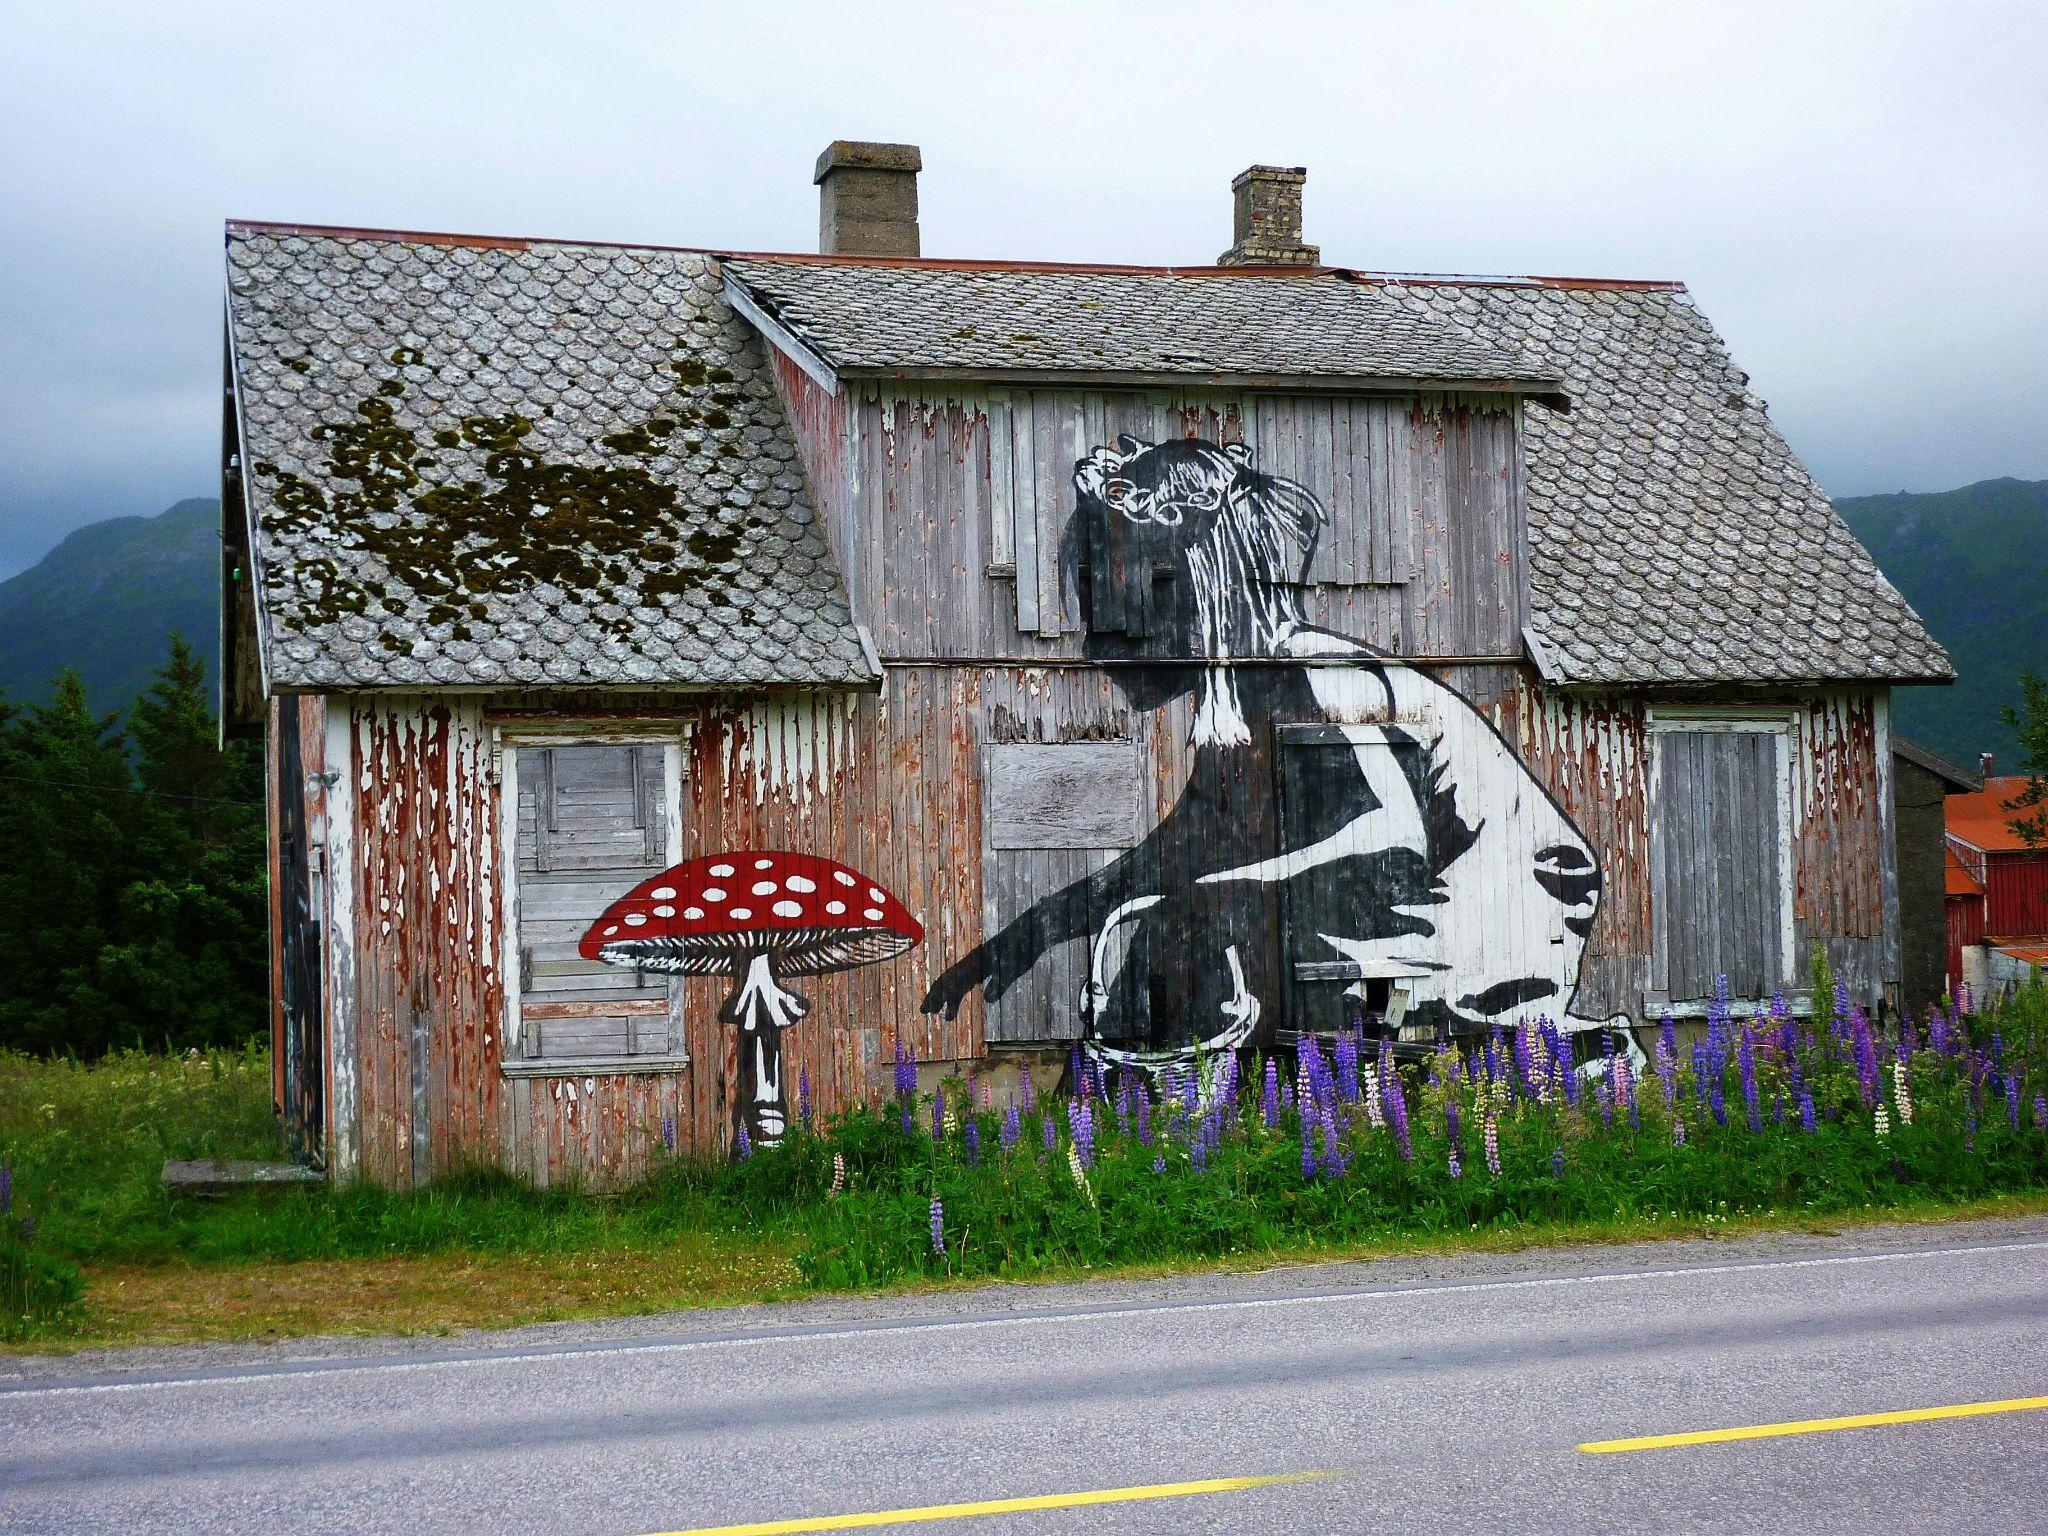
3. Drawing a Colorful Mushroom (Amanita Vibes)
Bright red, white spots, weirdly cute but also slightly menacing if you know your mycology.
Step 1: Go bold—big round cap, flat-ish on the bottom. This mushroom’s got presence.
Step 2: Lightly draw in uneven circles on top for the white spots. Vary the sizes so it doesn’t look like wrapping paper.
Step 3: Sketch a thick, straight stalk underneath. These guys aren’t dainty.
Step 4: Add a little collar (called a ring) right under the cap. It’s like a frilly scarf.
Step 5: Color or shade the cap if you’re going that route—deeper red toward the top, lighter at the edges.
Step 6: Dot in texture—maybe some shadow under the ring or a bit of grime near the base.
It’s a dramatic mushroom. Embrace the flair.
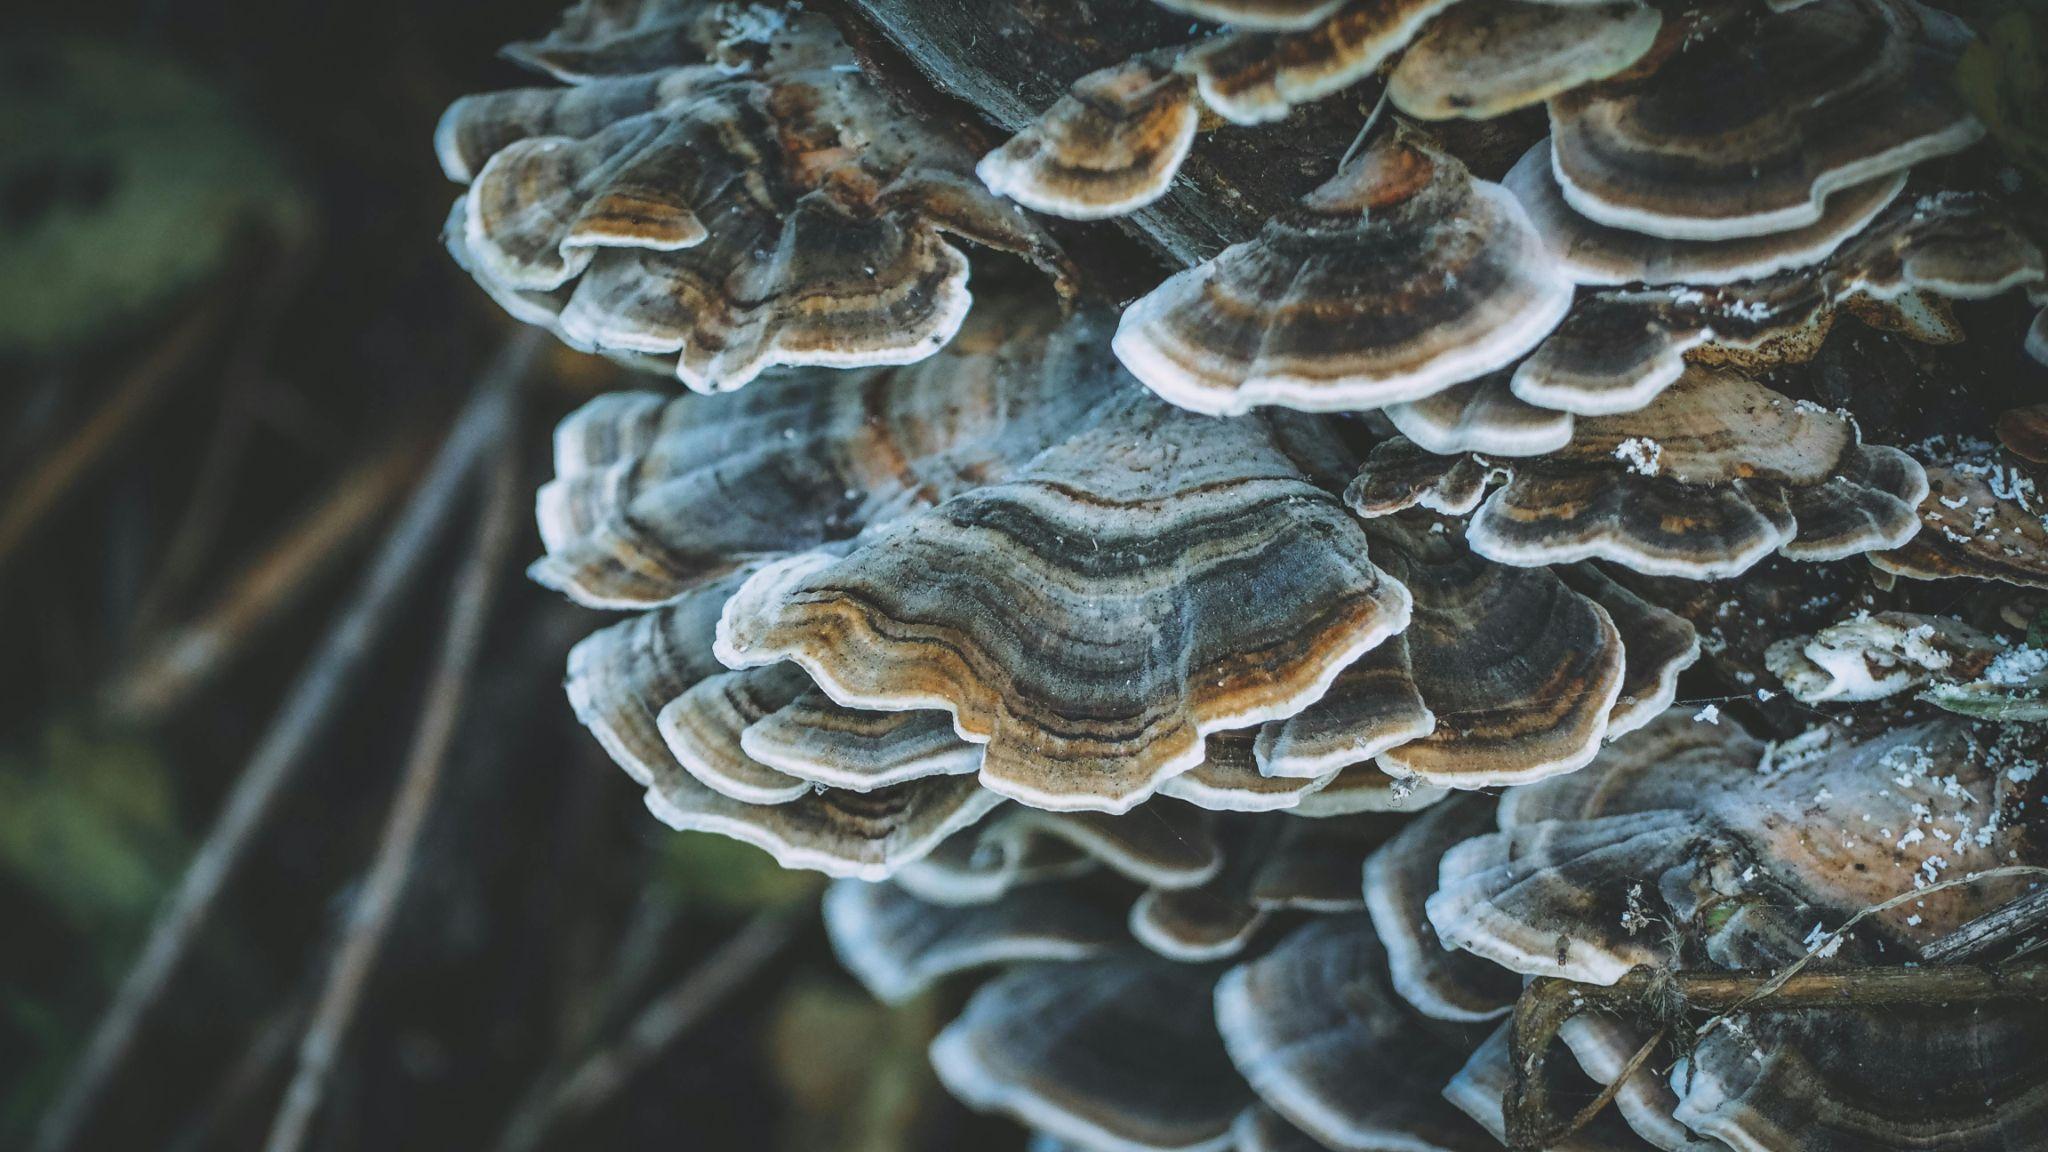
4. Drawing Mushrooms on Trees
These aren’t your average ground mushrooms. These grow out of tree trunks like weird little steps or fans.
Step 1: Draw the trunk first—use rough, vertical lines to get that bark texture going.
Step 2: Add half-oval shapes poking out from the bark. Flat on top, curved on bottom. Think “wooden pancakes.”
Step 3: Give each one a bit of thickness. Draw a short curve underneath to show the base.
Step 4: Use lines or rings on top to show age layers. Like growth rings, but horizontal.
Step 5: Shadow underneath each shelf—makes them pop off the tree.
Step 6: Add some moss or texture on the trunk nearby. These mushrooms don’t show up alone.
Optional: stack a few unevenly and vary the sizes. Nature rarely copy-pastes.
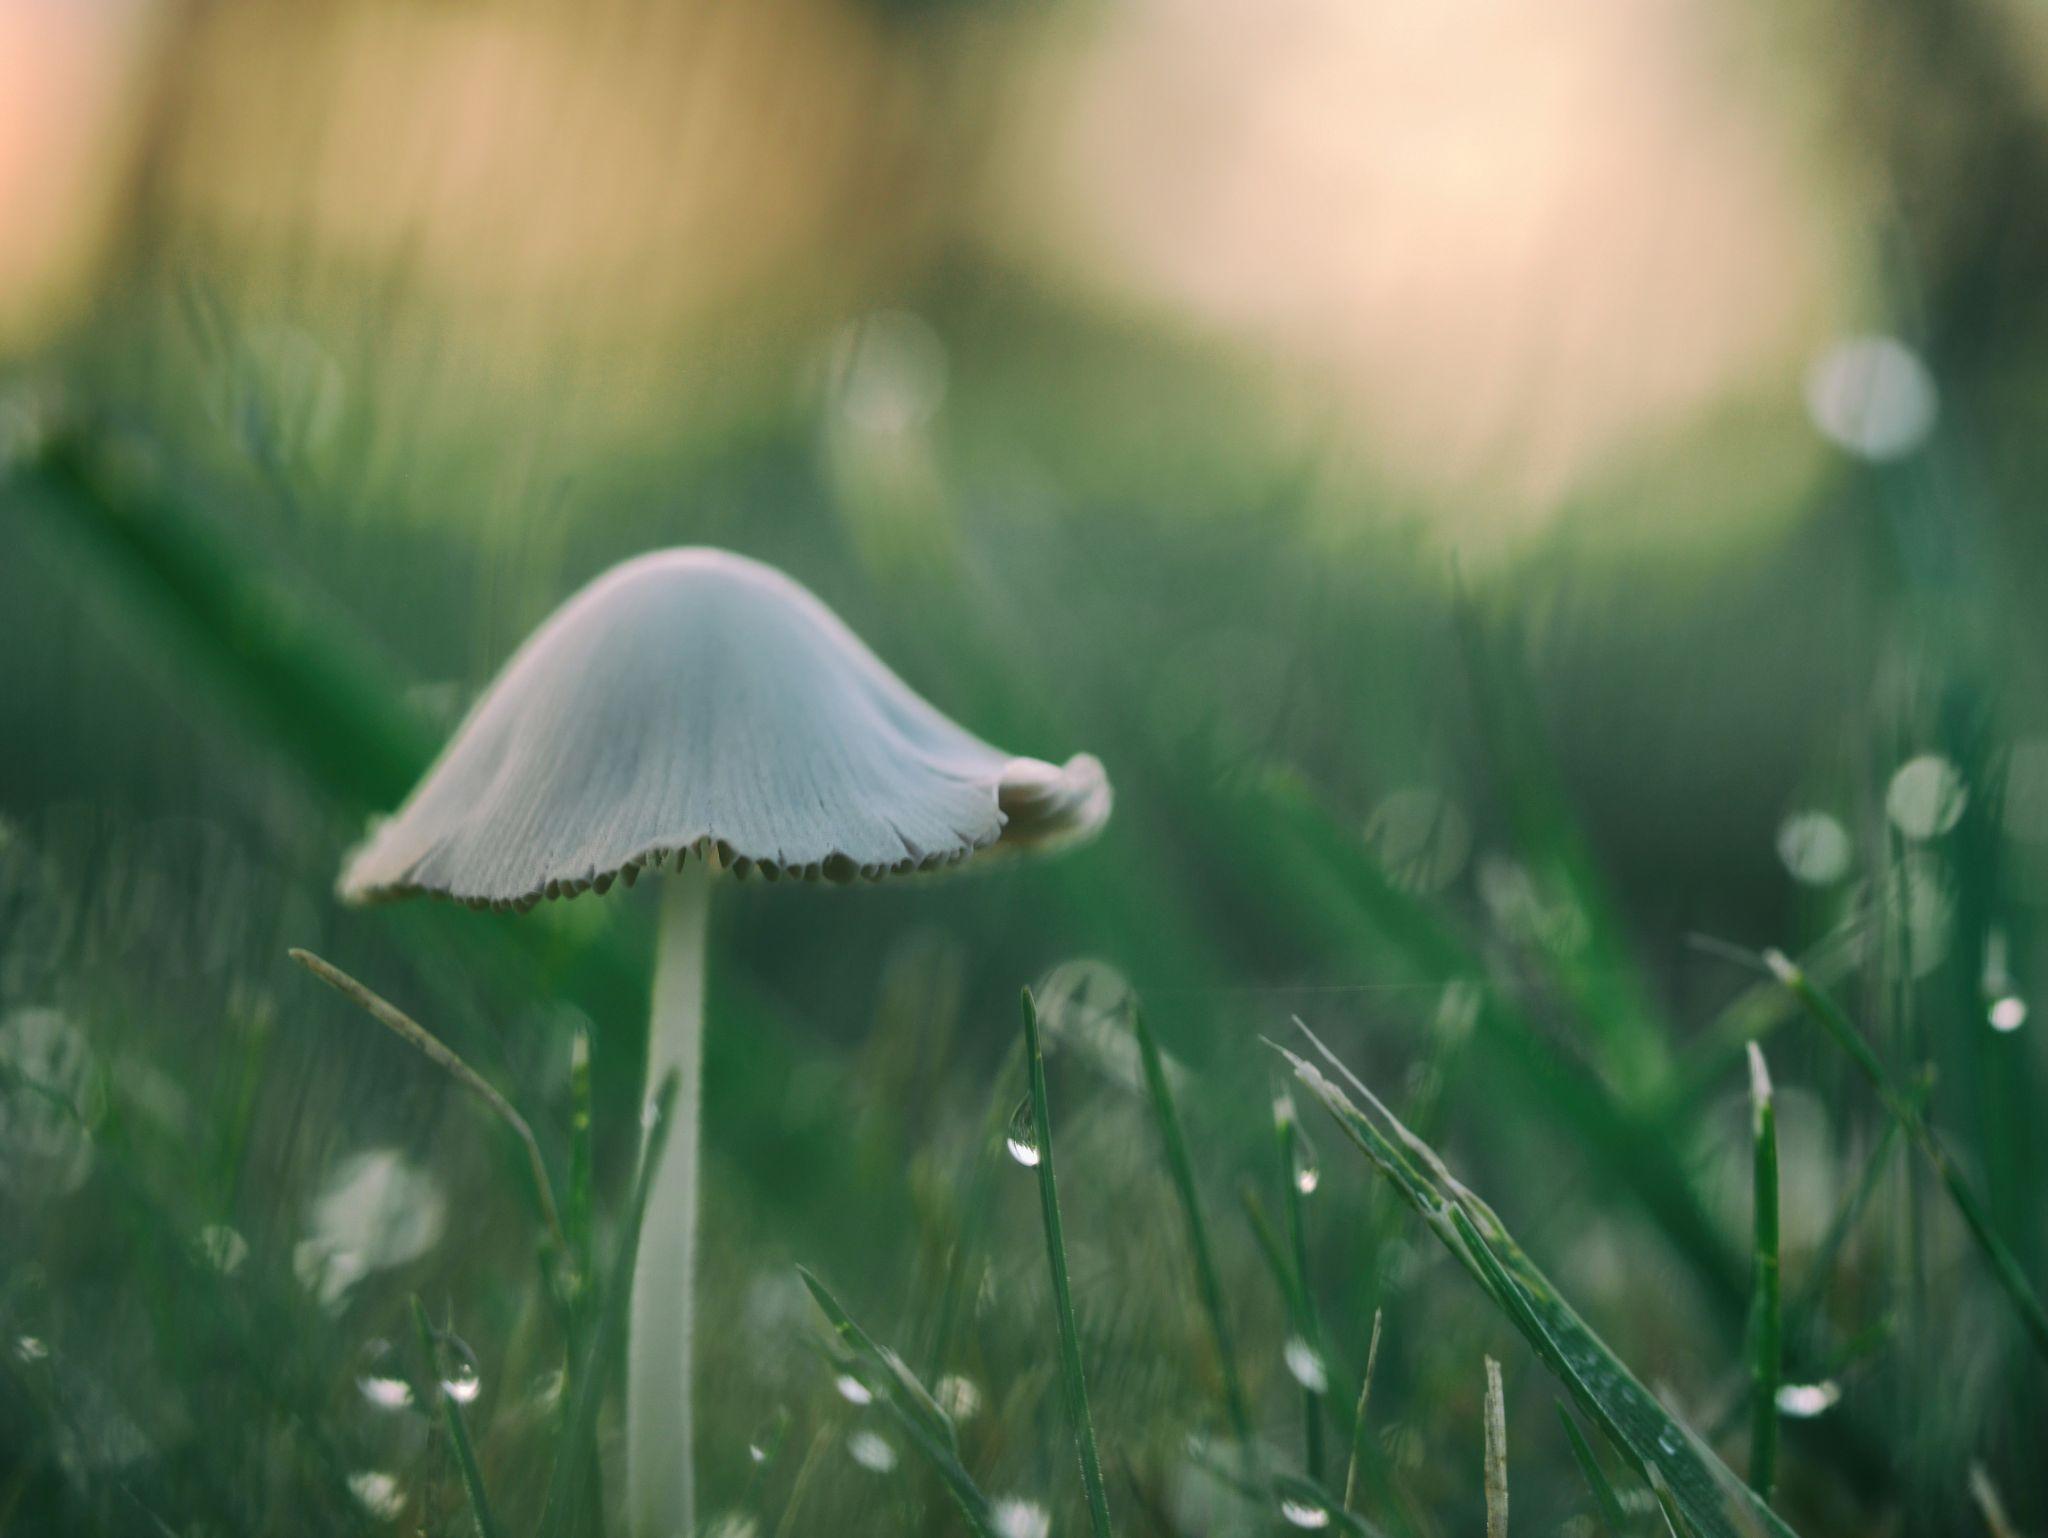
5. Drawing Mushrooms on Grass
This is all about blending mushrooms into a natural, slightly messy scene.
Step 1: Start with a few small mushroom shapes—short caps, chubby or skinny stalks, your call.
Step 2: Now draw blades of grass around and in front of the mushrooms. That overlap sells the realism.
Step 3: Add clumps of grass with a few zig-zagging lines. Keep it chaotic.
Step 4: Use shading to anchor everything to the ground. A mushroom with no shadow looks like it’s levitating.
Step 5: Texture time—dirt specks, a rock here, maybe a bent blade of grass. Don’t overthink it.
This scene should feel a bit wild, like a patch you’d spot in the woods if you looked down at the right moment.
6. Drawing Mushrooms Up Close (Macro)
Zooming in means you get to show off. Here’s where details matter.
Step 1: Pick an angle—side view with the cap tilted is great for showing gills.
Step 2: Draw a wide cap, and let the underside curve clearly into view.
Step 3: Add tons of gills, radiating out from the center. Keep your lines light and consistent.
Step 4: Detail the stalk: vertical grooves, bumps, maybe a ring or veil fragment.
Step 5: Add ground texture around the base—bits of soil clinging to the bottom, tiny roots poking out.
Step 6: Shade thoughtfully. Up close, light and shadow are your best tools to suggest form.
If someone zoomed in on your sketch and went “dang,” you did it right.
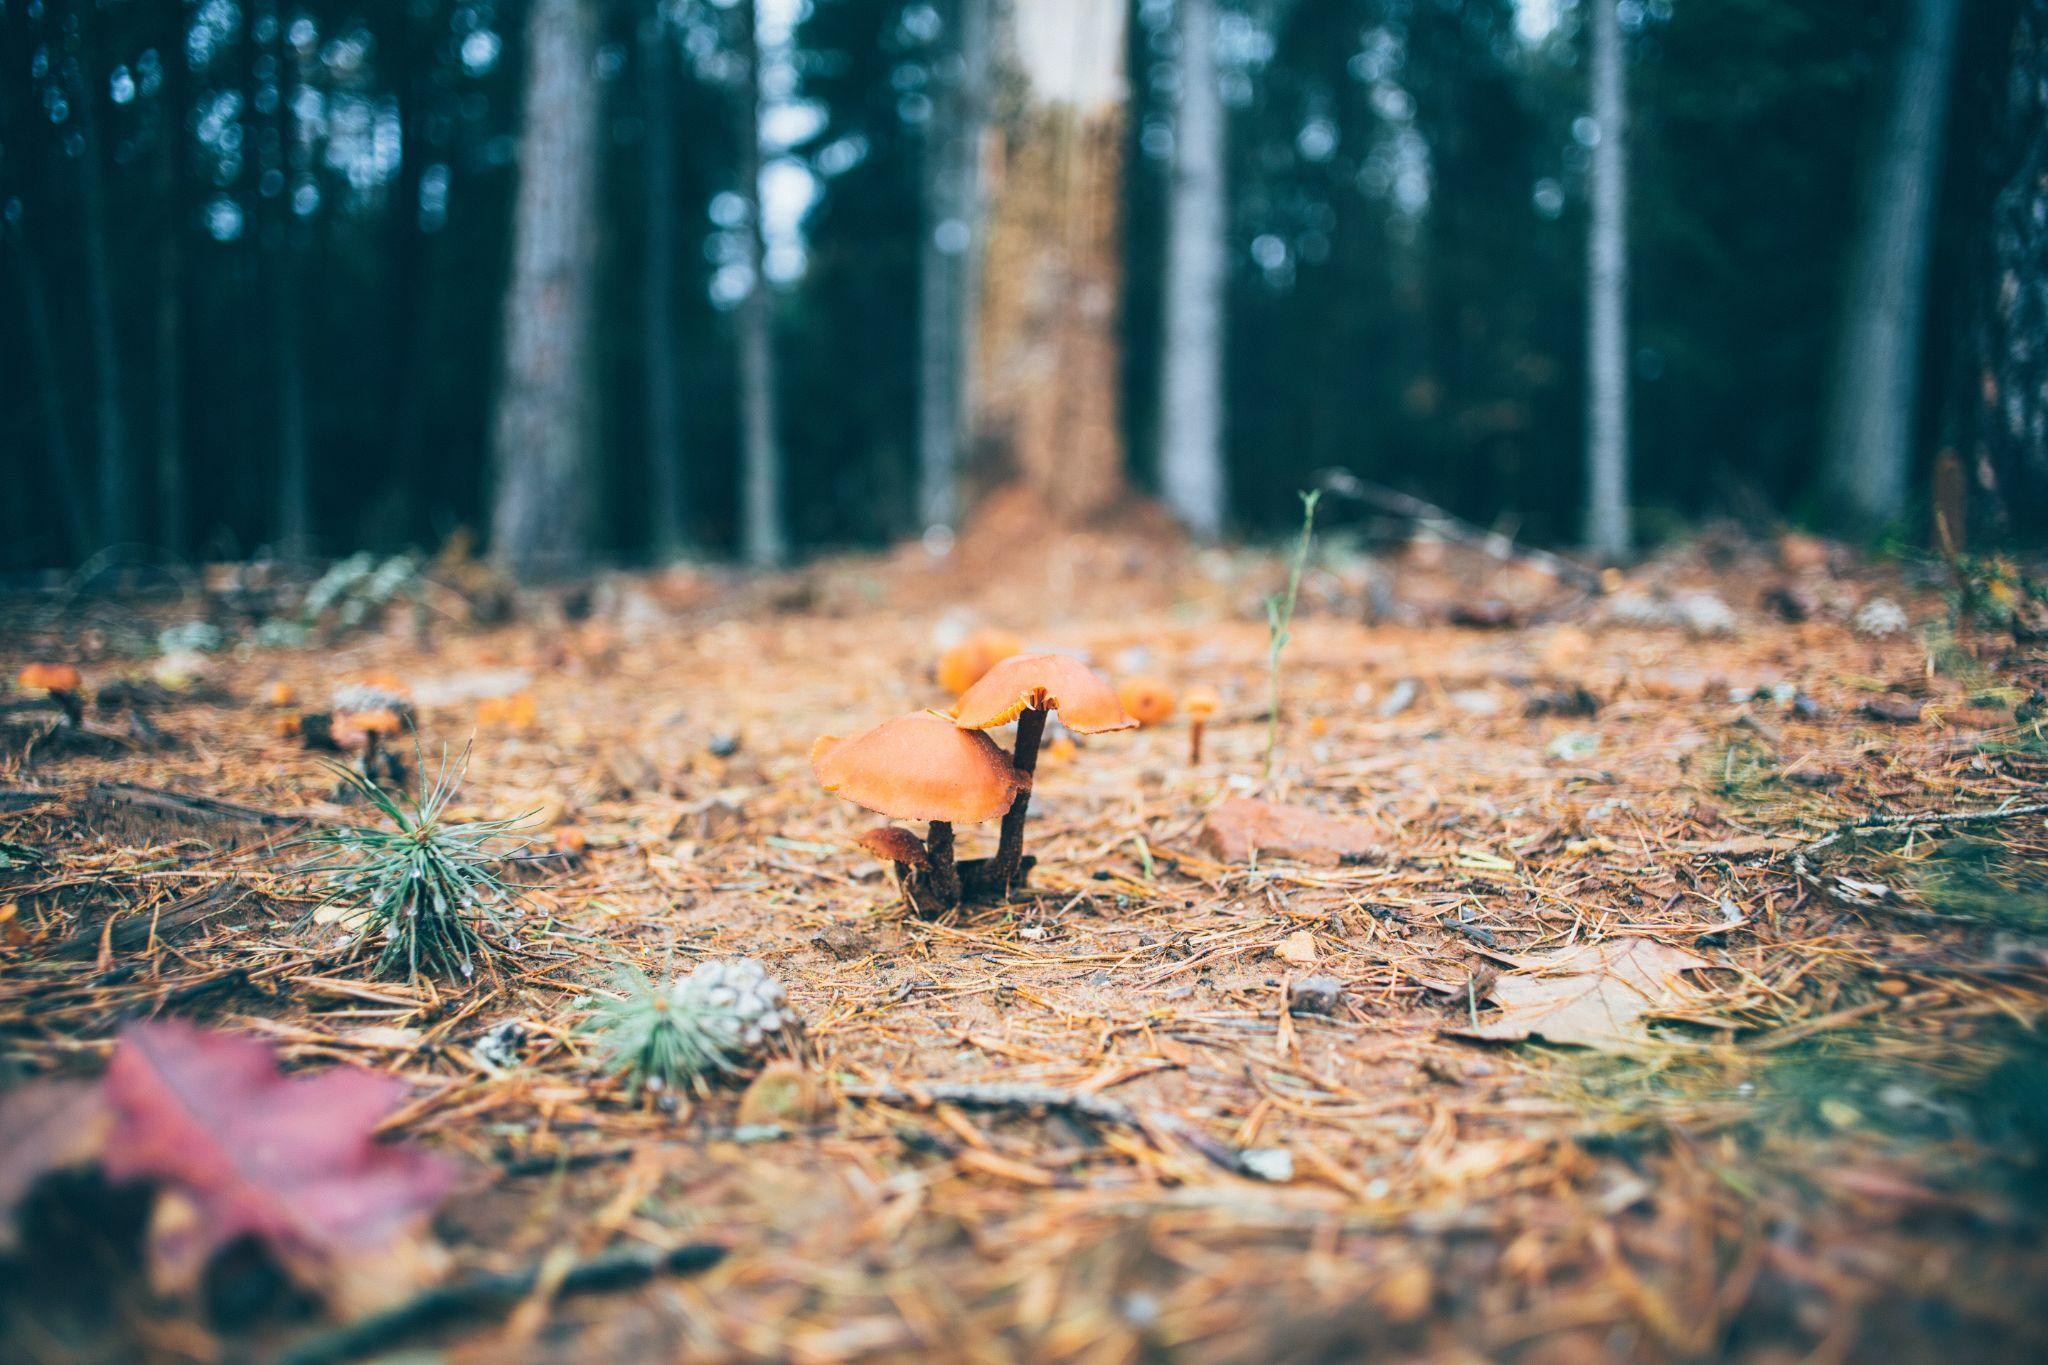
7. Drawing Mushrooms in a Bigger Picture
Now we place them in context—a forest scene, a fantasy landscape, even a moody still life.
Step 1: Lightly sketch your layout. Place mushrooms at different depths—some close, some far.
Step 2: Use a variety—tall ones, squat ones, ones on trees. Let them mingle.
Step 3: Add setting: roots, leaves, stones, maybe the base of a gnarled tree.
Step 4: Play with perspective. Make background mushrooms smaller and less detailed. Foreground ones get the spotlight.
Step 5: Use shading and lighting to guide the eye—highlight the mushrooms you want to be the stars.
Step 6: Keep it balanced. A single mushroom in the right spot can do more than a dozen randomly scattered.
Think of mushrooms as characters in a scene. They don’t need to say much—they just need to be placed with intention.
Are you ready to get started? You don’t even need to break down your paper into sections and create a ratio, like when drawing animals or body proportions. Just start drawing and enjoy your final result (or prepare another blank paper and continue practicing)!