Preparing a special space for your new baby is one of life’s sweetest joys! Setting up a nursery is one of the most exciting parts of waiting for your baby to arrive.
This special space will be where your little one sleeps, plays, and grows during their first years of life. Creating a nursery isn’t just about picking cute decorations – it’s about making a safe, comfortable, and practical space for both baby and parents.
If you are working with a large room or a small corner of your bedroom, this guide will help you create the perfect space for your baby.
Creating the perfect nursery can be fun and rewarding, from choosing the right furniture to adding those special touches that make the room feel magical.
Let’s start making a safe, comfortable, and loving room for your little one.
What You Should Know Before Starting Your Nursery Setup?
Before checking out different paint colors and cute decorations, there are a few important things to think about. Setting up a nursery requires planning and careful thought about timing, space, and safety.
Taking time to consider these factors will help make the process smoother and ensure you create a space that works well for both you and your baby.
1. When to Start Setting Up The Nursery?
Most parents begin setting up the nursery during the second trimester, around 18-20 weeks into pregnancy. This gives plenty of time to complete everything without rushing.
If you’re dealing with pregnancy discomfort or have a busy schedule, starting early is better than waiting until the last few weeks before the baby arrives.
2. How Much Space Do You Really Need?
A good nursery doesn’t need a huge room. A space as small as 7×10 feet can work well for one baby.
For twins, you’ll want a bit more room to fit two cribs. The most important thing is to have space for the essentials: a crib, changing area, and storage. Gender can affect your design choices but not the amount of space needed.
3. Other Factors To Consider
Some more factors you should consider before getting started with the nursery:
- Budget planning: Before you start shopping, decide how much you can spend on furniture, decor, and supplies to avoid overspending.
- Growth planning – Think about how the room will adapt as your baby grows from infant to toddler.
- Paint and renovation – Complete any painting or major room changes at least 8 weeks before the baby’s arrival to allow fumes to dissipate.
- Storage needs – Consider storage solutions for clothes, diapers, toys, and baby gear that will keep the room organized.
- Lighting options – Plan for different lighting needs, including a dim option for nighttime feedings and brighter light for changing and playtime.
Tools and Materials Required
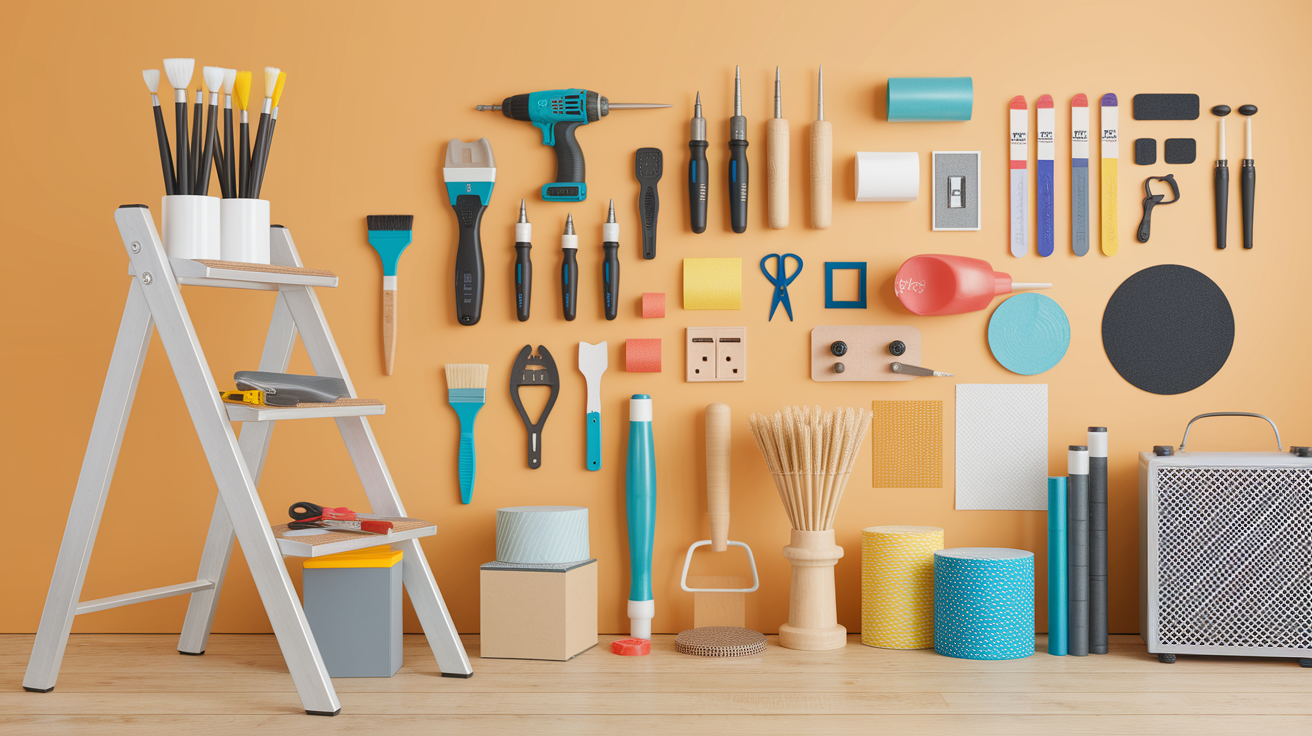
Having the right tools on hand will make setting up your nursery much easier and faster.
| TOOLS | MATERIALS |
|---|---|
| Screwdriver set | Paint (low or zero VOC) |
| Drill with bits | Primer |
| Hammer | Wall patch/spackle |
| Level | Furniture anchors and mounting hardware |
| Measuring tape | Outlet covers |
| Stud finder | Cordless window blinds or cord wraps |
| Wall anchors | Drawer and cabinet safety locks |
| Step ladder | Door knob covers |
| Allen wrench set | Corner protectors for furniture |
| Painter’s tape | Non-slip rug pads |
| Drop cloths | Blackout curtain material or panels |
| Sandpaper | Shelf liner for dresser drawers |
| Paint brushes and rollers | Air purifier (optional) |
| Scissors | Humidifier or dehumidifier (depending on climate) |
A Step-By-Step Guide to Set up A Nursery
Here’s a step-by-step guide you can check out to find different ideas for setting up a nursery.
Step 1: Plan and Clear Out the Existing Space
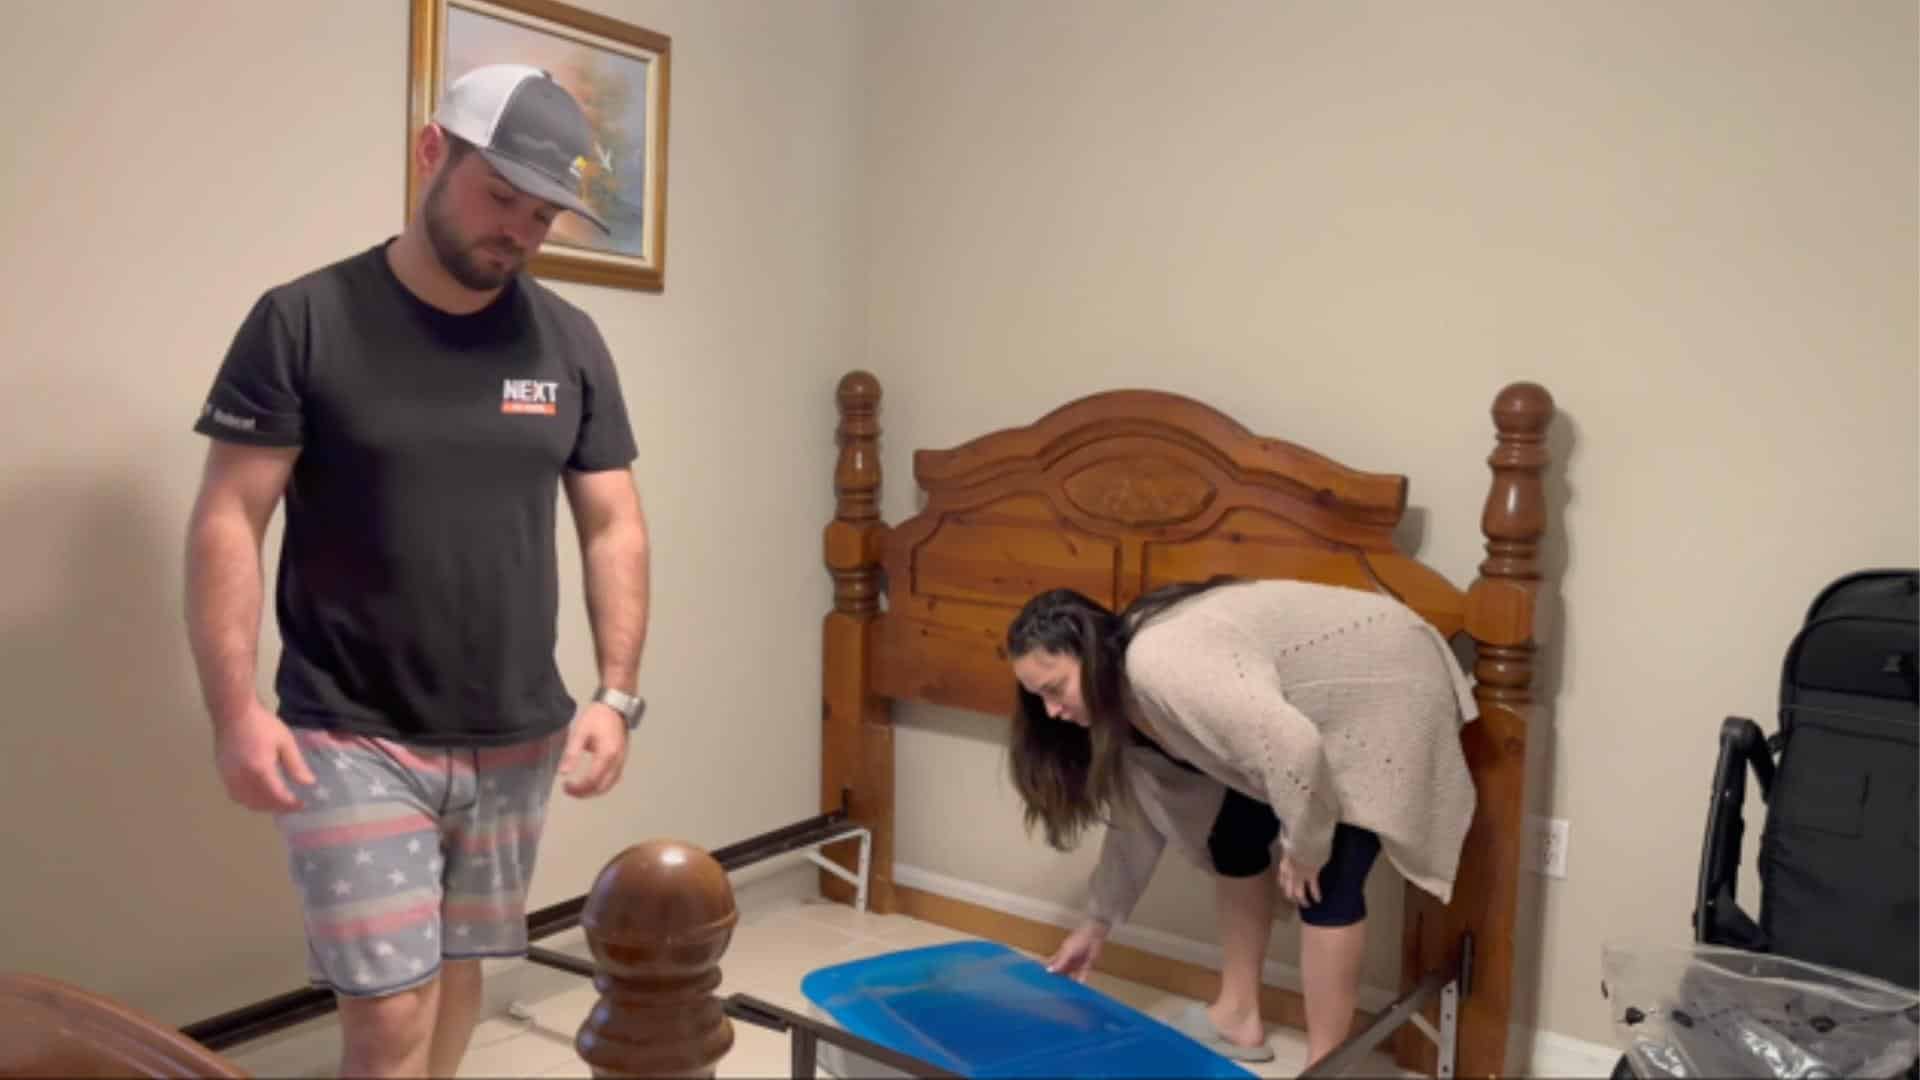
- Assess the Current Room: Identify the room you’ll convert into the nursery (e.g., a guest room). Take note of existing furniture and items that need to be removed.
- Remove Non-Baby Items: Clear out furniture like beds, heavy dressers, or decor not suitable for a nursery. For example, remove the guest bed, paintings, and other non-essential items to create a blank slate.
- Store or Donate Unneeded Items: Decide what to do with guest room items—store them elsewhere or donate if they won’t be reused.
Tip: Vacuum or clean the room after removing furniture to ensure a fresh start.
Step 2: Gather Baby Essentials
- Collect Hand-Downs and Gifts: Sort through baby items from family or friends, such as clothes, toys, swings, or other necessities. Organize them to see what you already have.
- Make a List of Needed Items: Identify gaps in your supplies. Common nursery essentials include a crib, mattress, dresser, nursing chair, rug, curtains, and storage solutions.
- Budget for Purchases: Plan for cost-effective solutions, like buying second-hand or refurbished items (e.g., a hunter green dresser) or affordable products from retailers like Amazon.
Step 3: Select and Assemble the Crib
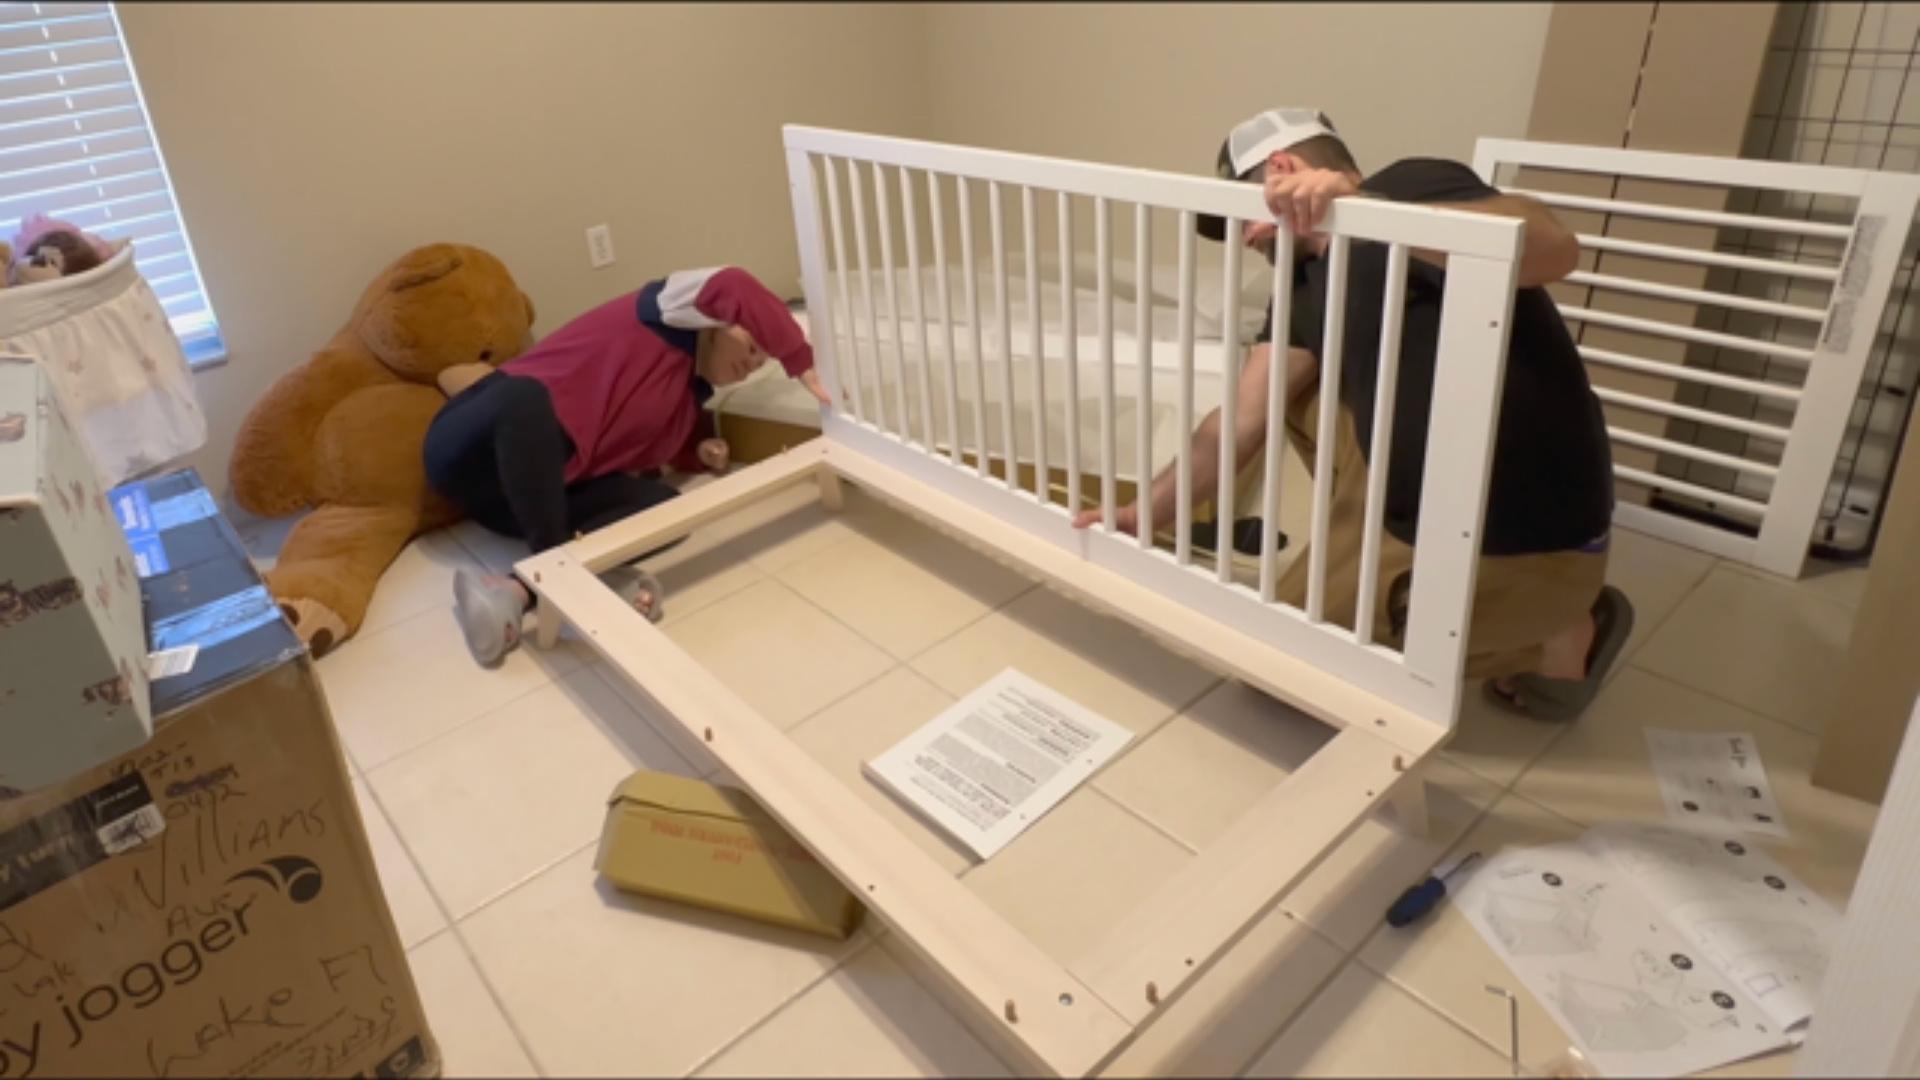
- Choose a Crib: Pick a safe, sturdy crib that fits your space and style. For example, the Baby Leto crib mentioned is a compact, affordable option.
- Assemble the Crib: Carefully follow the instructions to avoid mistakes like installing parts upside-down. Start by building the frame, making sure the screws are tight but not over-tightened for safety.
Next, attach the legs and side pieces, double-checking their orientation to ensure everything aligns properly. Finally, install the mattress support to complete the structure. - Test Stability: Ensure the crib is secure and stable before adding the mattress.
Tip: Work with a partner to make assembly easier and safer.
Step 4: Add a Mattress
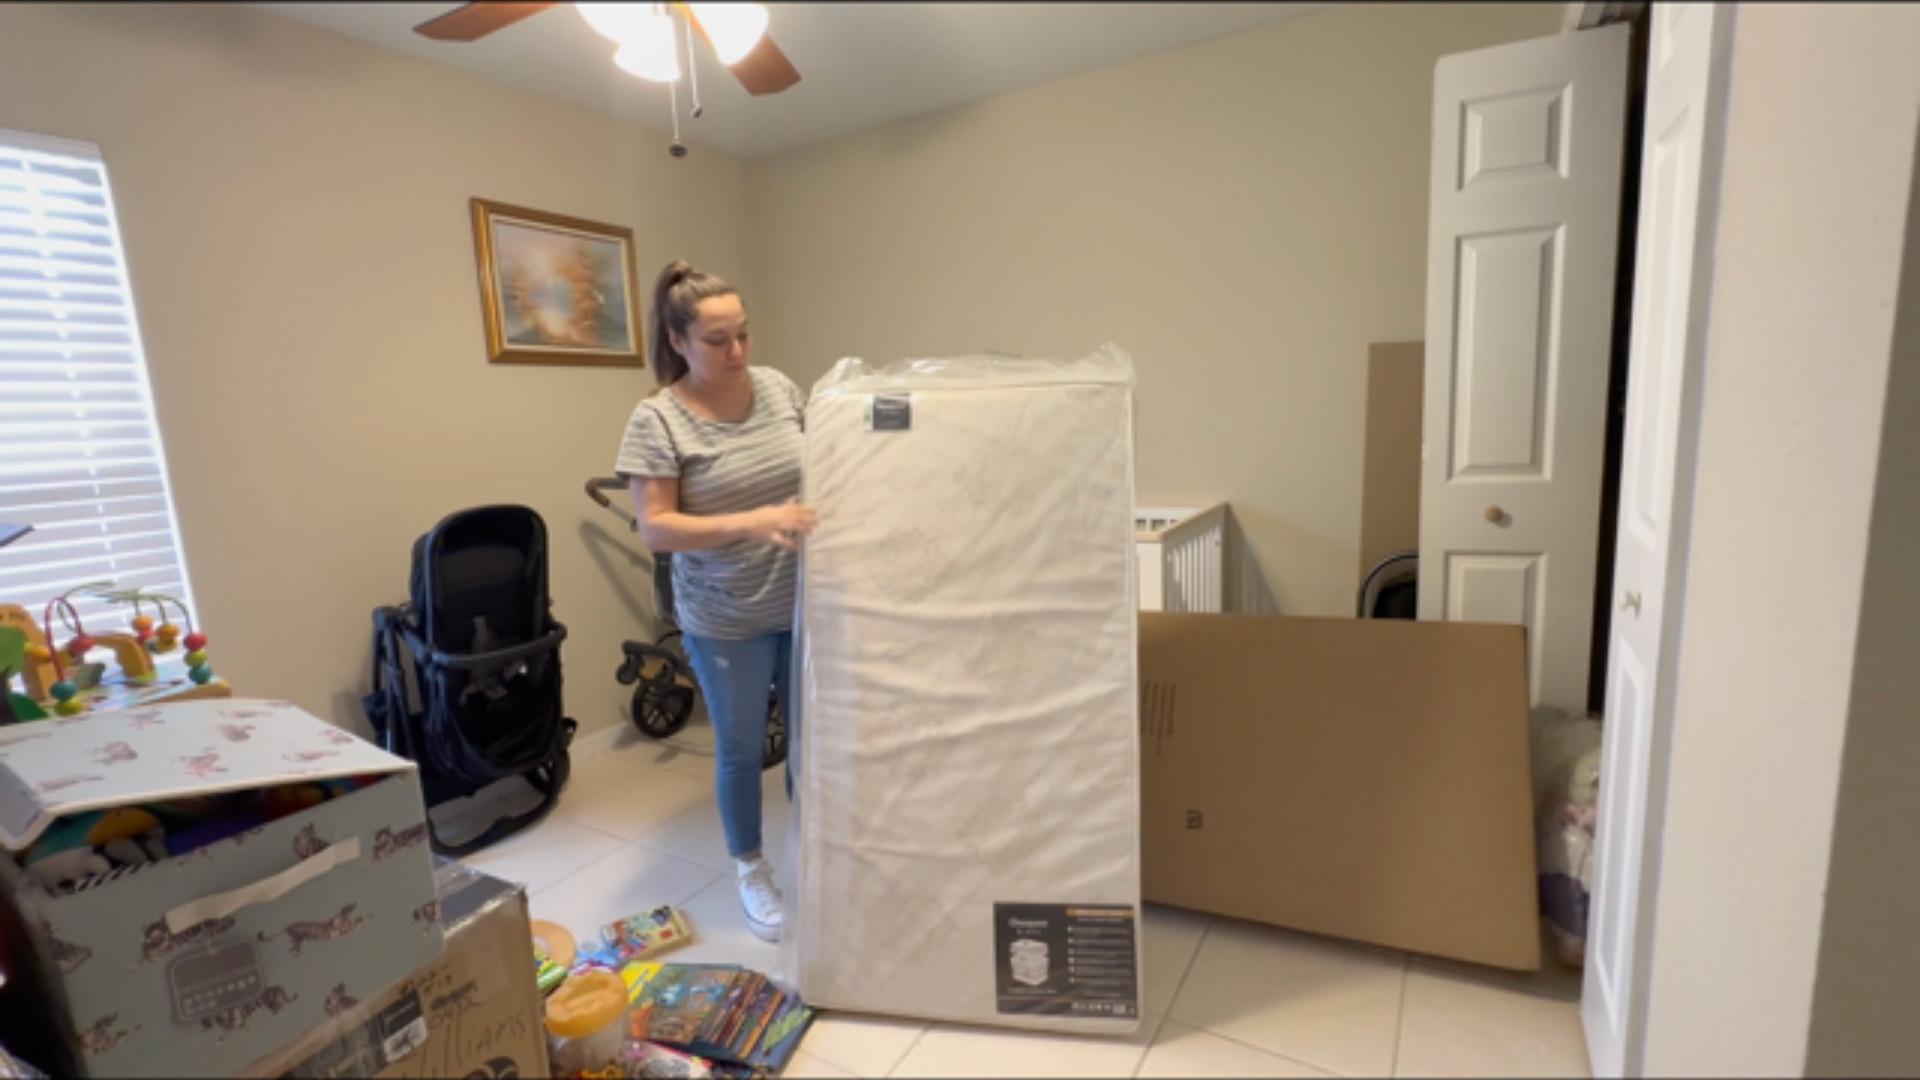
- Select a Mattress: For safety and comfort, choose a firm, well-fitting crib mattress. For example, a Beautyrest Black crib mattress was chosen for its quality.
- Install the Mattress: Begin by unpacking the mattress and inspecting it for any signs of damage. Once confirmed to be in good condition, place it in the crib, making sure it fits snugly without any gaps along the edges to ensure your baby’s safety.
Tip: Let the mattress air out if it has a strong packaging smell.
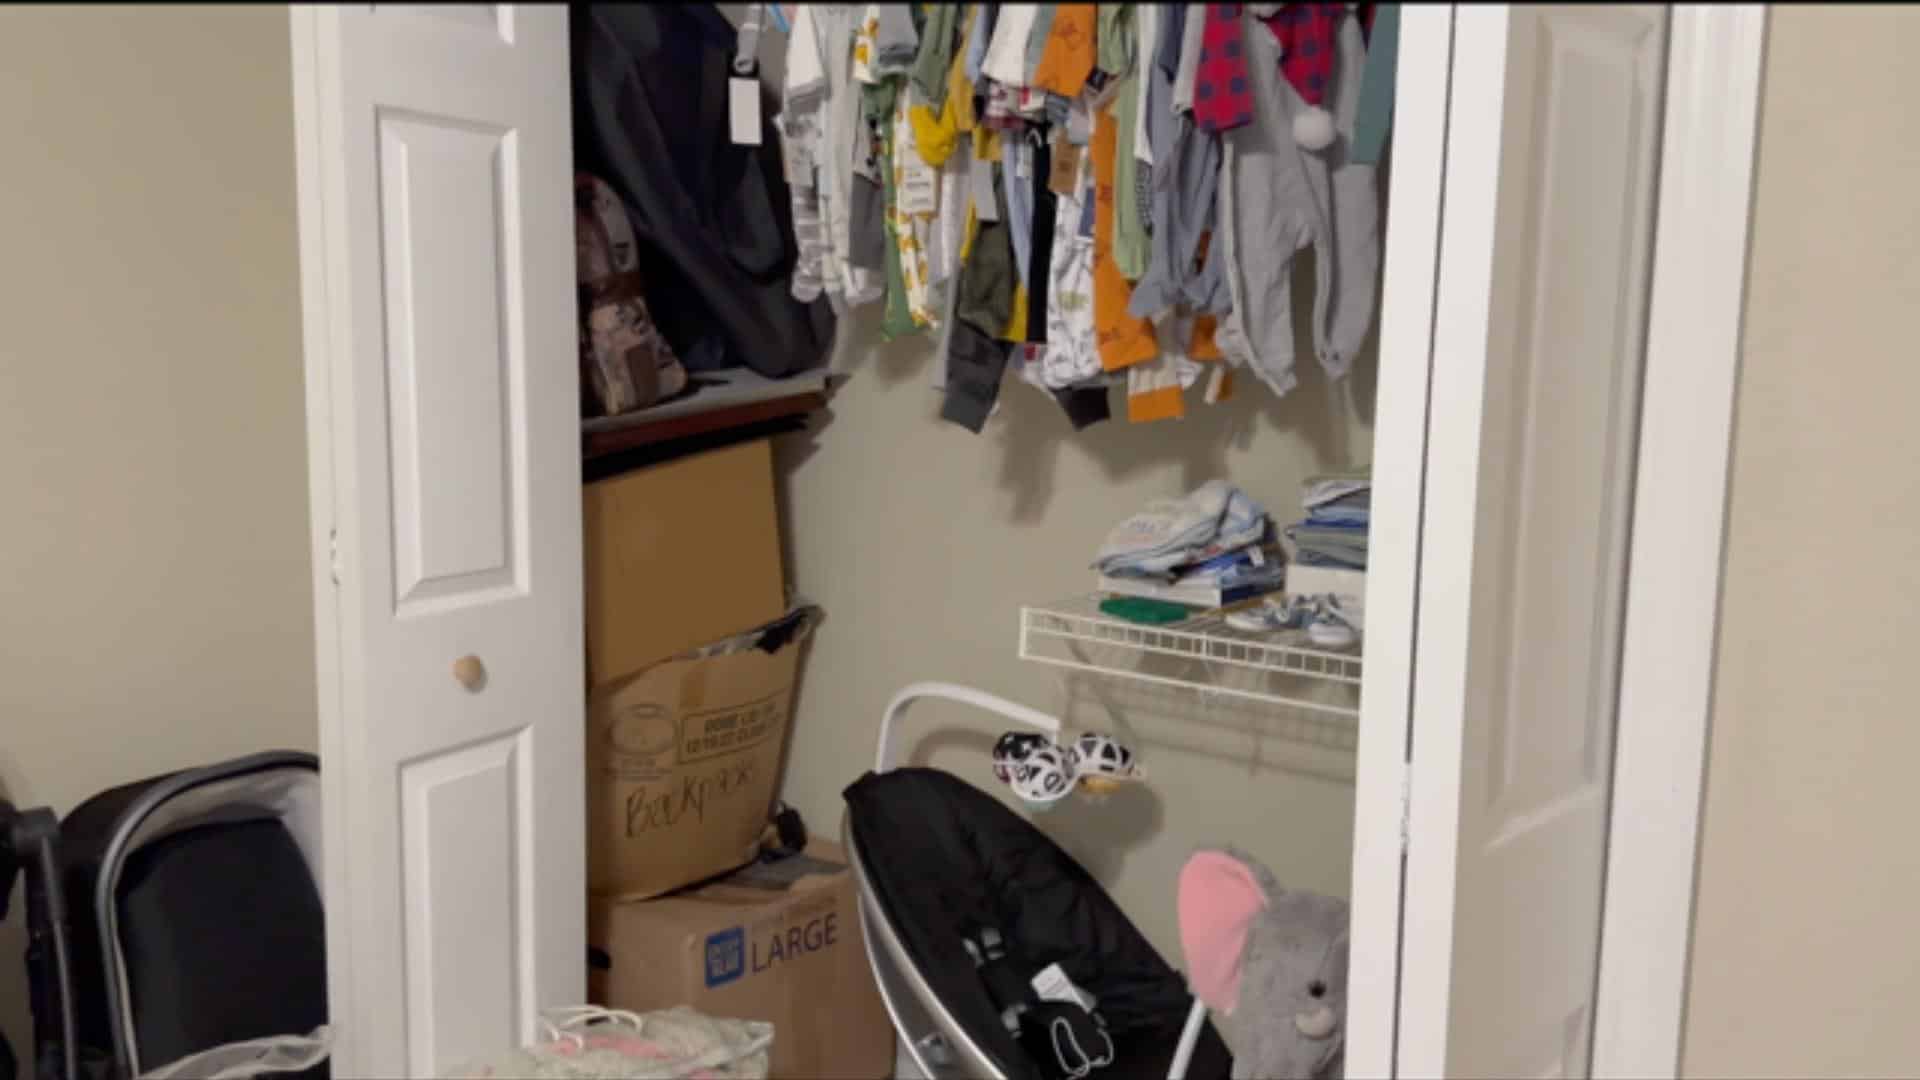
Step 5: Organize Storage
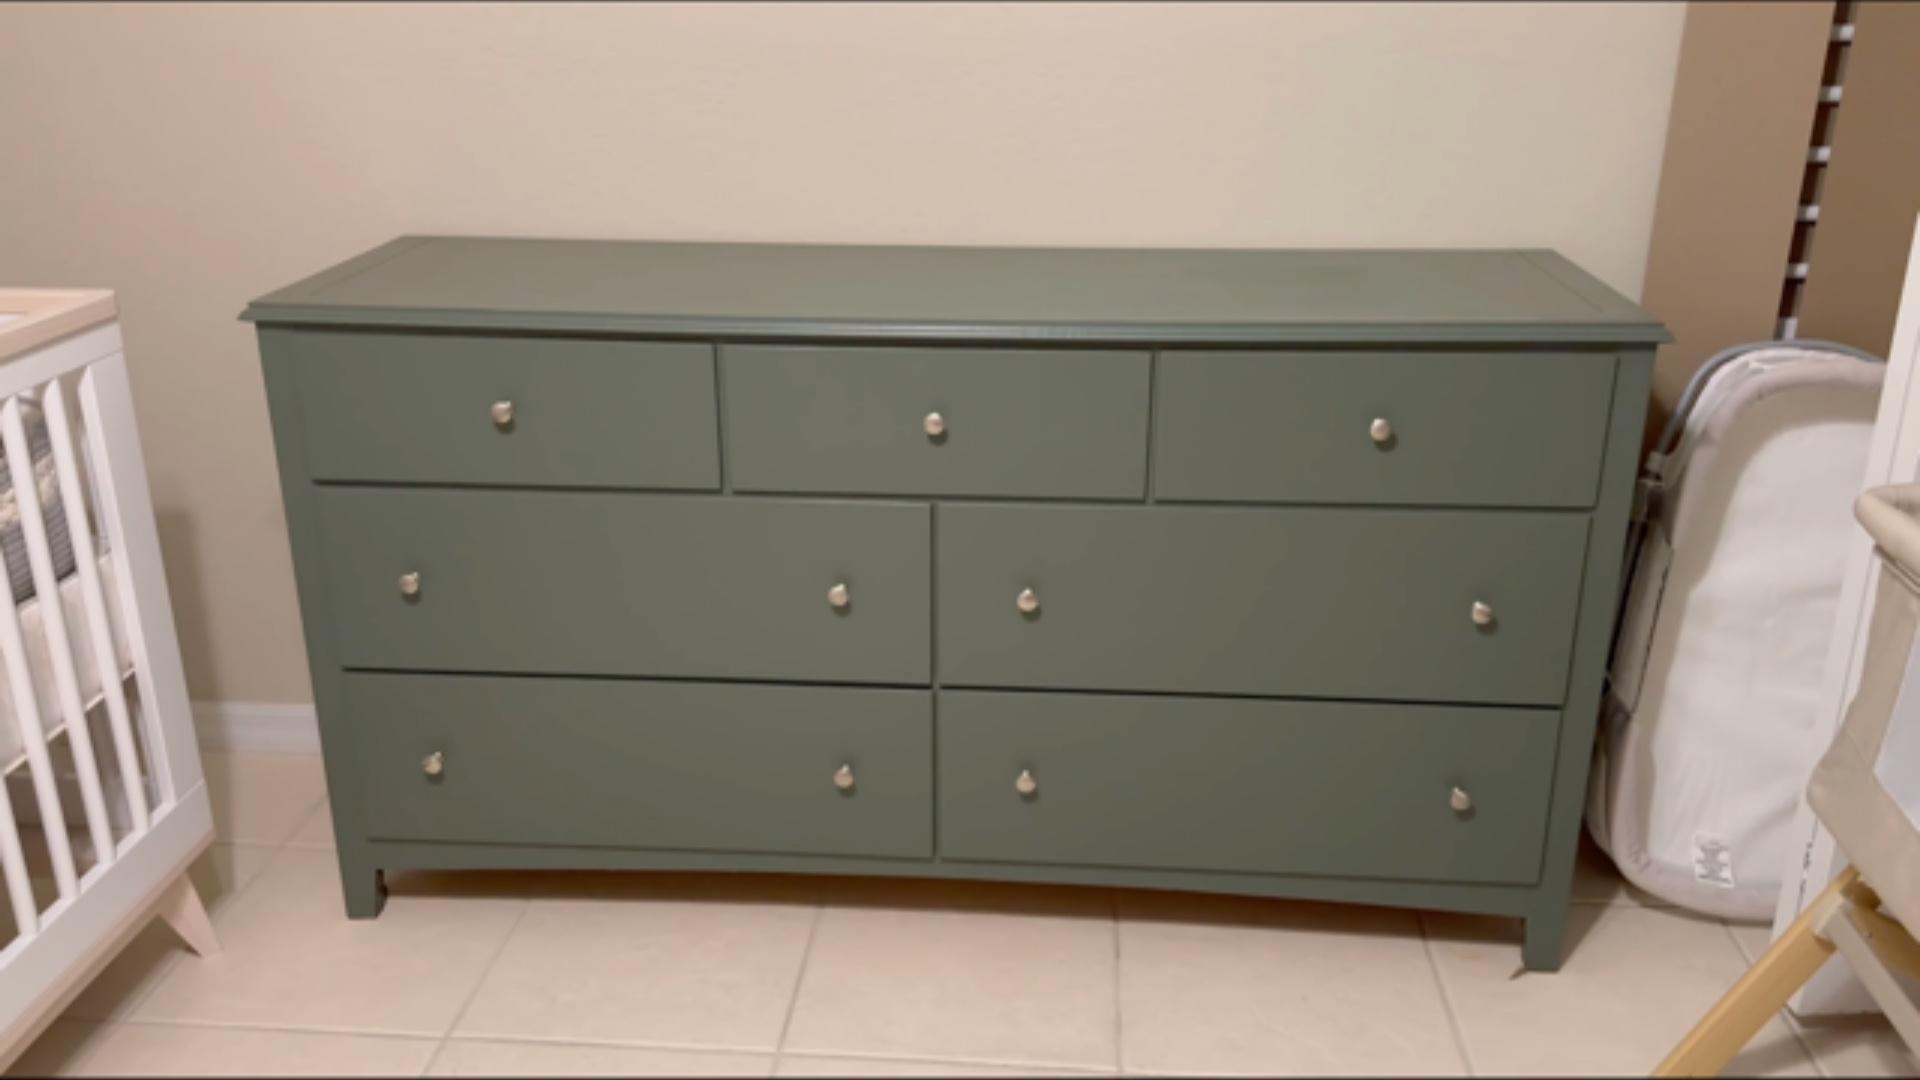
- Choose a Dresser: Opt for a dresser that doubles as a changing table or storage. A refurbished hunter green dresser can add style and function.
- Organize Clothes: Wash all baby clothes using a baby-safe detergent to ensure they are gentle on your baby’s skin.
After washing, sort the clothes by size—such as newborn, 0–3 months—and by type, including sweaters, overalls, and jackets.
Use closet dividers or labels to keep everything organized and easily accessible. Store bulkier items like jackets or layered outfits in drawers or bins to save space and maintain a tidy nursery. - Add Drawer Organizers: Purchase organizers (e.g., from Amazon) for smaller items like lotions, diaper supplies, hats, and bibs.
- Utilize Closet Space: Hang clothes and store toys, swings, or extra supplies in the closet to keep the room tidy.
Step 6: Add Functional Furniture
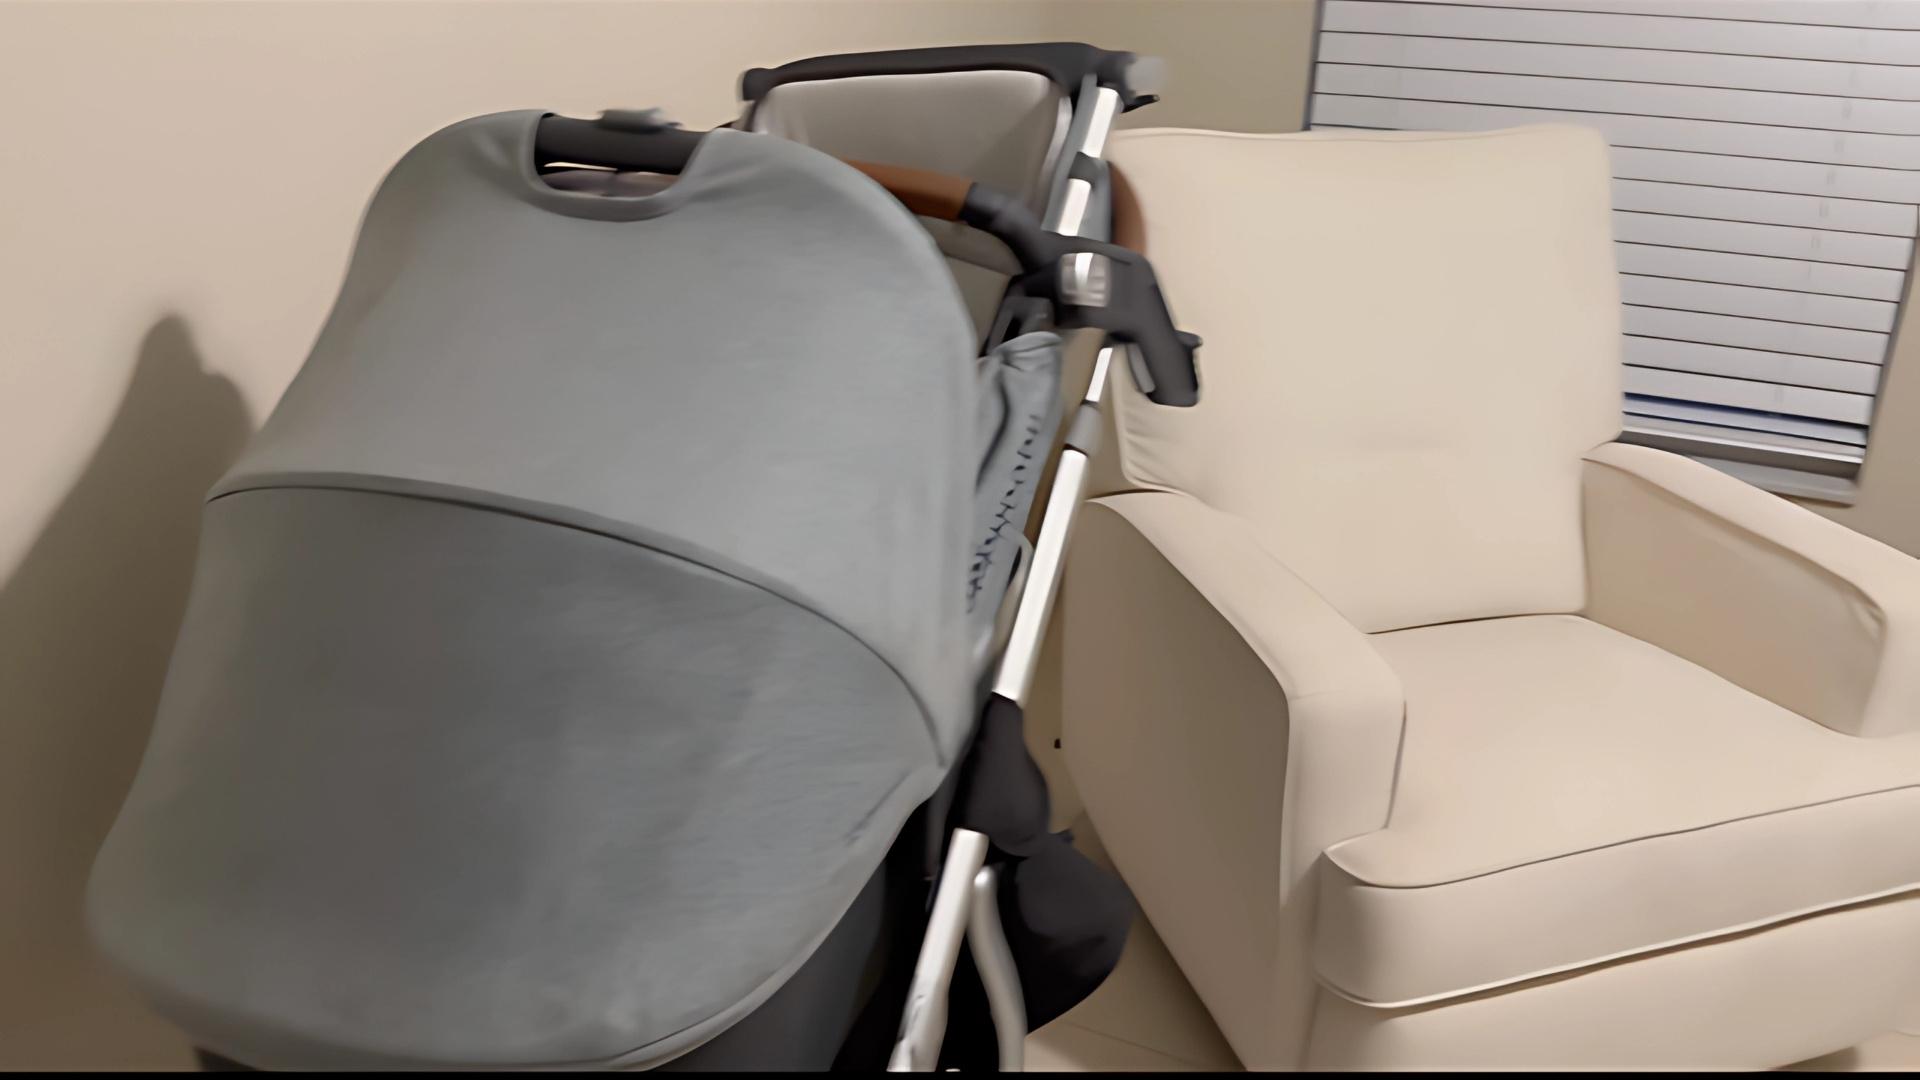
- Include a Nursing Chair: Select a comfortable chair for feeding and bonding. Place it in a convenient spot for nighttime use.
- Consider a Stroller or Temporary Storage: While strollers don’t stay in the nursery, designate a temporary spot for large items until you organize a permanent storage area.
Step 7: Enhance Comfort and Style
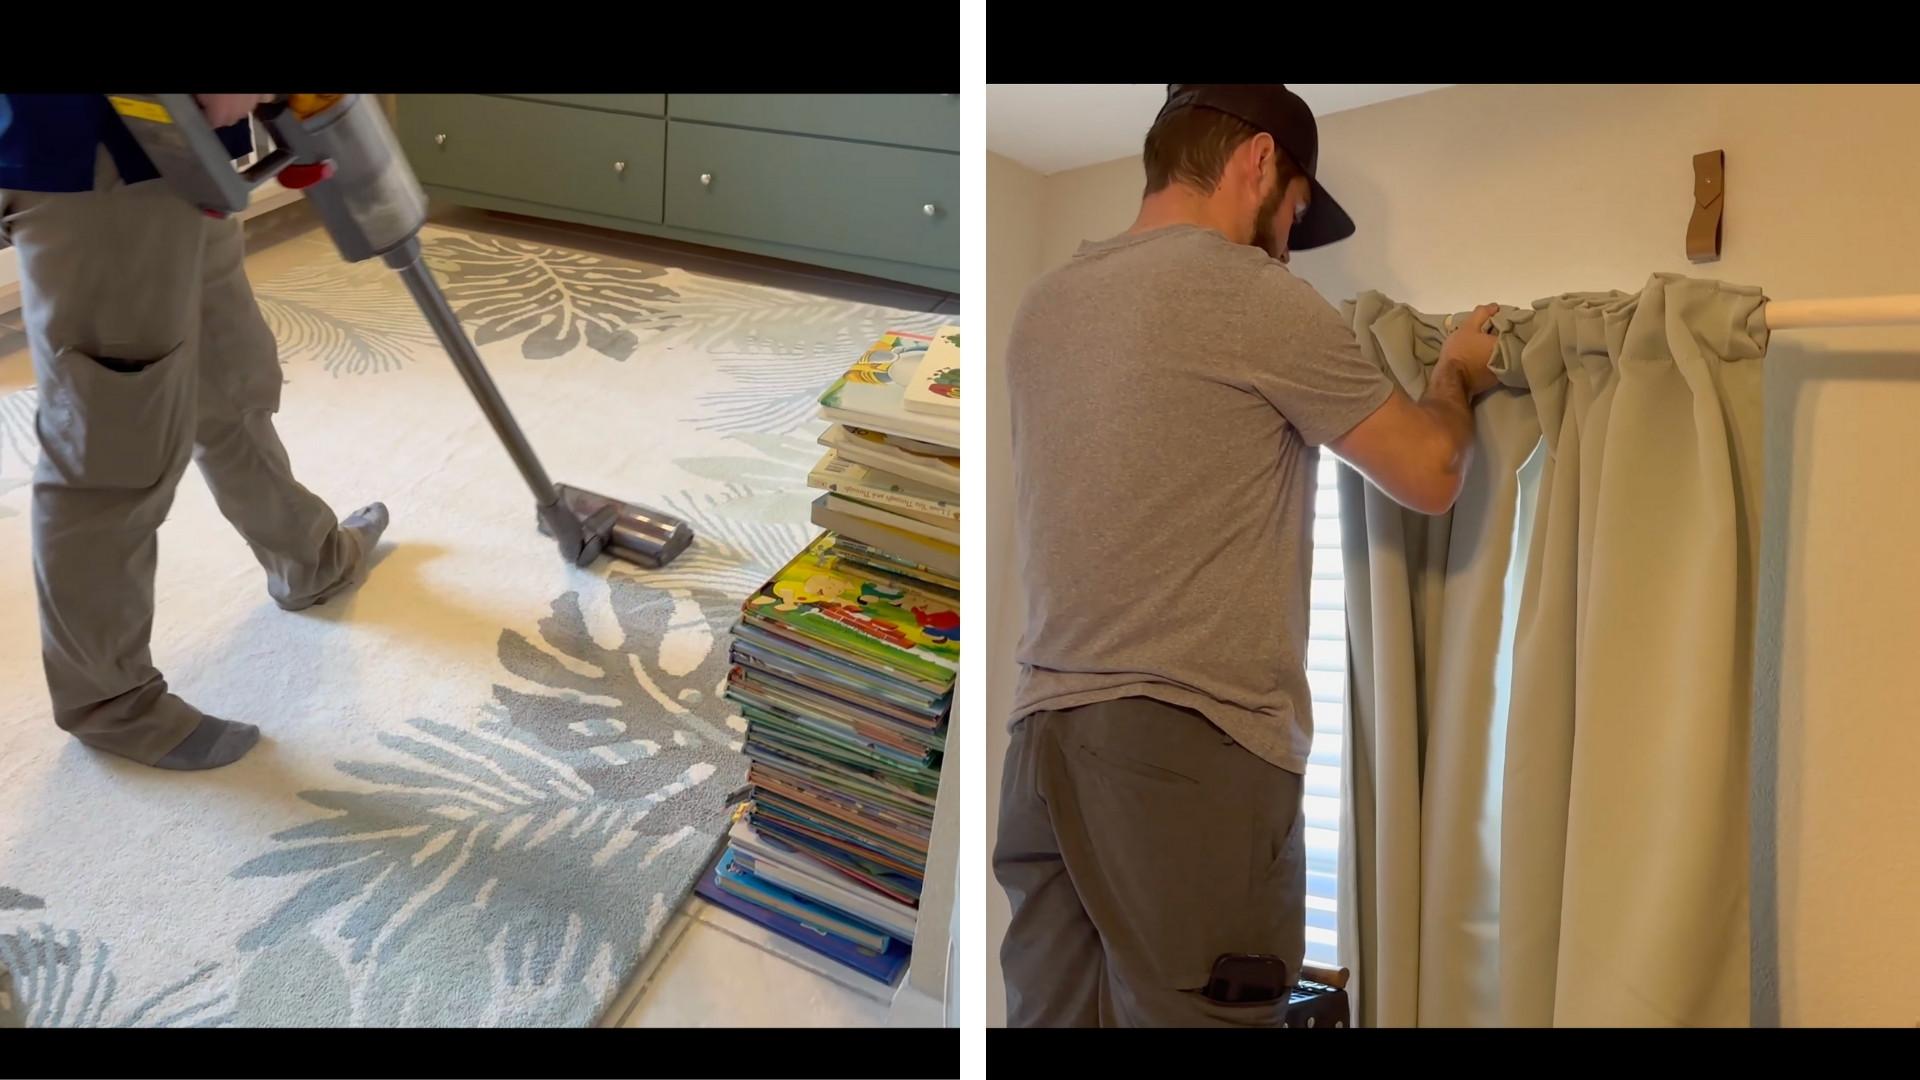
- Choose a Rug: Pick a rug that complements your color scheme (e.g., one with blue tones to match green accents). Ensure it’s thick and soft for comfort.
- Install Curtains: Choose blackout curtains, such as sage green, to improve your baby’s sleep conditions.
For a budget-friendly curtain rod, consider using a wooden dowel paired with leather straps repurposed from an old belt.
Measure carefully to ensure the rod fits the width of the window and the curtains extend to the floor. Securely attach the rod to the wall to prevent accidents. - Add a Mirror and a Hamper: A mirror can brighten the space, and a hamper keeps laundry organized. Shop at stores like HomeGoods for affordable decor.
Tip: Vacuum the rug after installation to remove any debris.
Additional Tips
- Safety First: Ensure all furniture is anchored to walls, screws are secure, and the crib meets safety standards.
- Involve Family: Accept help from partners or relatives for heavy lifting or assembly tasks.
- Stay Flexible: Be patient with delays (e.g., feeling sick during setup) and adjust plans as needed.
- Document the Process: Take photos or videos to track your progress and share with loved ones.
By following these steps, you’ll convert your space into a welcoming nursery ready for your baby’s arrival while balancing style, function, and budget.
Watch How Its Done: Nursery Set Up
For more information, check out this video tutorial by Meg n’ Dave
How to Create a Safe Nursery for Your Baby?
Safety should be your top priority when setting up your baby’s room.
Babies are curious and will soon be mobile, so it’s important to create a space where they can’t get hurt. Here are key safety measures every nursery should have:
- Secure all furniture to the wall with anti-tip straps, especially the dresser and bookshelf
- Use cordless window blinds or keep cords well out of reach
- Install outlet covers on all electrical outlets
- Keep the crib away from windows, heaters, and cords
- Use a firm mattress that fits snugly in the crib with no gaps
- Remove all pillows, blankets, stuffed toys, and bumpers from the crib
- Install baby gates at doorways and stairs once baby becomes mobile
Final Checklist: Is Your Nursery Ready?

Before your little one arrives, go through this checklist to make sure everything is ready.
These final touches will help ensure your nursery is comfortable, functional, and ready for your new baby.
- Crib is assembled correctly with a firm mattress and fitted sheet
- Changing station is stocked with diapers, wipes, and cream
- Clothes are washed, organized, and put away
- A night light or dim lamp is installed for nighttime feedings
- A baby monitor is set up and working
- Room temperature can be controlled (68-72°F is ideal)
- Blackout curtains are installed for better daytime naps
- The diaper pail is in place
- The rocking chair or glider is positioned in a comfortable spot
- Storage solutions are ready for toys, books, and baby gear
Final Notes
Creating a nursery doesn’t have to be overwhelming. With some planning and the right tools, you can make a special space for your baby to grow and thrive.
The process of setting up a nursery is also a wonderful way to prepare mentally for the arrival of your little one. Each item you choose and each wall you paint is a step closer to welcoming your baby home.
Remember that nurseries can be as simple or as elaborate as you want. There’s no right or wrong way to design your baby’s room – what matters is that it works for your family and lifestyle.
Don’t feel pressured to have everything perfect before the baby arrives. Many parents find that they make changes to the nursery setup after bringing their baby home and learning what actually works best.
While a beautiful nursery is nice, what matters most is the love and care you’ll bring into the room: happy nursery planning, and congratulations on your growing family.
If you’re interested in more informational content on mothers and babies, feel free to click here and explore other blogs that you might enjoy!